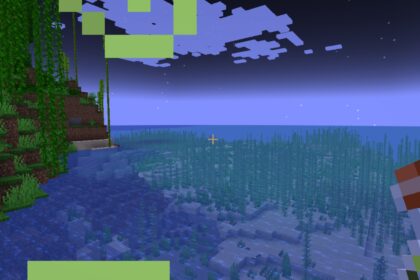
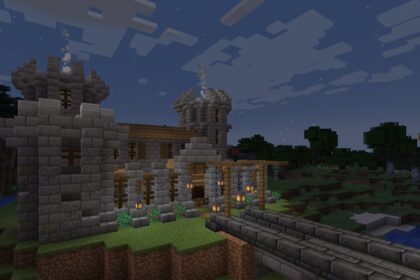
In Minecraft, the world is infinite and offers various details to enhance gameplay and provide an authentic feeling.
From huge empty deserts to mountaintop villages where you can ride llamas and vast oceans, the game achieves an outstanding level of immersion and content by providing gamers with a range of different biomes.
Simulating a realistic land, Minecraft features biomes that will cover a significant portion of the map. Still, the in-game biomes will organically shift as you walk deeper into the map, offering diverse views and natural wonders.
When analyzing each biome, one can notice how differently the world interacts with the player depending on where they are.
For instance, specific biomes will have different terrain, mobs, trees, villages, vegetation, and even water color.
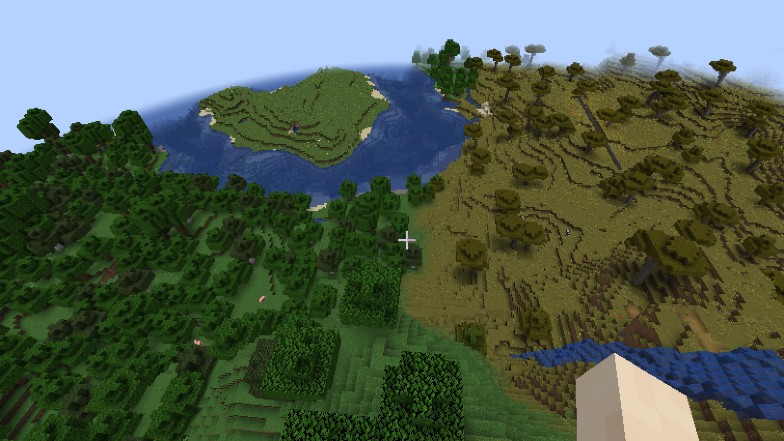
Now, if you intend to terraform the world and manipulate the biomes around you, then you’ll need to grasp the fundamentals of how to change the biome in Minecraft.
But first, let’s get a bit deeper into how Minecraft’s world responds to biomes and how many of them are in the game.
Biome Variation
In Minecraft, biomes will divide themselves into seven categories regarding temperature. The temperatures are snowy, cold, arid, temperate, nether, and end.
Each temperature holds two or more biomes, which contain specific similarities. In total, Minecraft has sixty-one biomes, of which fifty are from the overworld, five from the nether, five from the end, and one from a super flat preset.
If we divide the temperatures into biomes, we will find that snowy temperatures have:
- Snowy Plains
- Ice Spikes
- Snowy Taiga
- Snowy Beach
- Grove
- Snowy Slopes
- Jagged Peaks
- Frozen Peaks
On the other hand, cold biomes will contain:
- Windswept Hills
- Windswept Gravelly Hills
- Windswept Forest
- Taiga
- Old Growth Pine Taiga
- Old Growth Spruce Taiga
- Stony Shore
Still, if we were to mention every biome that each temperature relates to, we would spend a lot of time talking about each region. But, keep in mind that although some biomes feature a similar temperature, they hold their own particularities.
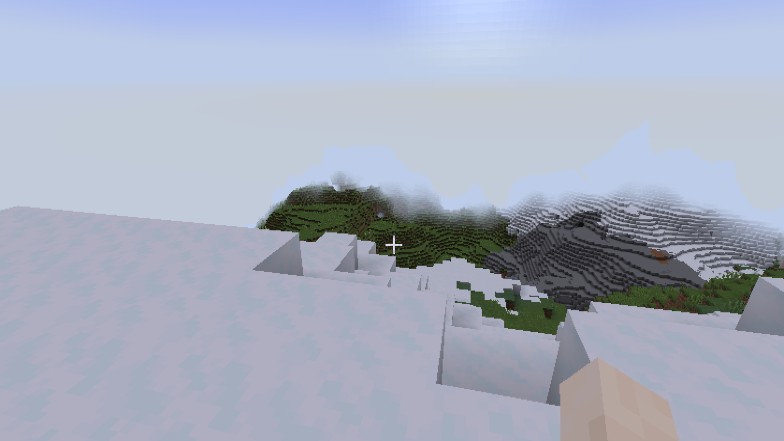
Since the mountains and caves update came out, cavernous environments feature different vegetation, and mountains have a broader figure. So, one can notice that biomes in Minecraft are constantly under upgrades and improvements.
Now, let’s cut to the chase and discuss how to turn a Taiga biome into a Snowy Taiga one.
Turning Biomes
When thinking about changing biomes in Minecraft, you might have a few options on how to do it. For instance, changing a desert into a forest is possible by manually placing grass chunks, vegetation, and water. But, will it actually turn into a forest?
The answer is no.
When you manually change a desert into a forest by replacing blocks and visually recreating the scene, you’ll only be affecting it externally. So, don’t expect it to start raining differently or spawning new mobs only because it looks like a forest now.
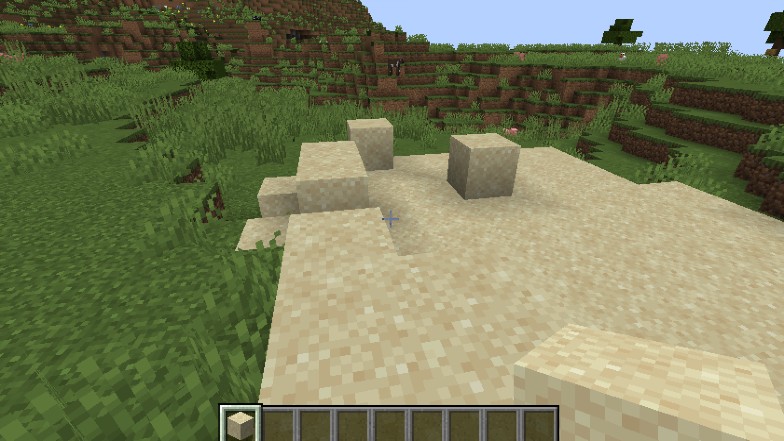
Unfortunately, Minecraft does not offer any artifact or instrument to change biomes with in-game logic. Still, there are external alternatives to change a world’s biome in Minecraft. However, as they are not in-game options, you need to download them since they qualify as mods.
Let’s check out two of the most reliable mods most players use to manipulate their Minecraft world and biomes.
WorldEdit
WorldEdit is a Minecraft map editor that works quickly inside the game.
In this sense, you’re able to alter map information during gameplay. However, this alternative only works with Minecraft’s Java version.
Of course, as most Minecraft mods, you need to have Minecraft Forge or Fabric to implement this mod into the game. Additionally, to use WorldEdit during gameplay, you need to have cheats turned on.
This mod is very straightforward. For instance, to use it during gameplay, simply type in a text command and voilá. Now, let’s see its specific role in changing the map’s biome.
To change the world’s biome in WorldEdit, you need to double-slash in the text bar and type in “wand”. Then, select it, and make sure to equip it in the player’s hands.
After equipping the wand in the player’s hands, start planning the area where you want to change the biome. Now, you need to select a block from the ground and left-click on it. Make sure the block is somewhere on the border of the area you want to change the biome.
Keep in mind that you’ll be marking a chunk of land when you’re selecting the area. If you want to know more about chunks in Minecraft, you can read one of our previous articles.
Then, you’ll need to go towards the opposite border of the area you picked and right-click on one of the blocks over there. In this sense, you’ve selected two blocks from both extremities of the area, claiming the space between them.
The next step is to double-slash and type “setbiome”. After just typing that, a list of biomes will appear, and you’ll be able to select between badlands, badlands plateau, bamboo jungle, basalt deltas, beach, birch forest, savanna, cold ocean, and crimson forest.
The next step is to rejoin the game. After logging again into the world, you’ll be able to see the new biome in the area you’ve set.
Still, this method only works for PC. But, you can still change biomes in the Minecraft Bedrock Edition. Let’s see how.
Changing Biomes in Minecraft Bedrock
In the Bedrock Edition, the process is a bit different. Still, it uses an external mod to work, which is known as Blocktopograph.
Using Blocktopograph is considerably more manageable since the mod is pretty straightforward. For instance, a map of your current world will appear while selecting the “Biomes” segment in Blocktopograph.
From then on, you’ll be able to click on the “Begin Selection” button and mark the area you want to change biome.
Then, simply selecting and dragging the horizontal and vertical lines will provide you with the space you expect.
After the area is defined, select the “Change Biome” button and choose one from the list.
Consequently, the marked area will appear different when you log back into the game world. However, it’s crucial to be aware that this method does not work after version 1.17 also called the Nether update.

