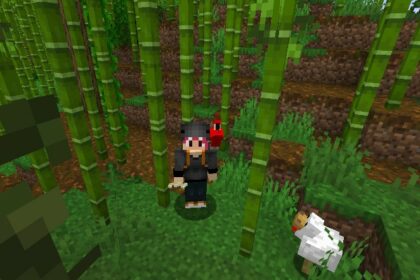
When playing on multiplayer Minecraft servers, it’s nice to stand out. The best way to do that is by having a good character skin that represents your style.
Changing your skin in Minecraft can be different depending on the game version you may be playing. Luckily, it is as easy as changing your Minecraft username.
In this article we will help you navigate this quickly and easily. Here’s how to change your skin in Minecraft.
Changing Your Skin in Minecraft Java
Minecraft Java is the more popular and standard version of Minecraft. It is also the PC exclusive version of Minecraft, making the settings a little different than the other versions.
To change your skin in Java Minecraft you will have to open your launcher.
In the launcher you will see several tabs available both on the left panel and at the very top of your window. With Minecraft Java Edition selected, navigate to the skins tab.
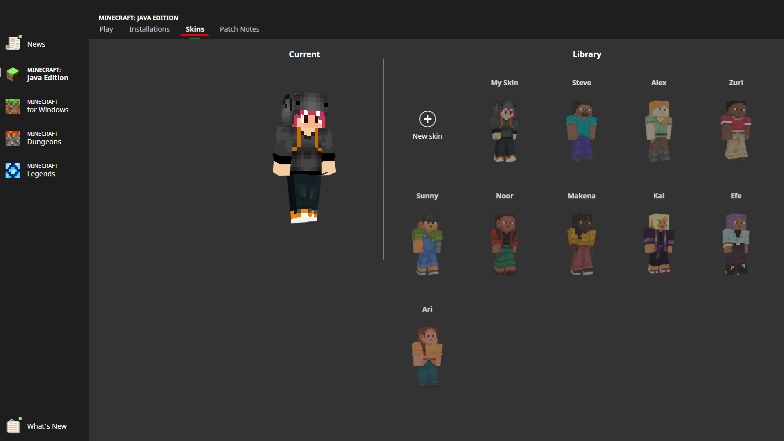
Here you will see multiple different skins already available for you to choose from. You can equip any of these skins by hovering over them and clicking the ‘Use’ button.
These skins are available by default for all Java users.
You can also duplicate and edit them if you wish to do so. You can add capes to every skin you have available.
To add a custom skin you will have to click on the ‘New Skin’ button with the plus icon.
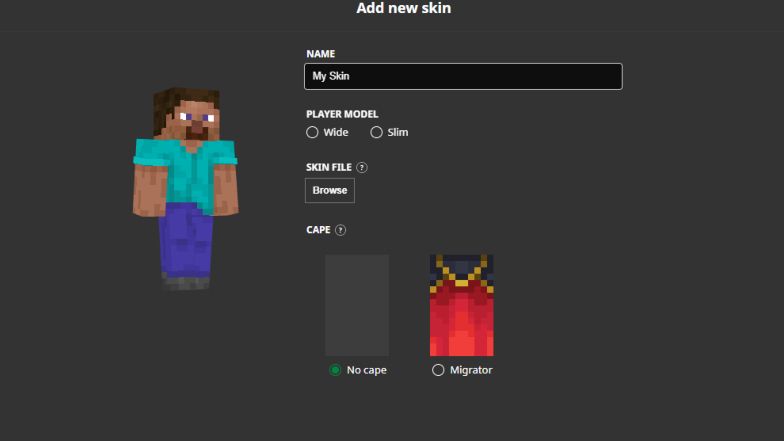
You will need to have a .png file of a skin ready. You can make one of your own or simply download it online from websites like minecraftskins.com.
In the new skin window name your skin and then click ‘Browse’ to import your skin file.
Once imported, you can edit if you want the player model to be standard sized or slim. You can also add a cape.
The cape will not interfere with your elytra and it won’t change how it looks in game.
Changing Your Skin in Minecraft Bedrock
To change your skin in Minecraft Bedrock you will have to actually launch your game, rather than doing it in the launcher.
When in the main menu, you will see your currently equipped skin on the right.
Under it there is a button that says ‘Dressing Room’.
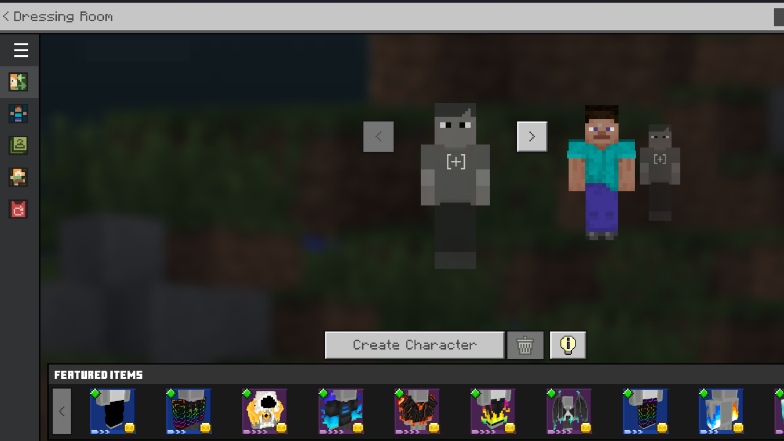
Once here, there are several different things you can do.
On the left side you have several different tabs, each giving you different options.
Minecraft Bedrock has an exclusive store so you can purchase and equip skins from the store directly in the menu. You will see currently featured items for purchase right under your available skins on the first panel.
Selecting a gray-looking character and clicking on the plus sign will allow you to import your own skin, just like in Java, or create a skin directly in the game.
There are other ways to change your Minecraft skin in this menu, though. Each tab has a unique option or function.
The second tab allows you to create your own skin directly in the game, by offering you different models and textures to choose from and color.
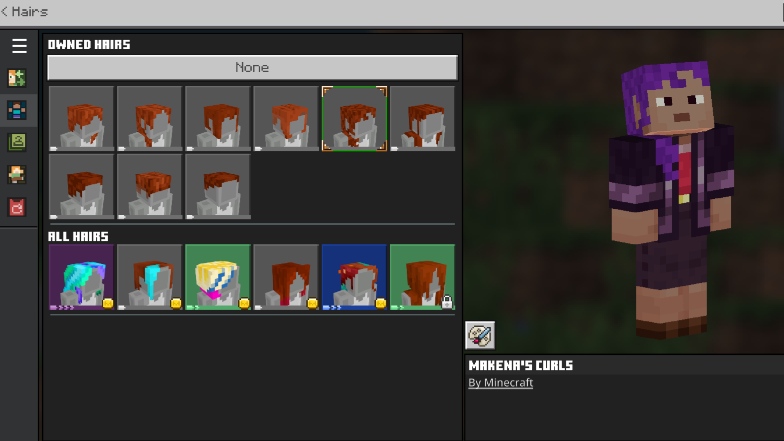
The third tab offers you classic skins which you can purchase.
The fourth tab is where you can purchase and equip different emotes that you can use in multiplayer servers or realms.
The fifth tab is for equipping capes.
What to Do Next
Now that you can import various custom skins to your game, you can explore another use for them. Other than showing off in multiplayer to your friends, skins can be used for generating custom heads.
Many players use their skin designs to create custom heads for decorating their world in various ways.

