Minecraft has various mechanisms that mimic real-life behavior as a sandbox survival game.
For instance, the level of detail in applying some physics to liquid matter and chemical reactions, and the vastness of the world and its biomes makes the game stand out.
One of the most important survival mechanic may be lighting.
You can make different light sources in Minecraft, but it is important to understand how lighting works in the game.
Here’s how to see light levels in Minecraft and, more precisely, how the lighting mechanism works.
What Are Light Levels in Minecraft?
As basic knowledge, it’s worth understanding that Minecraft has different light levels.
Any illumination source has a fade-out texturization depending on the distance.
The lighting in Minecraft behaves realistically. To pursue better immersion, the game uses different layers of light textures.
For instance, any structure five blocks away from the light source gets less bright than anything at a distance of two blocks from the same light source.
Therefore, a spot can receive maximum lighting, and a further point gets minimum lighting.
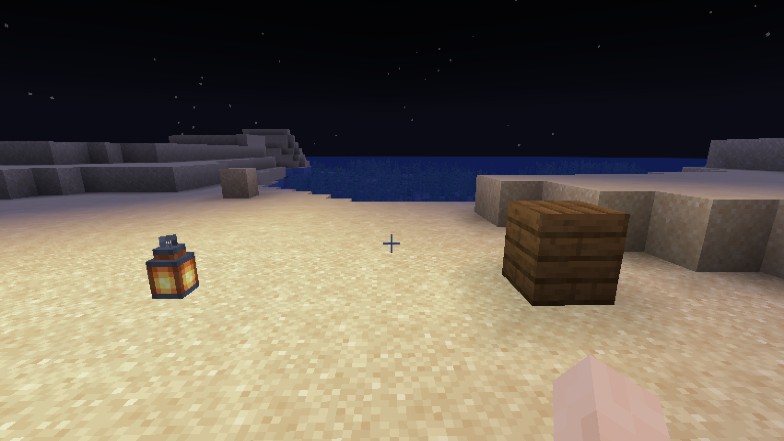
Yet, there are different light levels in the distance from the most bright area to the less one, making soft layers.
However, it’s vital to understand that diverse light sources can produce different luminous intensities, having variations in the number of light levels. For instance, a standard torch emits a different brightness than a lantern.
Let’s discuss the many light sources in Minecraft and how far they can stretch.
Light Sources in Minecraft
The game’s light mechanisms don’t restrict themselves to blocks such as lanterns and torches.
For instance, the sky’s light behaves differently throughout the in-game day. Additionally, there are also light-filtering assets in the game.
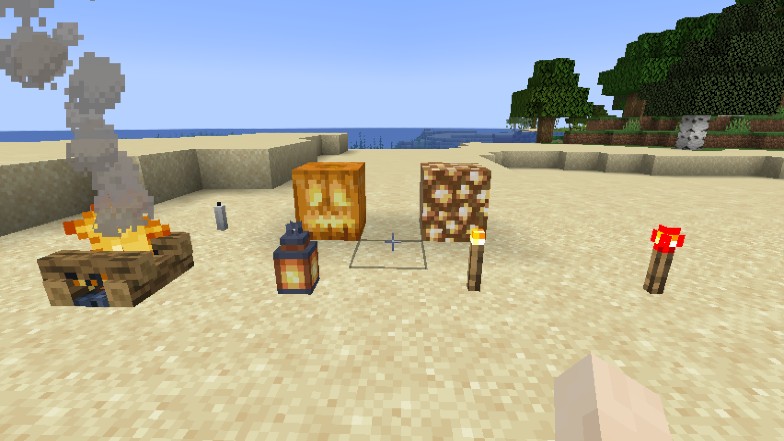
Now, let’s see the main light-emitting blocks in Minecraft and how far their luminosity can reach (light levels).
- Campfire – 15
- Fire – 15
- Glowstone – 15
- Jack o’ Lantern – 15
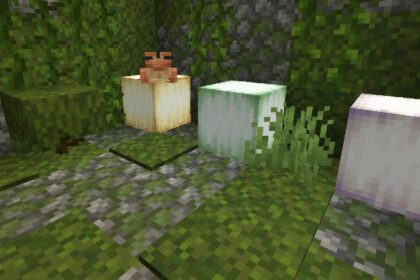
- Froglight – 15
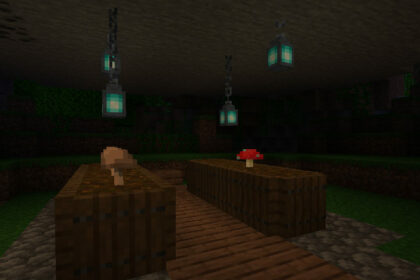
- Lantern – 15
- Redstone Lamp – 15
- Sea Lantern – 15
- Torch – 14
- 4 Candles – 12
- Soul Campfire – 10
- Redstone Torch – 7
Now, it’s also essential to understand how the light travels in Minecraft, which impacts the number of levels a source will have.
For instance, the surrounding blocks can react differently depending on where you place the light source.
In Minecraft, the light spends one level for each block it travels. So, if you place a torch on a wall one block above the floor, then the floor block in front of it will get light level 12; in this case, by going one step downwards and one more to the side, the light will spend two levels.
Moreover, Minecraft light levels don’t affect visibility only, and the light sources aforementioned can be valuable for different reasons. Let’s discuss them.
The Role of Light Levels
Apart from visibility, light levels in Minecraft can be highly vital in farming and base-building. For instance, a convenient approach to avoid night mobs spawning inside your base is to fill it with torches or lanterns.
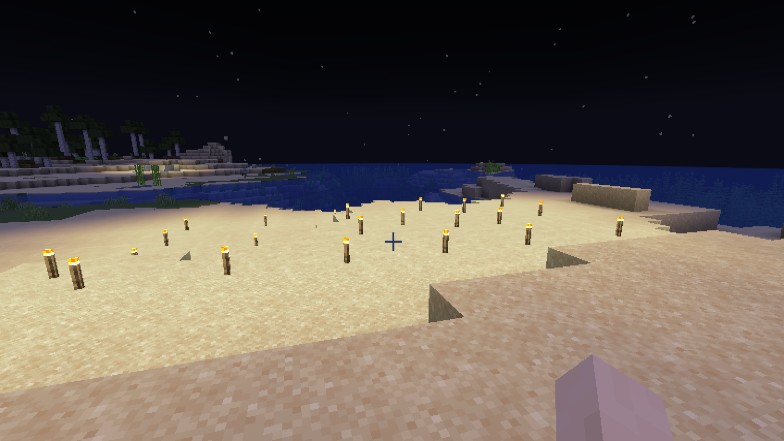
Light works against enemies, making their spawn work mostly around dark places. Nevertheless, let’s lay out some common mobs and the light levels that they spawn in.
- Zombies, Skeletons, Chicken Jockeys – 0
- Phantoms – Up to light level 7
- Bats – Up to light level 3
- Creepers, Witches, Drowned – 0
- Spiders, Cave Spiders, Spider Jockey – 0
In addition, light levels can also positively impact your farming activities, especially the growing of crops. However, in this case, the essential type of lighting you’ll need comes from the sky; without it, crops won’t naturally grow.
The exception with this are mushrooms, which actually grow in little to no light.
The sky’s light level can vary throughout the day, depending on external factors. So let’s see how it behaves.
- Noon, clean weather – 15
- Noon, rain or snowfall – 12
- Noon, thunderstorm – 10
- Midnight, clear weather – 4
Furthermore, not only do light levels interact with mob spawning and plant growing in Minecraft, but it also defines the development of some particular blocks.
For instance, ice and snow can form depending on the light level.
Smooth Lighting
Even though smooth lighting is a video parameter that doesn’t affect the game’s progress, it’s essential to spot differences in light levels.
The overall graphics will improve when toggling smooth lighting in the game’s video settings, resulting from shadow optimization. Hence, one will spot textural differences between light levels better, making it somehow more realistic.
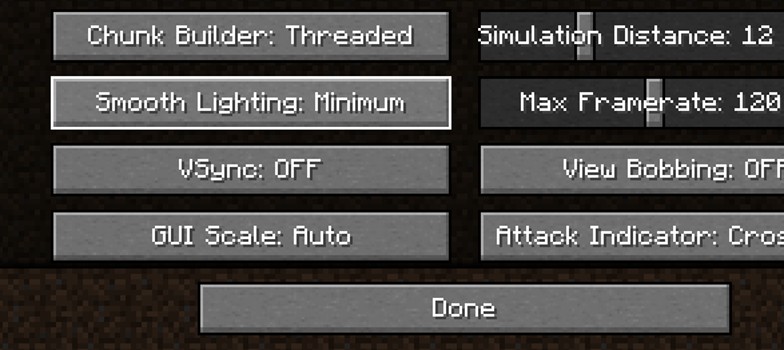
On a side note, this property, when active, can negatively impact the computer’s performance, especially with a wide FOV.
Although one can visually understand what light level they’re looking at just by memorizing the texture density, that’s not always the case. Depending on the internal structure, figuring out the brightness on different parts of a space can be pretty tricky.
Additionally, setting a different brightness on the video settings can also make it troublesome to see light levels ideally.
Therefore, Minecraft allows for an in-game function that contains specific information about light levels, which you can use anytime.
Light Levels Command
The command to see light levels in Minecraft, which also enables you to see tick speed, works pretty quickly and provides valuable information on an intuitive display.
By pressing F3, the debug screen will appear containing a “Light source” in the bottom part of the debug menu.
So, in the debug menu, every piece of information concerning light levels, ranging from 0 to 15, will appear regarding the block your in-game character is looking at.

For instance, regardless of how distant you are, staring at a block right next to a lantern will result in light level 14. Then, the light level will drop if you move the character’s view to somewhere further away from the lantern.
Consequently, accessing it will enable you to see brightly lit areas and sites that lack lighting. This way, you’ll spot regions that can foster a mob spawn point for being too dark.
What to do Next
Now that you understand how light levels work, perhaps you are in a situation where you wish to hide your light sources, for instance if you are on a public server.
You need a light source in your base, but don’t want it to be seen from the outside. Then you definitely need tinted glass.

