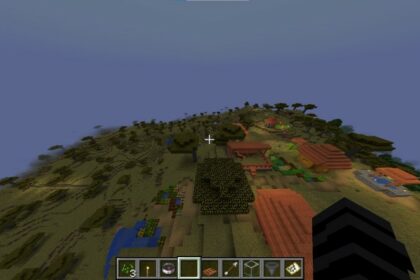
Traveling through Minecraft’s beautiful landscapes is a true joy, but once you get settled down it can become hard to continuously traverse certain terrain and environments.
Whether there is a river coursing through your fields or you want to live on the edge between two mountains, a bridge is always needed somewhere. Though, building just a straight line of Dirt from one edge to another doesn’t always look really nice.
Knowing how to build a nice looking bridge in Minecraft can help make your builds really pop and the journey over them that much more enjoyable.
I enjoy building bridges to connect parts of my Villages or making ominous looking ones crossing the deep moat that surround my castles. Truly, there can be a bridge for every build and situation.
Building a Small Bridge
Not every spot you wish to cross will be a large ravine. Sometimes a few short blocks of Water are better crossed without getting your feet wet.
A small bridge can be very nice additions to gardens or even regular footpaths.
My favorite small bridge design is pretty straight forward. All you will need are some Campfires and Spruce Trap Doors.
Place your Campfires one next to another so that the logs in their pattern align together. It helps if you are placing them from the side as you’re placing them over the Water. Then, once you connect them from one end to another extinguish the campfires.
You can do this with a Bucket of Water or just by hitting it with a Shovel.
You will be left with what looks like a very simple man-made bridge. This looks completely good on its own, but you can use Spruce Trap Doors on the sides to add a bit more security when crossing.
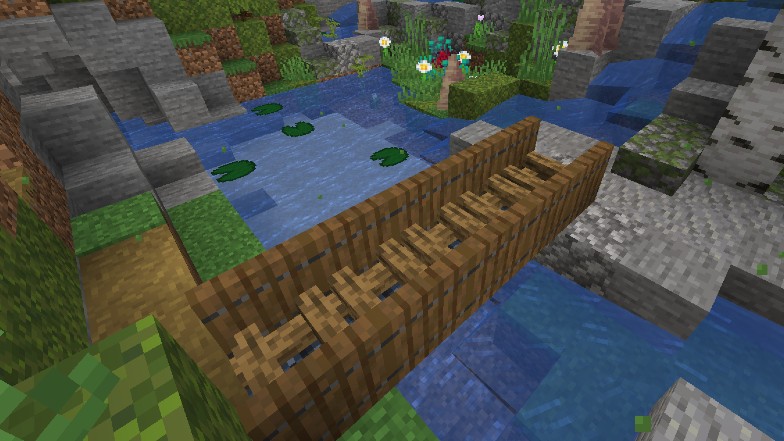
These types of small bridges work perfectly in a pond garden that surrounds your Japanese Minecraft house.
If you have a slightly bigger crossing, you can stick to using Slabs and the same Trap Doors.
Slabs allow for a very gentle and small curve to be added to your bridge, unlike Stairs that would leave it looking unnaturally high.
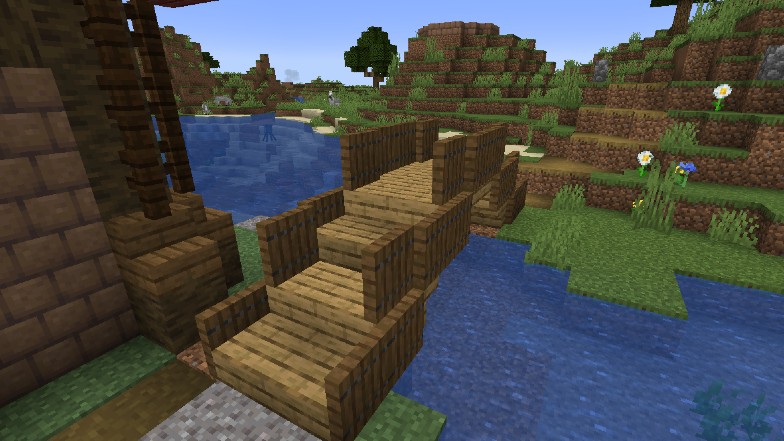
Not a lot of details can be added to a bridge this small in size.
Just like with the other design I use Spruce Trapdoors to make the railing and what helps here is alternating what side you place the railing from; outside or inside the bridge.
This gives some variation and does not make it seem as blocky and straight.
Building a Medium Bridge
A medium bridge can be the perfect thing you need to cross a smaller River or Ravine. Before you start, pick out what material you want to build your bridge. Do you want it to be Wooden or from Stone, or maybe want a mix of materials?
Once you have your materials ready, pick out what kind of design you want. Again, we are keeping this a manageable size and therefore the design does not have to be complex.
Try thinking if you want it to have a smoother or steeper curve or perhaps a roof to keep you in the shade while you cross. Maybe street lamps on either side along with the fence would be a good idea?
A good way to start the bridge is by using your chosen material to make a single line connecting one piece of land to the other. That means also making the curve, using your Stairs or Slabs.
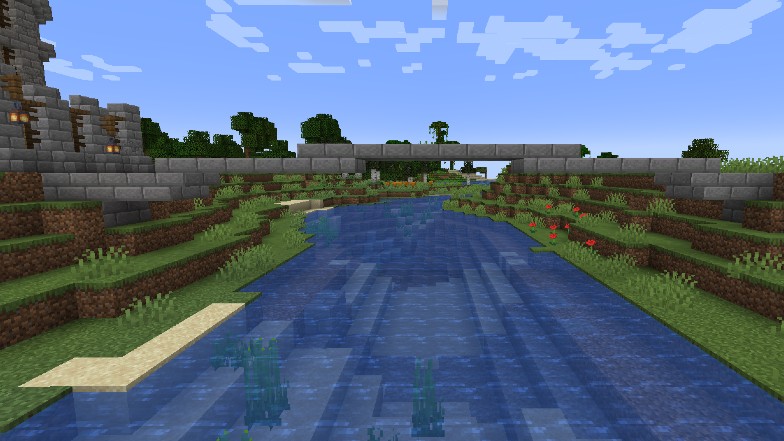
Once you are happy with how the curve looks, expand on it. Do not worry about making it too wide, because you will have to take into account a row on each side for the fence on the bridge.
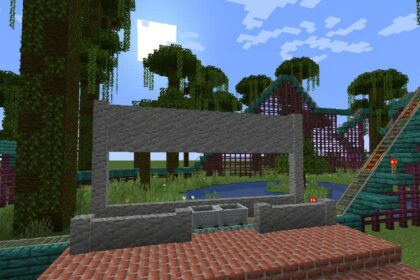
This stone bridge is a perfect way to reach my small castle in my Minecraft world. It just really goes to show how versatile bridges are and they can be used anywhere you may need.
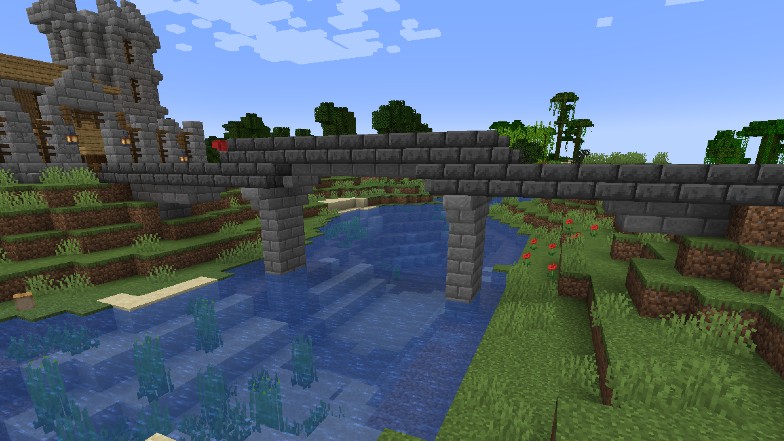
If you are building a Wooden Bridge follow the same process. However, with a wooden bridge you can expand even more and instead of having lamp posts on the side consider adding a whole roof above the bridge.
I like to use a mixture of Logs and Fence Posts for the supporting beams beneath the bridge and then for the poles that hold up the roof. For the roof cover over the bridge I use a mix of Azalea and Jungle leaves.
On the sides I use either Spruce or Jungle Trapdoors because they look nice for a railing on their own, instead of just plain Fences.
Finally, add random hanging Lanterns to give it an almost fairy like look.
Building a Large Bridge
A large bridge is perfect to connect canyons between mountains or even parts of the Nether, though it can be tricky to make them look good. Too wide or too thin and they look awkward. You also want to avoid too big of a curve, as these types of bridges wouldn’t really have them.
The gap that I will be building my bridge across is around 30 blocks long and the drop underneath it is huge.
Because it is so high up, this means that the pillars which I place my bridge on will have to be pretty big in size.
My materials will be a mixture of stone and wood. I first connect one edge with the other using just Stone so I have a safe spot to build on. Then, I start building the curve of the bridge.
For this one, I use only Slabs and no Stairs, placing a step once every 7 blocks. You can alter this depending on what kind of landscape you are working with personally, but always make sure that your Slabs end the curve on the top end of a block so you can build on top of them.
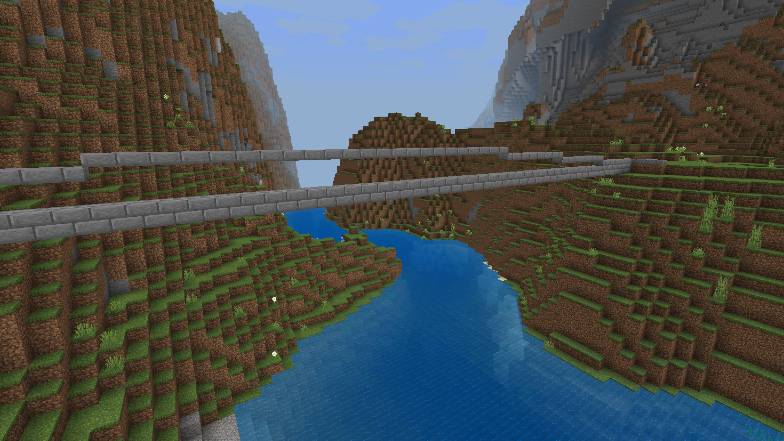
Once I am happy with the curve I will expand it, making the bridge 7 blocks wide in total.
I use both Oak Logs and Dark Oak Fences to make the railing for the bridge, with Spruce Trapdoors on the outsides. I will also be using the Oak Logs to make the support beams underneath the bridge later on, to keep consistency.
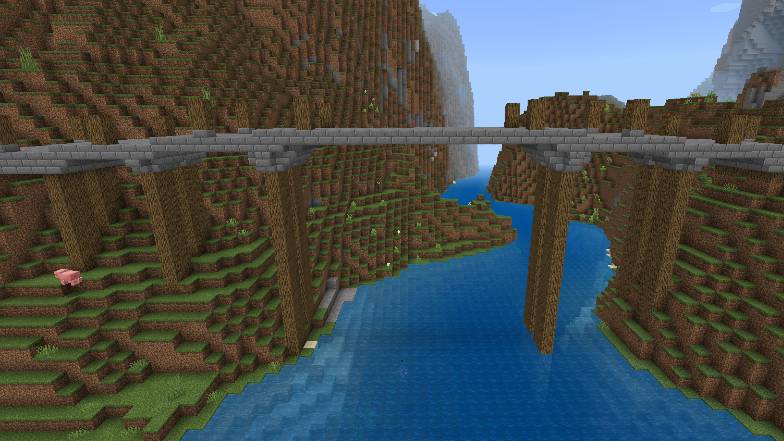
Place the Oak Logs every few blocks between the fences, but not too close to each other. Mine are spread a bit farther apart because I use them as the base for my street lights later on, with 7 blocks apart between each.
The underside of the bridge also deserves some detail. I firstly make the curve look smoother on the underside. This is where you can use both Stairs and Slabs however you feel is right.
For the beams that hold up the bridge I will be using 2 Oak Logs for each. Because the drop beneath the bridge is so big, I only put a total of 10 beams. I will not be putting any directly under the middle of the bridge.
They do not look symmetrical, as one side completely rests completely on the mountain, but from afar the bridge looks stable enough.
To make the bridge look stable in the middle I use Dark Oak Fences to make a support system between the beams that connect to the bridge.
In the end I add details by making the bridge seem a bit worn down. To achieve this use Stairs instead of full blocks and replace the Stone Bricks with Mossy Stone Bricks and Cracked Stone Bricks in some places.
Removing some Lanterns and leaving the Chain also helps sell the look.
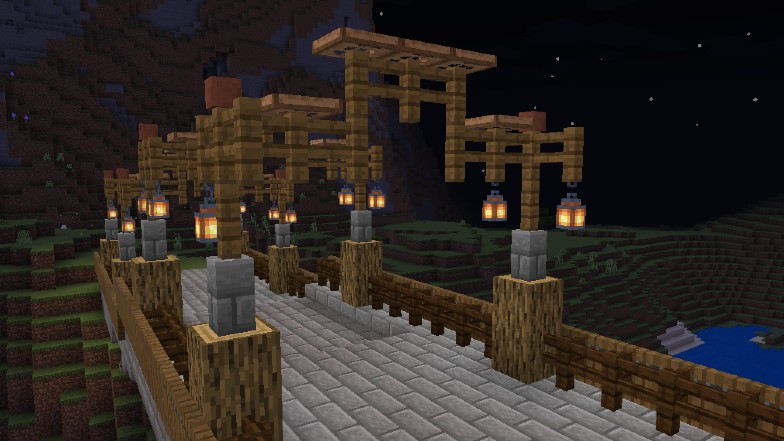
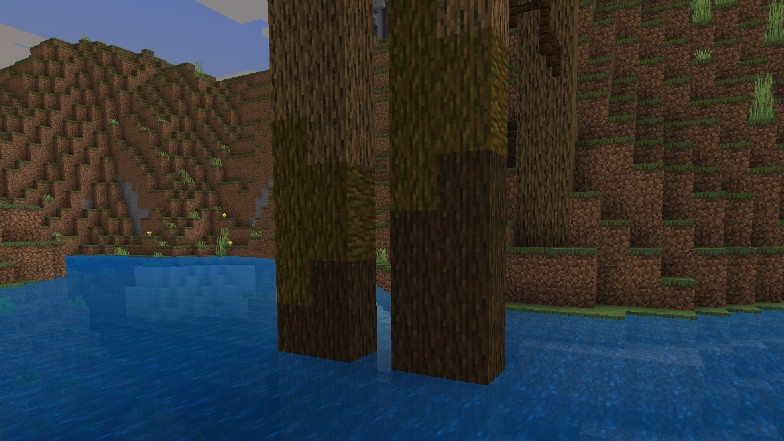
Finally, a detail that works really well for a bridge over Water is using different types of Logs to make the support beams look wet.
Here, because the support beams are made of Oak Wood, I used Dark Wood at the very bottom of the beam that was directly in the water and then Jungle Wood to make it seem like the wetness was fading.
With all that the bridge is done. You can always add in more details, but those would be the basics.

