Set in the haunting Sunlit Wetlands, the quest to save Mayrina is remarkable. It gives players a taste of the Feywild’s dark side.
Your choices can have profound repercussions on the story’s direction, making it an unforgettable journey through the world of Dungeons and Dragons.
Find below all you need to know to deal with Aunt Ethel and save Mayrina in Baldur’s Gate 3.
Intervene in the Quarrel
To begin this quest, you must navigate your way to the Sunlit Wetlands via the Blighted Village. Here, you’ll stumble upon a heated dispute involving two brothers and Auntie Ethel.
Choosing to align yourself with the brothers against Ethel will reveal her deceitful nature. The brothers claim Mayrina, their sister, has been abducted by Ethel, igniting the quest’s central conflict.
Riverside Teahouse

Venture into the Riverside Teahouse, where a dialogue unfolds between you, Auntie Ethel, and Mayrina.
Ethel proposes an unsettling trade: she offers to remove your Mind Flayer Parasite in exchange for one of your eyes.
Politely declining her offer is wise, as accepting it may hamper your abilities in future battles. Accepting her help leads down a path of regrettable consequences.
You will need to sacrifice an eye as Ethel’s claws dig into your skull, removing the eye and replacing it after a chilling ritual.
The restored eye turns green and grants you a permanent debuff called “Paid the Price.” This means you will always have a disadvantage on Perception checks and prevent you from ever having a critical hit again.
There’s more. Ethel is not able to remove the parasite. Ultimately, you are left with a permanent debuff and doomed to turn into a mind flayer.
Ethel’s Lair
Following your interaction in the teahouse, Ethel seizes Mayrina and vanishes.
An illusion conceals a passageway behind the teahouse’s fireplace, leading to Ethel’s basement hideout, the Ancient Abode.
The deeper areas of the hideout are behind a door that looks like a face. It’s an illusory door, so you can just walk right through it.
You can also equip one of the masks Ethel forces her subjects to wear. Unfortunately, these masks make the user vulnerable to Ethel’s spells.
You and your party members might end up being controlled by Ethel. In order to avoid that, make sure to cast Protection From Evil and Good before equipping these items.
The hideout is annoying to navigate and has many traps. There are dangerous sections with deadly gas all over it.
However, if one of your party members can cast Feather Fall, just jump all the way to the bottom.
If you don’t have a party member with that spell, make sure you carry a Feather Fall scroll. It will make this section much easier.
Defeat the Hag
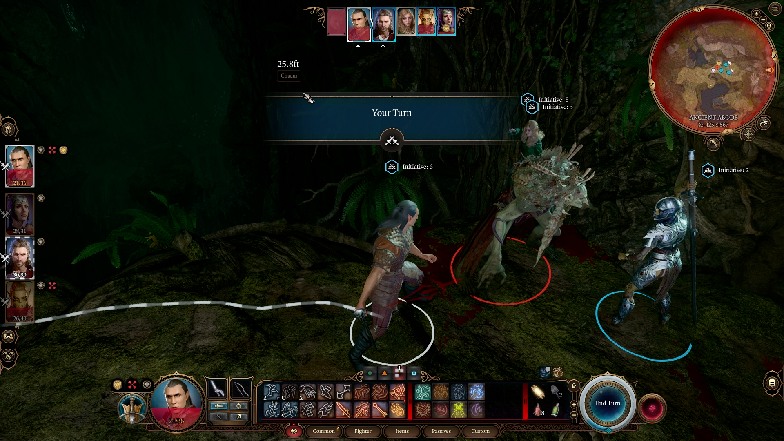
Prepare for a showdown with Auntie Ethel in the Ancient Abode. Ethel’s ability to create clones of herself during this battle complicates matters.
You can get rid of her clones by making sure you hit them. Therefore, make sure at least one of your characters can cast Scorching Rays or Magic Missiles.
If you take too long to take down the Hag, she will turn into Mayrina and will try to trick you into attacking the woman. Later, she will become invisible.
Try to dump everything you have on her as soon as you get rid of her clones. Use your best attacks, all your superiority dice, and the most powerful spells.
Decide What to Do With The Hag

As the battle with Ethel nears its climax, she pleads for mercy. Here, your choices weigh heavily.
You can choose to spare her, accept her power offer in exchange for Mayrina, or deliver the final blow.
Each choice leads to distinct outcomes, shaping the resolution of the “Save Mayrina” quest.
There’s a way to both get her offer and save Mayrina as long as you can intimidate the Hag. However, once you do that, Ethel promises she’ll be back for you one day.
Ethel’s Workshop

Explore Ethel’s workshop after defeating her. Uncover a trove of valuable items, including the coveted Bitter Divorce wand, capable of raising the dead.
This room really shows how many people were tricked by Ethel. It also has a portal that takes you to where Mayrina and her deceased husband are.
Mayrina’s Husband
Return to Mayrina to discuss her husband’s resurrection.
If you grabbed the Bitter Divorce wand, you have the option to bring her husband back to life. That said, the wand was made by a hag, so there is always a catch.
If you do decide to use the wand, he will come back as a zombie, and Mayrina will be very mad but will want her husband back anyway.
You can give her the wand so she can leave with him or keep it and have a temporary zombie ally.