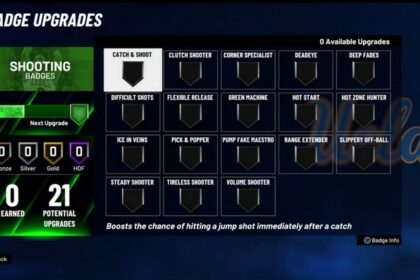
There are multiple factors involved when building your player in NBA 2K21.
Every part in the build creator is connected to each other and it is best to start creating your player when you already know the details. Information is key.
This guide will breakdown the details of each step and how it can impact your player moving forward. You will be able to learn how to build your player in NBA 2K21 as efficient as possible.
Choosing Your Takeover
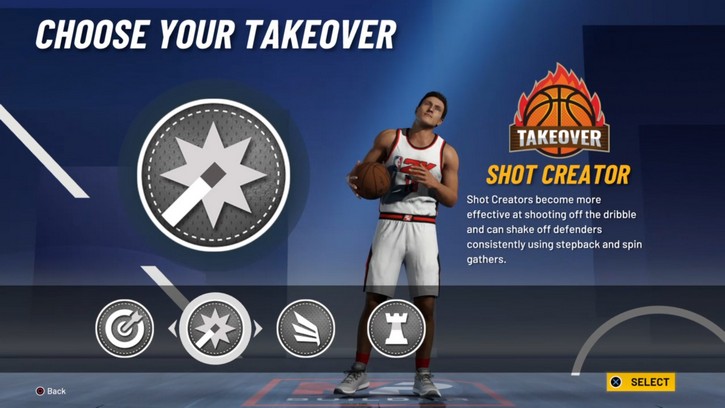
There are a total of 8 Takeovers in the game. The options will vary and will depend on your position or your build. These are all the Takeovers available in the game. The only difference from NBA 2K20 is that they reworded Defending, Sharp Shooting and Rebounding to Lockdown Defender, Spot Up Shooter and Glass Cleaner respectively.
- Slashing
- Lockdown Defender
- Rim Protector
- Glass Cleaner
- Spot Up Shooter
- Playmaking
- Shot Creator
- Post Scoring
The Takeover is a special mechanic in the game that can help you boost your game even more. You will try to fill up a meter by consistently playing well and it will decrease if you make mistakes. The more popular basketball slang for it is “heat check” where players starting to get rhythm will consistently perform better. Once the Takeover meter is around 3/4 or full, you can press the R3 button to activate your chosen Takeover for your player.
This Takeover will increase your overall stats by 5 and 10 ratings depending on your Takeover. If you have the Playmaking Takeover, you will definitely increase your Ball Handling, Pass IQ, Speed With Ball, Passing Accuracy and Vision by 10 ratings each. The best thing about Takeovers is their ability to make you surpass the 99 rating limit. If you already have a Ball Handling rating of 99, it still increases by 10 with the Takeover and pass you over the limit with a 109 Ball Handling rating. The best Takeovers are discussed more in this separate article.
Choosing Your Skill Breakdown
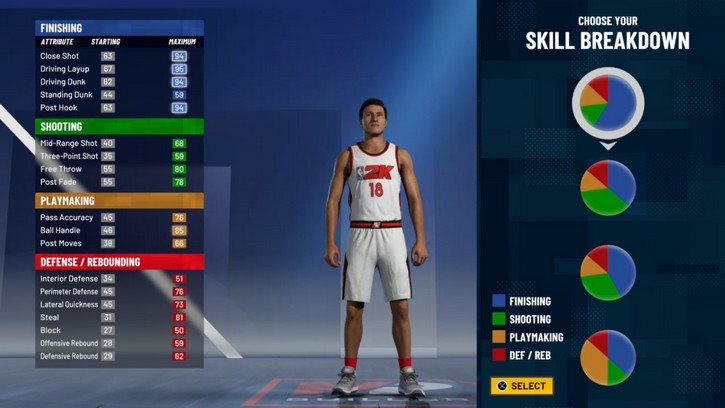
Choosing your skill breakdown is the first step in determining what kind of player you are going to be. You should choose carefully and determine what kind of player you want to create before choosing one. Adjustable player stats are divided into 4 categories which are Finishing, Shooting, Playmaking and Defense and Rebounding.
There are multiple pie charts to choose from and all of them will limit your attributes because you basically cannot excel in all facets of the game. With the amount of choices available for the skill breakdowns, you will be able to choose on getting above 90 ratings on attributes for at least 2 aspects of the game.
For example, you can get 90+ ratings on finishing inside the paint which will be Close Shot, Driving Layup, Driving Dunk and Post Hook. While having these 90+ ratings on those attributes, you can also get 90+ ratings on Mid-Range Shot, Three-Point Shot and Free Throw which is the combination for the shooting aspect of the game.
Doing this will mean that you will sacrifice on only getting around 50-70 ratings on the rest of your attributes not involving finishing and shooting. This will make your player sort of a specialist in the game and combining badges to compliment it will make you even stronger on those specialties.
My personal choice is to go around 85-89 ratings on two aspects of your game and become a specialist while sacrificing less to gain a respectable 75 ratings on the other statistics and ignore the useless ones such as post moves, post hooks, standing dunk, rebounding and blocking for a short slashing or shooting guard.
Setting Your Potential
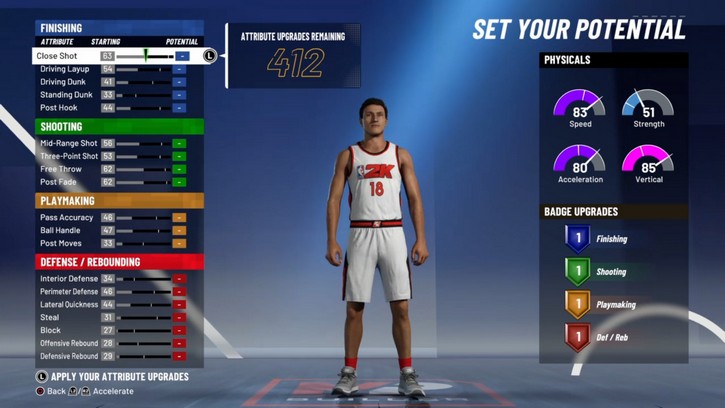
Setting your potential is all about putting your skill breakdown into writing. The skill breakdown you chose will be the main factor in inputting the limit of your attribute upgrades. Choose the ones you planned on building when you were choosing your skill breakdown.
You will not be able to max out your potential right at the start but you will be able to increase this as it is purely based on your potential skill. The higher you increase your potential in a particular category, the higher your badge upgrades can go in that specific category. If you have your Defense and Rebounding have at least 80-90 limit to your rating, you can have as much as 25+ badge upgrades to Defense and Rebounding.
This is a great way in determining which attributes to min-max. You can choose which badges you want to have and compute it before distributing your attribute potential. If you are a slasher guard and you only want around 12-15 finishing badges, you can max out Close Shot, Driving Layup and Driving Dunk while leaving Standing Dunk and Post Hook untouched. If you need more finishing badges, you will have to put stats on those useless attributes to gain more badge upgrades.
Choosing Your Physical Profile
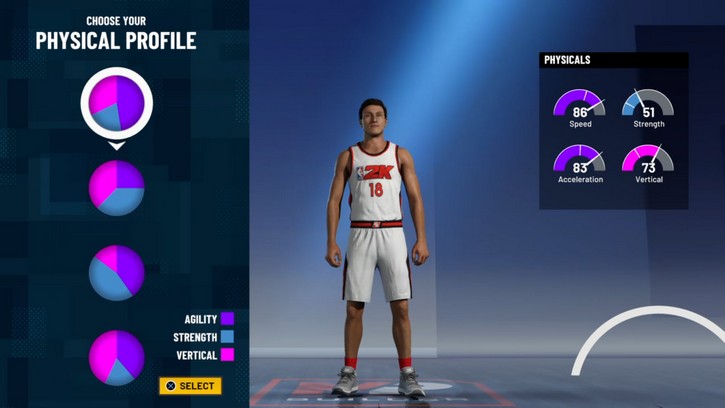
Choosing your physical profile is easier than choosing your skills breakdown. There are only 4 stats to worry about. Speed and Acceleration have an inverse relationship with Strength and your Wingspan. Vertical has an inverse relationship with your height. Speed and Acceleration are crucial for guards and forwards so if you have no intention of going to the post to score or defending the post, having strength is not that efficient.
Same goes with power forwards and centers who play mostly inside the paint although they could also benefit from having a bit more of Speed and Acceleration. Keep these in mind when choosing your physical profile. Your body type, wingspan and height all affect your physicals and you should also take them into account.
Conclusion
Everything mentioned in this guide are connected to each other. It is best to read everything first and trying to come up with a certain build in mind before creating your player. VCs can be hard to come by and you should definitely make sure that you are completely certain about your player’s build before playing them. You can build multiple players and try them out first before you settle and choose a main.

