Looking for the best M1 Garand loadout in Call of Duty: Vanguard?
In this comprehensive guide, I’ll show you the best attachments for the M1 Garand as well as some viable alternatives that you can make use of to build this rifle to your particular in-game needs.
If you’ve played Black Ops Cold War or Warzone, you would have heard of the DMR-14. Yeah, that insanely overpowered weapon that used to be insanely overpowered. Well, the M1 Garand is pretty much a replica of that – and maybe an even better one.
Without further ado, let’s take a look at my favorite M1 Garand class setup in Vanguard.
Best M1 Garand Loadout
This particular M1 Garand build focuses on improving the weapon’s overall firepower, accuracy, and ammunition. You’ll see all those improvements at the expense of a reduction in movement speed, but since this rifle is made for medium to long-range engagements, chances of you using this gun point-blank or in very close proximity to someone are very unlikely.
- Muzzle – F8 Stabilizer
- Underbarrel – Heavy Foregrip
- Barrel – Cooper 21″ Shrouded
- Magazine – .30-06 16 Round Drums
- Ammo Type – Lengthened
- Optic – Cooper S MI
- Rear Grip – Polymer Grip
- Stock – Chariot S3 TC
- Proficiency – Vital
- Kit – On-Hand
Continue reading to see why I picked these particular attachments and what impact they’ll have on your weapon. Besides, as I mentioned above, I’ll also provide some feasible alternatives to the attachments that I picked in case you’re looking for a more mobile M1 Garand loadout.
Muzzle – F8 Stabilizer
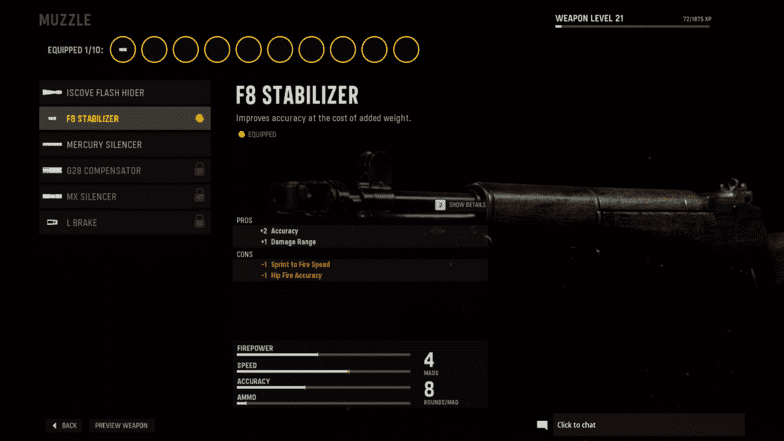
As my goal with this rifle is to make it as accurate and powerful as possible, the only muzzle that made sense to me was the “F8 Stabilizer”. With this attachment, you’ll see an increase in accuracy and damage range by 2 and 1 points respectively. The great thing about it is that you’ll also unlock the “F8 Stabilizer” at weapon level six.
On the downside, you’ll see a decrease in the sprint to fire speed and hip-fire accuracy by 1 point for each. Since this build doesn’t focus on running and shooting everyone down from close range like our run and gun loadout, these cons are acceptable.
Potential Alternative: If you don’t fancy taking a hit when it comes to mobility, you could go for the “G28 Compensator” muzzle, which you’ll unlock at weapon level 37. All this attachment does is boost your recoil control by one point. There are no cons to using it.
Underbarrel – Heavy Foregrip
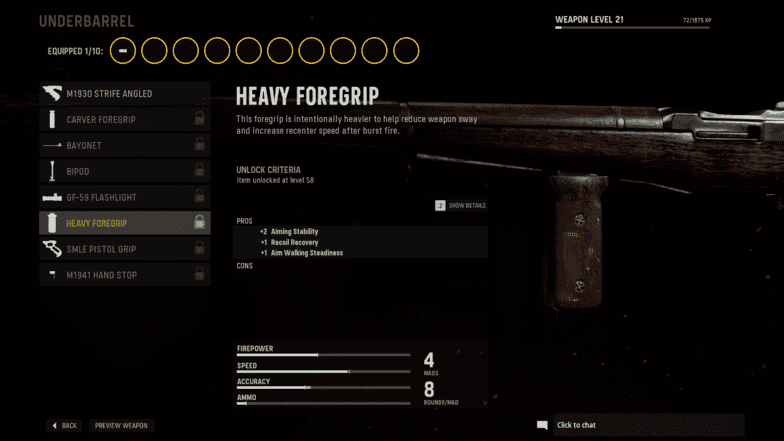
Again, as we’ll be gunning down opponents from a decent distance, ensuring we have the best possible accuracy and precision are of utmost importance. For that reason, I went for the “Heavy Foregrip” underbarrel.
Though you’ll unlock this attachment once you reach weapon level 58, it’s totally worth it. You’ll see an increase in aiming stability, recoil recovery, and aim walking steadiness by two, one, and one points respectively. There are no downsides to this attachment.
Potential Alternative: If your plan is to build a more mobile and quick in terms of sprint to fire speed M1 Garand, then it’s definitely worth waiting for the “Smile Pistol Grip”.
This attachment will be available once you reach weapon level 65 and will increase your sprint to fire speed and hip-fire accuracy by two and one points respectively.
The only cons are a decrease in recoil control and accuracy but those aren’t as essential when it comes to close-range combat.
Barrel – Cooper 21″ Shrouded
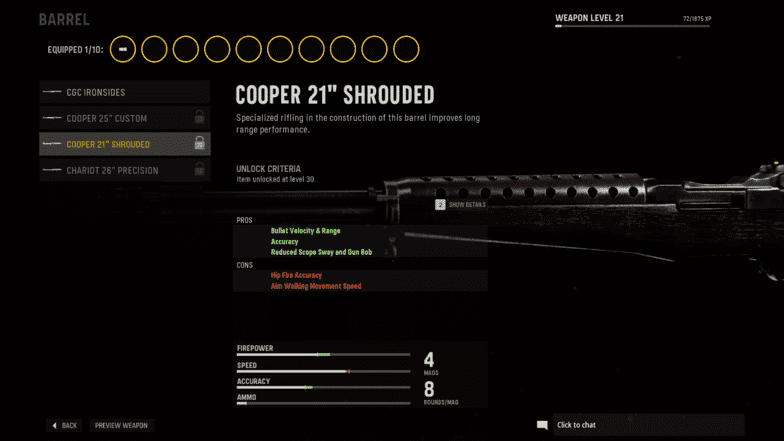
Besides the stock, the barrel will also have a very big impact on the type of gun we end up building. To ensure that we’re heading in the right direction (build a powerful and accurate rifle), I went for the “Cooper 21″ Shrouded” barrel.
This attachment will increase my weapon’s bullet velocity & range, accuracy, and reduce scope sway and gun bob. On the downside, it will reduce the hip-fire accuracy and aim walking movement speed of the build but that’s okay.
All the other attachments, at least in my opinion, are deal-breakers. I wouldn’t use them for this weapon at all as they have far too many crucial cons such as reduced firepower and movement speed. In that case, you might as well pick one of the best quickscoping snipers in Call of Duty: Vanguard and have a ton more fun.
Magazine – .30-06 16 Round Drums
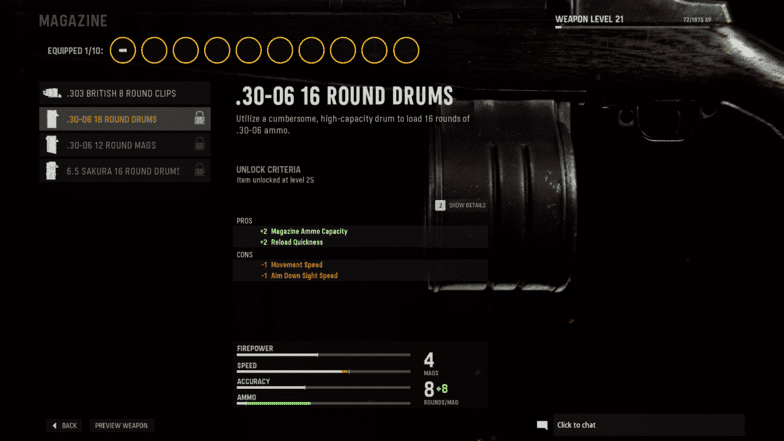
For the magazine, I went for the .30-06 16 Round Drums because I not only get 16 rounds of ammunition in each mag but also get an increase of two points when it comes to reloading quickness, which is the perfect combination.
Potential Alternative: If you’re looking to preserve the movement speed of your M1 Garand loadout, then you could also go for the “.303 British 8 Round Clips”.
That magazine will improve your recoil control, fire rate, movement speed, and ADS but five, two, one, and one points respectively.
The downside is a reduction in damage, bullet velocity, and range, as well as bullet penetration. Oh, and you also only have eight bullets per mag, which is far from ideal.
Ammo Type – Lengthened
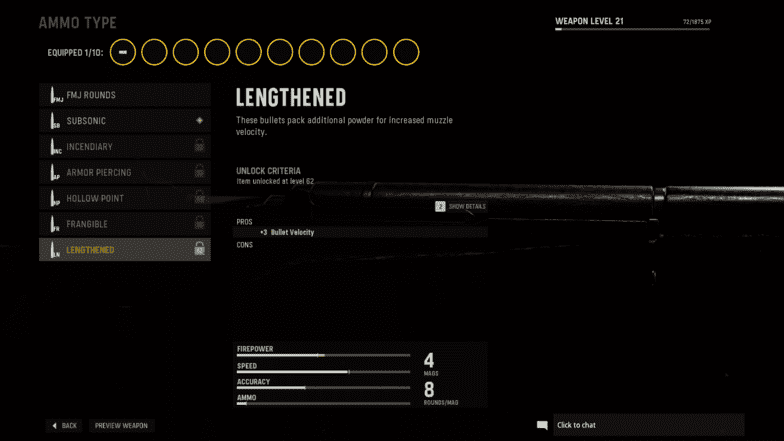
My ammo type of choice is the “Lengthened” because that will singled-handily increase the bullet velocity of any round fired by the M1 Garand. This means that the bullets will travel much quicker than normal and reach the target quicker – giving you a small advantage and a better TTK (time to kill)
Potential Alternative: If you’re yet to reach weapon level 62, you can’t go wrong with “FMJ Rounds”. Anyone that tries to take cover behind walls will be doomed. You can fire straight through them.
Optic – Cooper S MI
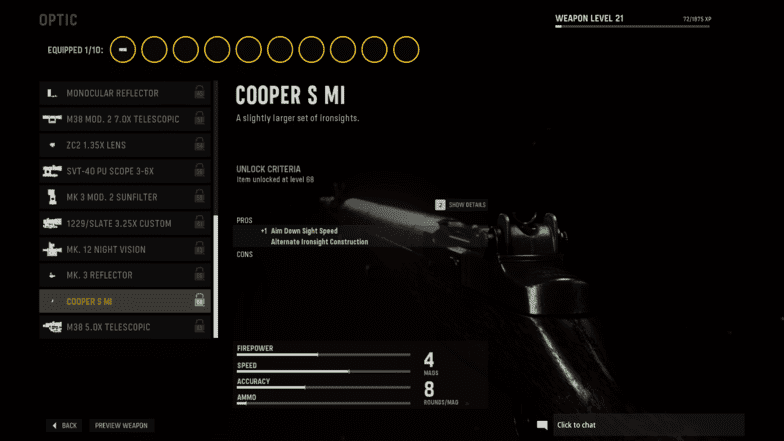
For optic, when it comes to marksman rifles, there is a lot of choices to pick from. After carefully taking a look, I believe that the best optic for the build that we’re trying to create is the “Cooper S MI”, which will improve your ADS.
Though there are no downsides to this attachment, it will only become available once you reach weapon level 68.
Potential Alternatives: If you are yet to reach level 68, you can go for something simpler like the “MK. 8 Reflector”. That optic is unlocked at weapon level 28 and though there is no direct benefit in terms of ADS, you will have 1.35x magnification, which is pretty nice.
If you’re after an actual long-distance optic that is also super clean once you aim down sight, go for the “SVT-40 PU Scope 3-6X”. Aside from that, you’ll also be able to see a boost in recoil control and accuracy by an additional one point for each.
Rear Grip – Polymer Grip
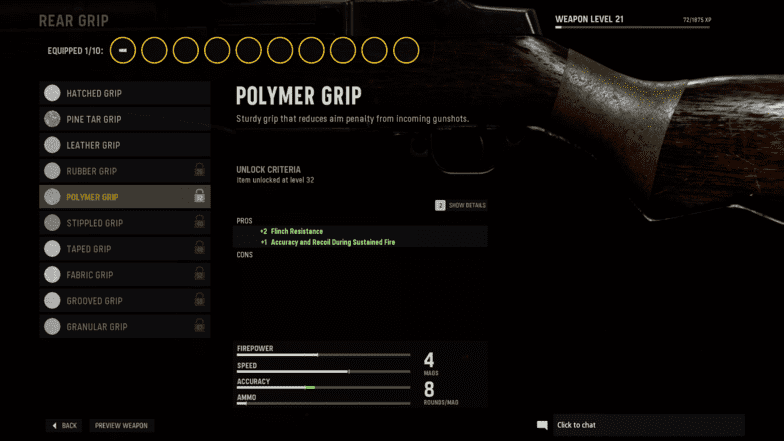
For grip, I went for the “Polymer Grip” as that will improve my weapon’s flinch resistance by two points and accuracy and recoil during a sustained fire by one point. There are no downsides to using this attachment.
Potential Alternative: If you trust your accuracy to eliminate an opponent without the help of any attachments that help your accuracy during sustained fire, by all means, go for the “Stippled Grip”.
This attachment will improve your recoil recovery and initial accuracy and recoil by two and one points respectively. Essentially, your weapon will center a lot quicker after firing.
Stock – Chariot S3 TC
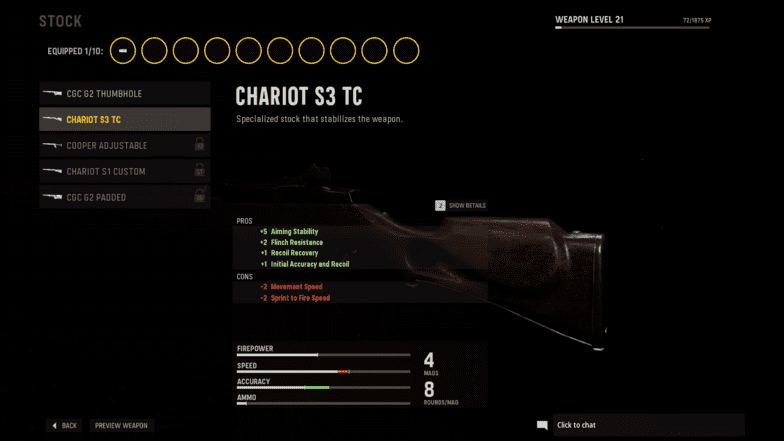
For this M1 Garand class setup, the stock will have the largest impact on what kind of a build we end up with. To achieve an even greater level of accuracy, my stock of choice is the “Chariot S3 TC” stock.
This attachment will boost your aiming stability, flinch resistance, recoil recovery, and initial accuracy and recoil by five, two, one, and one points respectively.
On the downside, you’ll see a reduction in movement speed and sprint to fire speed by two points each.
Potential Alternative: If you’re after a more mobile-friendly stock, go for the “Cooper Adjustable”. This stock will improve your initial accuracy and recoil, aim walking movement speed, recoil recovery, and ADS while only decreasing your hip-fire accuracy, movement speed, and accuracy and recoil during a sustained fire by one point for each.
Proficiency – Vital
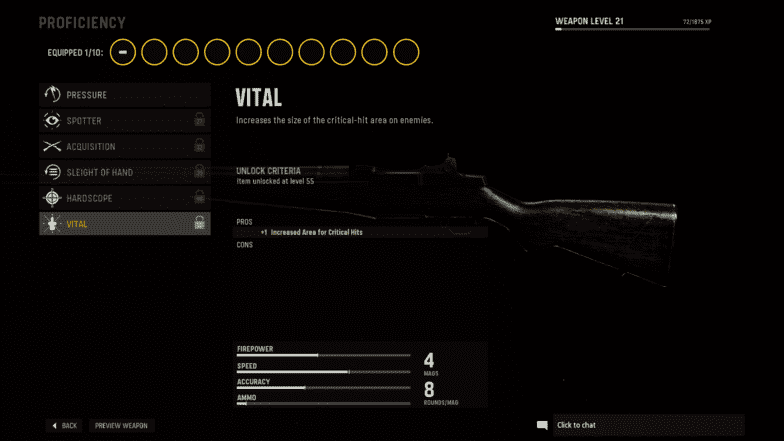
The “Vital” proficiency is the most game-changing proficiency amongst the rest. This particular one increases the size of the critical-hit area on your enemies.
In translation, you can afford to be less accurate when it comes to body shots and headshots in order to deal a great amount of damage.
Potential Alternative: The “Hardscope” is another incredible proficient for this M1 Garand loadout as it increases your accuracy and recoil in sustained aim down sight.
It’s the perfect proficiency if you like to aim down sight and rapidly fire every round out of your magazine into your enemies.
Kit – On-Hand
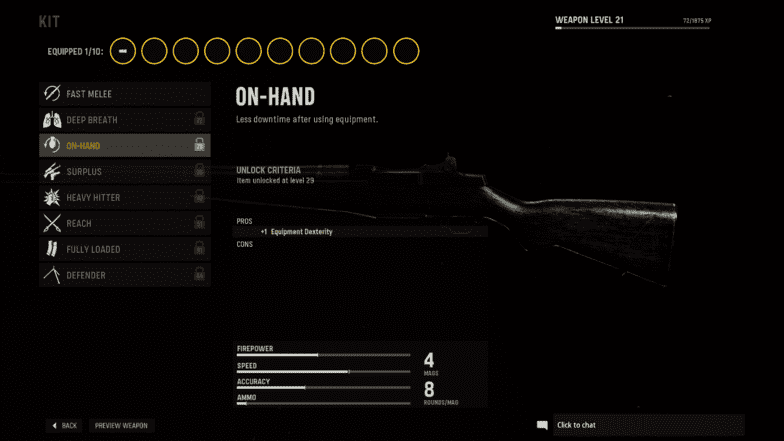
My favorite kit for this weapon is the “On-Hand” kit as that will reduce the downtime of your weapon after use.
In other words, as this weapon has pretty significant recoil during sustained fire, it will become usable very shortly after you stop firing, which will be of great benefit to you, especially on smaller and chaotic maps such as Das Haus.
Potential Alternative: My second favorite kit is the “Fully Loaded” as that starts me off with maximum reserve ammo.
Note: If you’re interested in getting a secondary weapon for this build, then either go for the best pistol in Call of Duty: Vanguard, or the FS Fighting Knife. You can’t go wrong with those. If you feel like you want to humiliate some of your enemies, you could even go for one of the rocket launchers.
Final Thoughts
The M1 Garand hits hard and fires quickly, but although it is precise, it might not be the deadliest weapon in the game.
Naturally, the weapon comes with a decent amount of mobility, precision, accuracy, and firepower but not enough rounds in the magazine. Luckily, thanks to attachments available to us, I managed to completely transform the M1 Garand and make it one of the most lethal rifles in the game.
Let me know how you get on with this M1 Garand class setup and if you come with any better alternatives, I’m open to suggestions.


