The Documents task from Prapor is an insanely difficult quest because you need to survive the area while getting all the documents in one of the hottest areas in Reserve.
This article will show you how to finish the documents task in Escape from Tarkov including the closest extraction you can do. The information will also help do other Reserve quests like the Surplus Goods quest, the Disease History quest, and the Inventory Check quest.
Required Keys for the Quest
There are no required keys for the quest as you only need to go to the underground bunker in Reserve. Optional keys would be the RB-PKPM (marked room key in Reserve) as you would be passing by this room while doing the quest.
It does have some valuable loot, especially during the early wipe. You can get some quest items and some great guns to give you that early edge.
Location – Underground Bunker
This task or quest is quite tricky. You will need to survive while holding all three documents and these are all located in the hottest area in Reserve.
Gluhar and his Gluguards also spawn in this area along with a lot of high-value loot like Phased Array Elements, Military Batteries, Military Power Filters, Iridiums, and a lot more hideout upgrades that are mostly found in Reserve.
There are multiple strategies to go about and this depends on how patient you are or how good you are in a gunfight. But first, let us talk about the location of all three documents and how to get them.
Going to the underground bunker
Now, there are multiple ways of going down the bunker. If you remember your previous quests like Bunker parts 1 and 2, you would already learn 3 different entrances to the underground bunker.
There are more than 3 and you should adjust accordingly to how you want to go about doing this quest and where you spawn at the start of the raid.
Each building near the helicopter (White Pawn, Black Pawn, and White King buildings) has the shortest distance to get to the underground bunker. If you spawn near the train station, you can take the White Bishop entrance or maybe hug the mountains to the dome and go from there.
It is quite dangerous to go to the helicopter area very late in the raid. There might be Player-Scavs spawning already and that is usually the area they go to for leftover loot. PMCs also hear you way below as you come inside the bunker.
Choose your entrance carefully and strategically. You can choose to wait for people to take the D-2 extraction and you can see it by double-tapping “O” regularly to check if someone has activated it and has taken the extraction.
You can come inside after and just fight the Player-Scavs who should be less dangerous than PMCs.
Document 1
The first document is found inside a half-opened shelf in the middle of the underground bunker. This is where you also find the technical, medical, and ration supply crates. Raiders, Scavs, and Gluhar can spawn in this exact area so it might get hot.
Document 2
The second document is inside another shelf from the underground bunker control room. This is where you finished the task “Bunker part 1” and it has a breakable glass in the middle to get to the D2 switch and a marked room.
Intelligence can spawn on top of the tables here and there are multiple spawns for it. You can also check the drawers (might be too risky but it is up to you) to find flash drives for your other quests.
Document 3
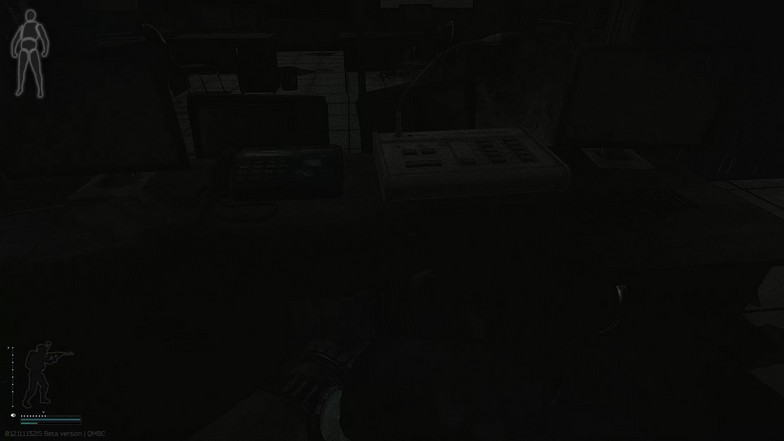
The third document is on top of a table in the next room. To get to the other room, you need to break the glass and jump over it. You will see the documents literally on the table you are jumping on to go inside this room.
There are two other doors in this room. The first one leads to the D2 switch and the other one is the marked room where you will need a key for it. You can open the door and open the D2 switch for your extraction. Check the servers here as they can contain high-value loot.
Extraction
For an easy extraction, D2 should be the best option since you are already here. Turn on the D2 switch whichever way you want and proceed back to the middle where the first document is located.
Head towards the white king area and instead of going up the stairs, you will turn left and go up the ramp. After going up the ramp, keep following the path to a doorway and you will see the staircase going down.
Go down the stairs and follow the path here. Check the floor near the wooden planks for possible tech loot on the ground. Go take the stairs up and go straight to the long hallway. Open the door and turn left. There will be another door immediately and open it.
Before going to this door, you can check the loot inside this area as this area can have Intelligence spawns and Phased Array Elements. If you do not want to risk it, just head to the door on the left.
This path will be linear all the way to the D2 switch and extraction. There can be military loot spawns on the floor near the two jackets on the way to the extraction. Intelligence can also spawn on the table near it with the sports bag.
Rewards for the Quest
The rewards you get from completing the Documents task are the following.
- 7,800 experience points and +0.04 reputation points with Prapor
- NSPU-M Night Scope
- Zenit 2P Klesch Flashlight + Laser Designator
- PBS-1 7.62×39 Silencer
Final Thoughts
All the steps in completing this Documents task from Prapor can also be done as a farming route to get more money. Spawning near the bunker and cleaning all the loot inside excluding the crates will give you around 200K to 2M Roubles per run.
This is why the area is too hot to do quests on and some players opt to wait for everyone to extract before doing their quests or tasks inside the bunker. You can play with friends to make everything easier.

