Elden Ring is an upcoming single-player action RPG created by FromSoftware and George R. R. Martin, the man behind Game of Thrones’ universe, A Song of Ice and Fire.
George R. R. Martin is known for mercilessly ending the life of his characters in Song of Ice and Fire. I mention that because it makes me wonder if the brutal nature of his stories influenced bosses that can one-shot you in Elden Ring.
The first time I saw the Night’s Cavalry, I certainly didn’t expect it to rush towards me and send me back to a site of grace with a single swing of his halberd. I also didn’t expect another random boss in the open field, but that’s the game we’re playing.
Although being one-shot there was my fault, I was underleved in a very dangerous area, it did make me a bit scared of facing this boss again.
After a while, I encountered other bosses with the same name. Thankfully, those weren’t as scary, so I managed to come up with a few different strategies to defeat them.
They all appear at night and can be fought the same way. Luckily, the strongest Night’s Cavalry, the one who one-shot me, is also the easiest to defeat.
Defeating the boss on the bridge in Caelid can be incredibly easy and somewhat tedious if you follow our special strategy to finish him off. In fact, if you manage to pull it off, you won’t have to attack him at all.
If you want to know how to handle Night’s Cavalry, the best way to fight it, and how to defeat one of them by just outmaneuvering it, stick around.
Here’s how to defeat Night’s Cavalry in Elden Ring.
How to Beat the Night’s Cavalry
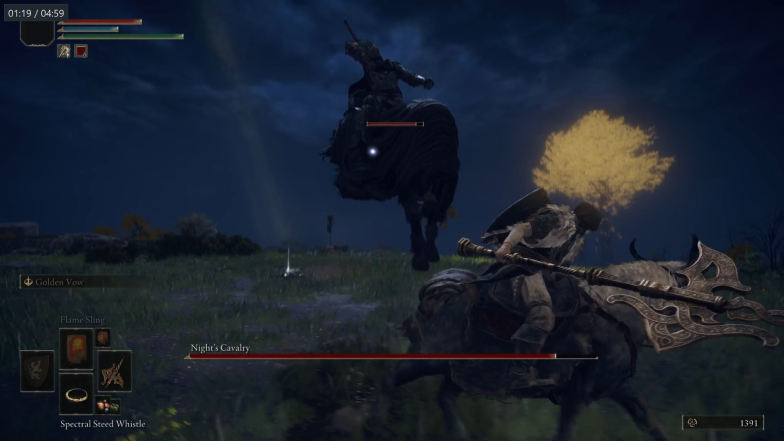
There are quite a few efficient ways to handle the Night’s Cavalry, but all of them demand you to study his attack patterns a little.
Generally, this boss runs at you and swings his weapon in very recognizable ways. Sometimes it’ll make his horse jump on you, which is equally easy to perceive and dodge.
If you manage to knock it down by attacking his horse, his attacks will also be easy to dodge, but don’t be greedy. He has an area of effect attack that also summons back his horse.
Once you knock him down, run towards it to perform a critical strike. Then, dodge his incoming swings, hit a couple of attacks. Do it twice at most and walk away. You don’t want to be near it while he summons back his horse.
As long as you learn his attack patterns and follow at least one of the tactics below, you will be fine.
Hit and Run
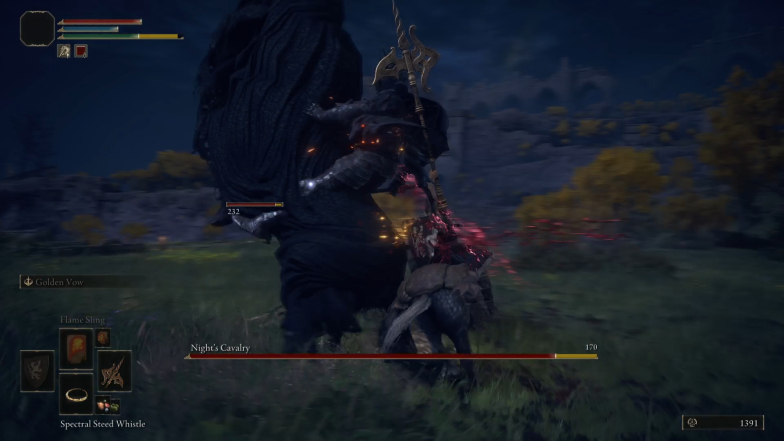
This basic strategy works well, especially if you can afford to get hit a few times. If you mount Torrent and start going past Night’s Cavalry and hitting it when you can, this fight will not be that hard. In fact, if you figure out how to defeat the Tree Sentinel, this will be somewhat similar.
Since you won’t have any use for a shield while fighting Night’s Cavalry on Torrent, I recommend you to equip a massive weapon with powerful charged attacks.
It also works to stay on the Night’s Cavalry left side when it comes at you swinging his weapon. That can make him less menacing, and you can use Torrent’s double jump to correct your course and run after the boss once it has missed you.
Dodge, Strike, and Wait
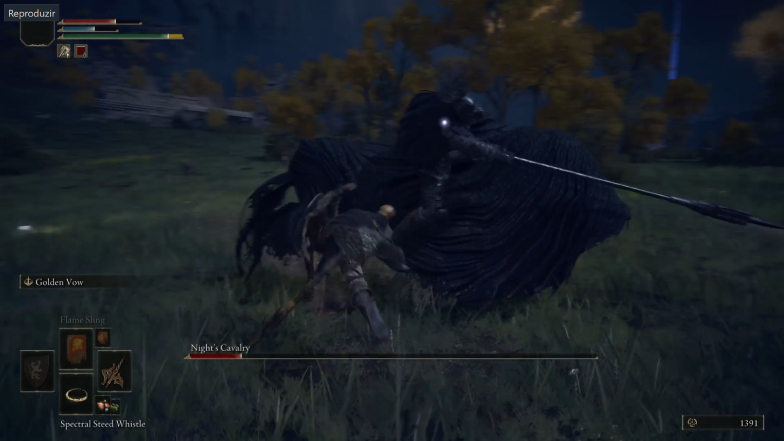
The easiest way to deal with Night’s Cavalry, in my honest opinion, is to face him on foot. Wait for the boss to charge you, dodge, and strike it once or twice.
The number of times you can hit the boss after dodging its attack depends on your weapon and how close to you it landed.
All Night’s Cavalry bosses telegraph their attacks. That’s what makes it easy to identify the perfect moment to dodge and swing your sword, mace, or whatever you are wielding.
This tactic works better if your weapon has a decent reach. Shields don’t work too well against this foe since Night’s Cavalry attacks take a lot of stamina when blocked, which can make you vulnerable.
Use Spells and Ranged Attacks
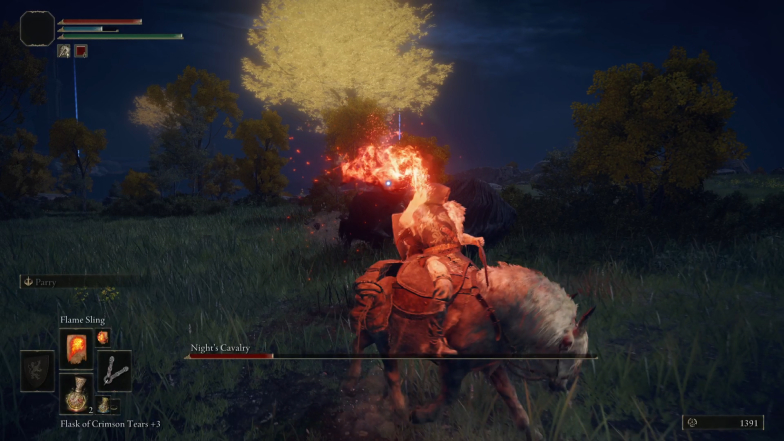
Honestly, using spells and ranged attacks make this battle relatively easy on horseback. You don’t even have to risk staying close to it. Wait for Night’s Cavalry to start running and cast a few magic projectiles at him.
Repeat it from a safe distance while dodging its attacks, and you will have no problem taking this boss down.
Alternatively, you can use a bow and special arrows to deal damage to the boss as he moves away or after dodging a broad swing with a long recovery animation.
Use Poison Traps on the One in Caelid
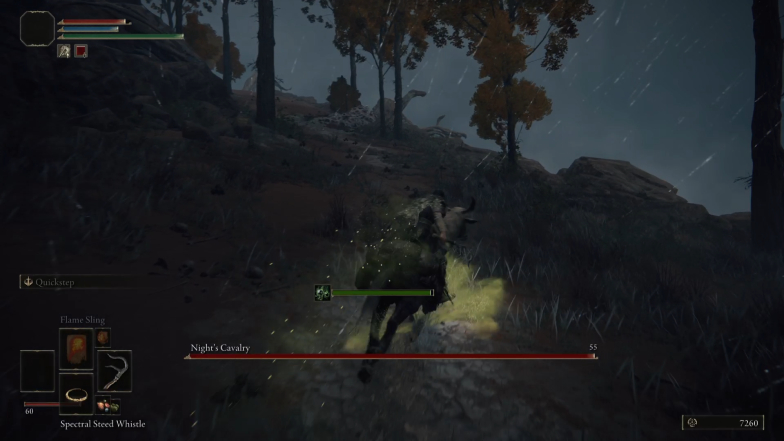
That being said, the solution to this problem is surprisingly simple, don’t get hit. I know how it sounds, but if you do manage to find a way to go past the Night’s Cavalry, you have already done half of what you need in order to take his forty-five thousand runes.
Go through the bridge, do your best to stay alive, and lure him out of there. The general idea is simple, but the execution might be a bit hard; You want him close enough so that he won’t stop chasing you, but not so close that his halberd can reach you.
It’s ok to be hit a few times while figuring this out. I lost count of how many times the Night’s Cavalry sent me back to a site of grace for trying to pull this off.
As the Night’s Cavalry follows you, start stepping on the poison traps that you see along the way. Here’s the tricky part, though, you will either be looking at the boss or at the road, and there is also the chance of a random enemy one-shotting you if you.
Still, if you do this right, you will take poison damage, and so will the Night’s Cavalry, causing it to be defeated for chasing you. I don’t fully understand how or why this happens, but sometimes the boss suddenly disappears after taking some poison damage. When that happens, the game considers you defeated him; you get all the runes and the “Enemy Felled” message on the screen.
If walking through poison once wasn’t enough, it only means that you might have to do it again and again. Still, you don’t have to fight all, just run away and wait for the poison to end it.
Make the Night’s Cavalry of Caelid Fall
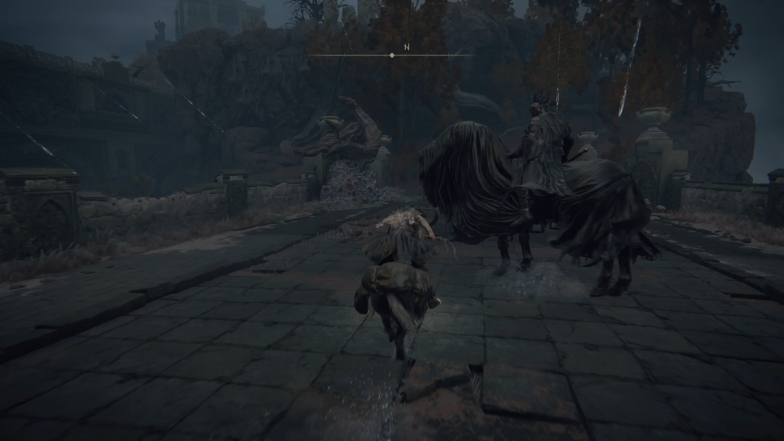
That’s most likely the funniest way to take down the most dangerous Night’s Cavalry boss. You can bait it into jumping out of the bridge and fall for its own demise.
This is riskier than using poison traps, but it might be the best way to deal with him if you have rested in the nearest site of grace and have no runes to spend.
Go to the side of the bridge and look for a ledge past the small walls. The idea here is quite simple. Wait there until it charges and try to get out of his way.
You might get knocked off the bridge a few times, but if you do this correctly, he will dive into the abyss and you will get the “Enemy Felled” message.
Yes, it is anti-climatic, and it completely trivializes this challenge, but it works.
What Do Night’s Cavalries Drop
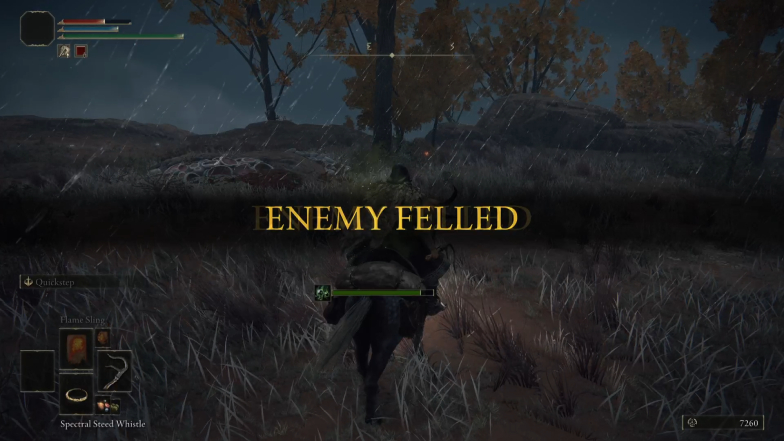
So you managed to defeat a powerful foe that was on your way. What do you get? Well, it’ll depend on the region where you found it.
Limgrave
The one in Limgrave drops 2400 runes and the Repeating Thrust Ashes of War.
The Repeating Thrust Ash of War provides Keen affinity, which increases Dexterity scaling but reduces Strength scaling and base damage. The ashes of war also allow you to add Repeating Thrust to any weapon except colossal ones.
Weeping Peninsula
This one grants you 3400 runes when defeated by you. It also leaves behind the Barricade Ash of War and the Nightrider Flail.
The Nightrider Flail is a weapon that scales primarily with Strength and Dexterity. It requires 10 points of Strength and 24 points of Dexterity. It also causes blood loss as a passive ability, which makes it a very good weapon.
The Barricade Shield Ash of War provides standard affinity, and it seems to improve your resistance to attacks when wielding a shield after you activate it.
Liurnia
The Knight’s Cavalry in Liurnia drops 5600 runes, the Nightrider Glaive, and the Giant Hunt Ash of War.
The Ash of War: Giant Hunt is meant to fight tall and giant enemies. Once you use it, your character steps forward from a low stance, carrying the momentum into a sudden upward thrust, which is excellent to farm runes fast in Stormhill. It can be used on large and colossal thrusting weapons, twinblades, and spears.
The Nightrider Glaive is a halberd that scales primarily with Strength and Dexterity. As you’ve seen during the fight, this is a great weapon for mounted combat. However, it requires 26 points in Strength and 10 in Dexterity. The Dexterity prerequisite is fine, but the strength one means this weapon is only for those with a Strength build.
Caelid
The Knight’s Cavalry in Liurnia drops 42000 runes and the Ice Spear Ash of War, making this fight a great way to level up fast in Elden Ring.
Unlike most of the Ashes of War that you’ve seen so far, this one works more like a spell. Ice Spear is the skill of the warriors who served Lunar Princess Ranni. When you activate it, your character spins their weapon to release cold magic, then channels it into a piercing spear of ice.
This Ash of War also provides affinity to Cold, which adds Frostbite buildup every time you land a hit. It also increases Intelligence scaling of a weapon but decreases any other scaling that the weapon might have. Ice Spear works on both twinblades and thrusting spears.
Final Thoughts
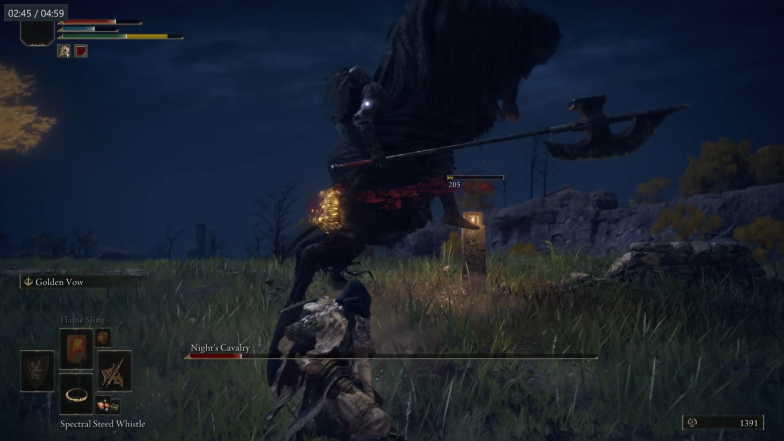
All Night’s Cavalry bosses behave somewhat the same way, and they are not as threatening once you level up a bit and manage to exploit their long recovery animations to land a few attacks.
If you know how to defeat the Tree Sentinel, you shouldn’t have much trouble dealing with the Night’s Cavalry.
It is true that the one that appears in Caelid is a formidable opponent, and he does deal a lot of damage, but you can always cheese him if you’re done fighting mounted bosses. Poisoning him or making him jump off the bridge will make the fight end instantly, granting you tens of thousands of runes without any effort.
In fact, you can always use a Gold-Pickled Fowl Foot to increase the amount of runes you will receive once you defeat this enemy, causing you to receive over 50000 runes from a single encounter that you didn’t even have to fight.

