The Jar Cannon is one of the most fun weapons in Elden Ring. After all, it is a massive handheld ballista that shoots explosive projectiles.
Despite not scaling with any attributes, the Jar Cannon more than makes up for it with its raw power. Moreover, there’s a primitive satisfaction to firing the cannon and watching every enemy and everything shatter in its wake.
The Jar Cannon is also the perfect response to AFK farmers. These lowly tarnished use the Taunter’s Tongue to lure invaders into their world. However, they hide in an area that only Torrent’s double jump could access before they do so.
Therefore, their strategy is to force invaders to quit or to wait for hunters summoned by the Blue Cipher Ring to finish them off. Either way, they’re earning runes with this underhanded tactic.
But, the Jar Cannon is able to take down these AFK farmers with precise aim. The weapon’s long range combined with its explosive impact, can push enemy players off their precarious spots.
This powerful ballista is fun, strong, and useful for different situations; a must have weapon for any strength builds. I’ll show you where to get the Jar Cannon in Elden Ring, so you can rain down explosives in the Lands Between.
Jar Cannon Location
In order to get Jar Cannon in Elden Ring, you’ll have to journey high above to Volcano Cave in Mt. Gelmir. The road to finding that hidden cave is a long and dangerous one.
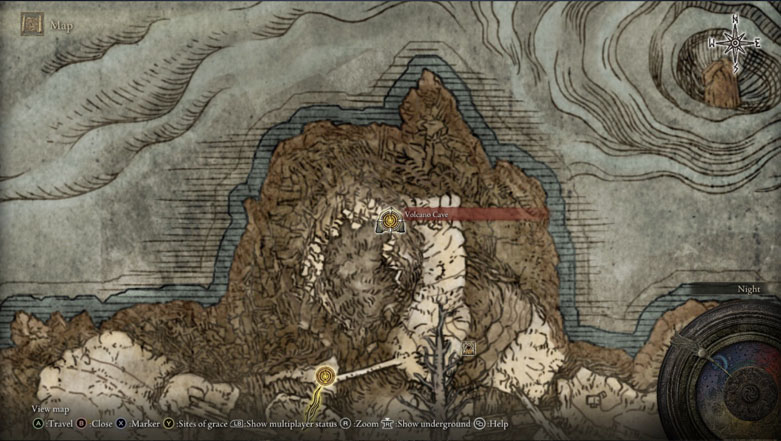
First, start from the Grand Lift of Dectus in Altus Plateau. You can activate the lift by combining two halves of the Dectus medallion.
The first one is inside Fort Haight in Limgrave, while the other is in Fort Faroth in Dragonbarrow. After acquiring both halves, go to the base of the lift north of Liurnia of the Lakes. Then, interact with the lift to use it.
For players who wish to find Jar Cannon earlier, you may take the “Coward’s Path” by using the Ruin-Strewn Precipice. You can find the dilapidated structure by following the ravine north of Liurnia of the Lakes.
Then, climb all the way to the top of the area and fight Magma Wyrm Makar. Afterward, you’ll unlock the wooden lift that leads to Altus Plateau.
Whichever path you take, make your way to Lux Ruins, northwest of Grand Lift of Dectus. Rest at the Erdtree-Gazing Hill Site of Grace, then climb the rocky path up the hill.
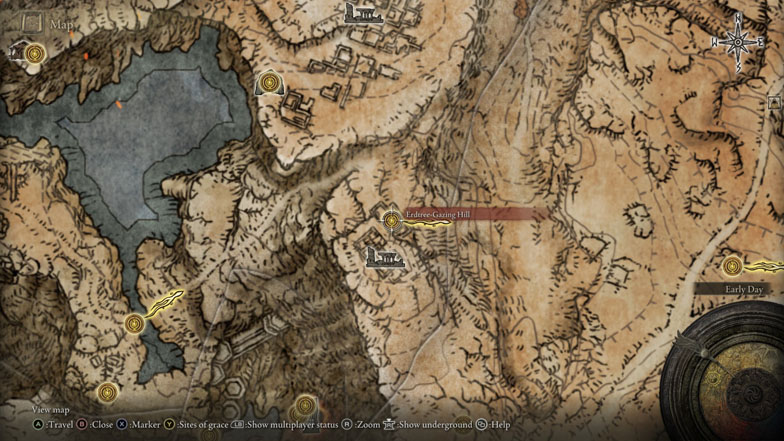
At the top of the hill, you’ll start a boss fight against Tibia Mariner in Wyndham Ruins. You can either defeat the field boss or dash right past it. Either way, head to Seethewater River which is northwest of Wyndham Ruins.
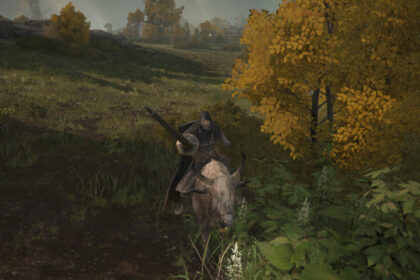
Ride through this ravine filled with environmental hazards in the form of flaming geysers. When you see a cave entrance sealed by an imp statue, move to the left (west).
Continue to the heavily guarded Fort Laiedd, then go southwest into the magma pool. There’s another field boss fight here against Magma Wyrm.
It is recommended to defeat the boss in order to talk to and progress Iron Fist’s Alexander quest line. He’ll be bathing in a pool of lava near the magma waterfall, you may talk to him from the protruding rock formation near him.
Afterward, keep following the path until you reach Hermit’s Shack. It’s a good idea to rest at the Site of Grace here because there’s an upcoming Runebear and Iron Virgin that could easily knock you off your horse.
Continue down the path until you enter Hermit Village. At the end of the area, there’s a field boss battle against Demi-Human Queen Maggie backed up by a few Raya Lucaria Academy wizards.
Dispose of them and safely Primeval Sorcerer Azur Site of Grace nearby. You can interact with the crystallized corpse of Master Azur to get Comet Azur in Elden Ring.
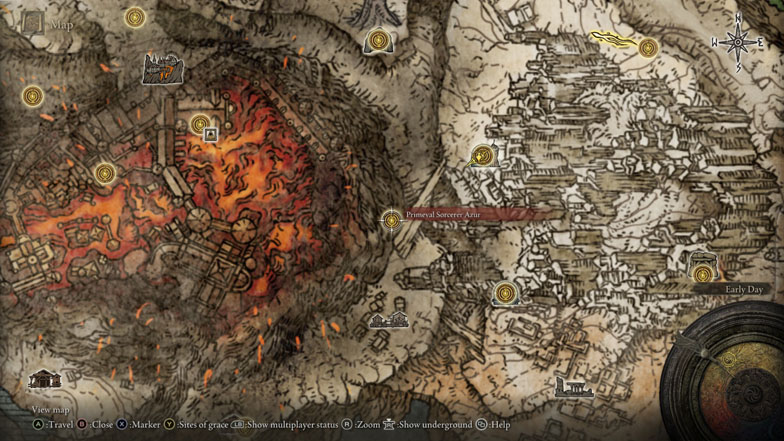
In terms of raw power, it is the strongest sorcery in the game. After getting it, you can even fast travel back to Waypoint Ruins and start Sorceress Sellen’s quest.
Now, follow the rock formation near the Site of Grace and jump over the gap. Continue riding past Gelmir’s Hero grave until you find a roaming Mad Pumpkin Head.
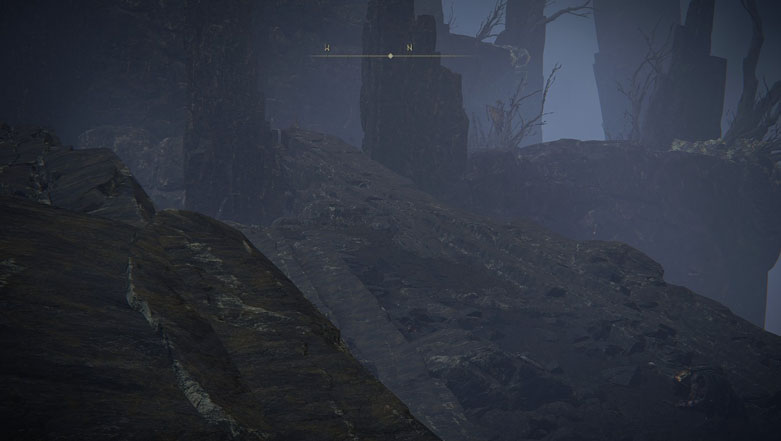
Climb to the end of the rock formation and jump the gap again. Move forward and you’ll see a ladder that stretches along the whole cliff face.
As you begin to approach the ladder, a Grafted Scion will appear out of nowhere. Dispatch the miniboss and start climbing the ladder.
Once at the top, there are different ladders that you can take. I recommend taking the ladder to the left of the banner as it leads to an important Wandering Merchant. Be careful of the puppets hiding near the ladder as they’ll ambush you.
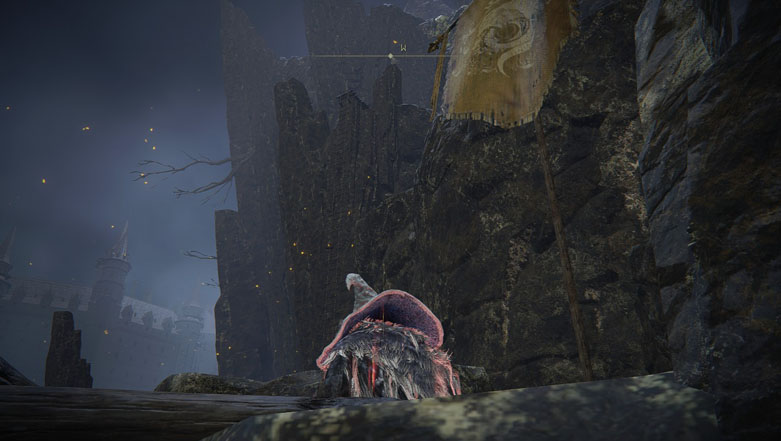
The Wandering Merchant here sells Greatbolts and Explosive Greatbolts that you’ll find use after you get Jar Cannon. Though it is dishonorable, it is best to kill this specific Wandering Merchant to loot its Bell Bearing. His location is too inconvenient if you plan to frequently stock up on Greatbolts for the Jar Cannon.
At the top of the mountain, you’ll find a desecrated campsite with a few golden knights and other enemies. Don’t go the long hanging bridge on the south, instead go to the beaten path to the north to get Jar Cannon.
Hug the left side of the cliff while you’re going up the slope. There are various demi-humans waiting to ambush you but you can avoid them while on Torrent.
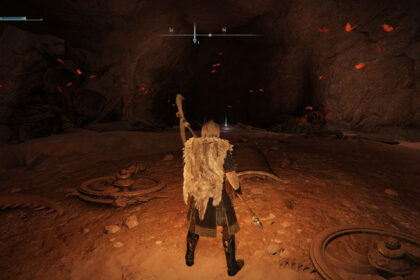
As long as you’re hugging the left cliff, you’ll easily find the entrance to Volcano Cave. Go inside and you’re one step closer to finding Jar Cannon.
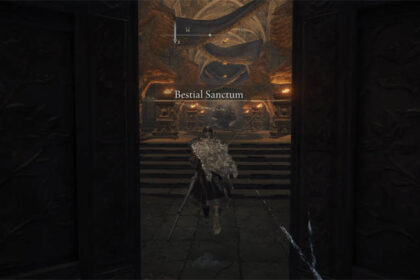
Navigate to the very bottom of the cave and go through the boss fog. You’ll be up against Demi-Human Queen Margot.
For a boss fight at this level, it is surprisingly easy. If you survived to reach this point of the game you’ll have no problem taking down the boss with your accumulated skills and gear.
After taking down the boss, you’ll get Jar Cannon as a reward. At 15 weight, it is a very heavy item so make sure that you have enough equipment load to avoid being over-encumbered.
Its item description is one of the funniest details in Elden Ring, “Experimental firearm brought to the assault on Volcano Manor, where it was discovered that no one knew how to use it.” It is a hilarious thought that an army hauled this cannon all the way up to Mt. Gelmir but not one person knew how it works.
It is not enough to get Jar Cannon if you don’t have the requirements to properly wield it. You’ll need 34 strength and 12 dexterity to be able to use it. But, since holding a weapon effectively gives you more strength, you only need 23 strength to use the weapon.
Additionally, the Jar Cannon uses Greatbolts for ammo. The Nomadic Merchant mentioned earlier while climbing the ladders sells an unlimited amount of these. He also sells Explosive Greatbolts which can add an extra fiery punch to your cannon.
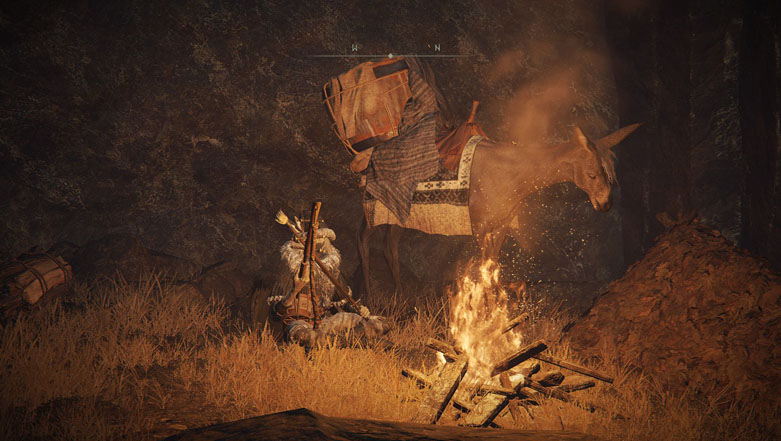
Additionally, the Nomadic Merchant found in Hermit’s Merchant’s Shack in Leyndell Royal Capital also sells as many Greatbolts that your runes can afford.
It’s more than worth it to take a short trip here as it is nearby the Twiggy Cracked Tear. The Twiggy Cracked Tear Crystal Tear is an invaluable item to have so you can keep your runes when venturing into dangerous areas.
Finally, if you want to craft Bone Ballista Bolts you need the Nomadic Warrior’s Cookbook [13]. Fast travel to the Bellum Church Site of Grace in Liurnia of the Lakes. Then, follow the cracked floor leading down the hill.
Eventually, you’ll find the nomadic merchant who’ll sell it to you for 2,000 runes. Afterward, you can use one Hefty Beast Bone to craft five Bone Ballista Bolts. Make sure to stock up and have fun hunting AFK farmers!

