Players torn between two main attributes can opt to create a hybrid build in Elden Ring. Hybrid builds offer some of the most flexible and fun experiences in any Soulsborne game.
For example, a ‘Quality Build’ is for players who increase both their strength and dex stat because they prefer to use various weapons. Meanwhile, players who increase strength and faith wish to roleplay as a Holy Warrior – someone who blesses their weapon with lightning magic to smite their foes.
Players who level dexterity and intelligence want that high-octane glass cannon gameplay. Most commonly referred to as an Arcane Tricker by the roleplaying community, they’re known to wield both advanced weaponry, like spears and daggers, while also supplementing their advances with the magic.
For players who want to create an Arcane Tricker build, they can’t go wrong with the Moonveil Katana.
The Moonveil Katana is a formidable yet fast weapon, which scales very well with dexterity and intelligence. It can deal both physical and magical damage, and its moveset can fit many different situations.
Additionally, its unique weapon art is one of the best in the game.
If that piqued your interest, continue reading because this guide will show you where to get the Moonveil Katana in Elden Ring. It will also detail how to overcome the challenging dungeon where it is found and how to defeat the boss waiting for you at the end.
Where to Find the Moonveil Katana
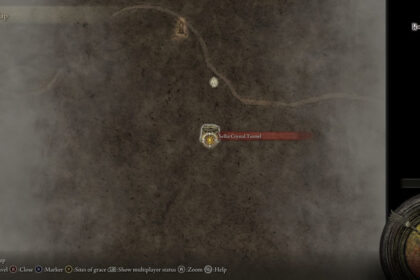
The Moonveil Katana is found inside the Gael Tunnel in the Caelid region. It’s on the westernmost side of the area, near the border of Limgrave.
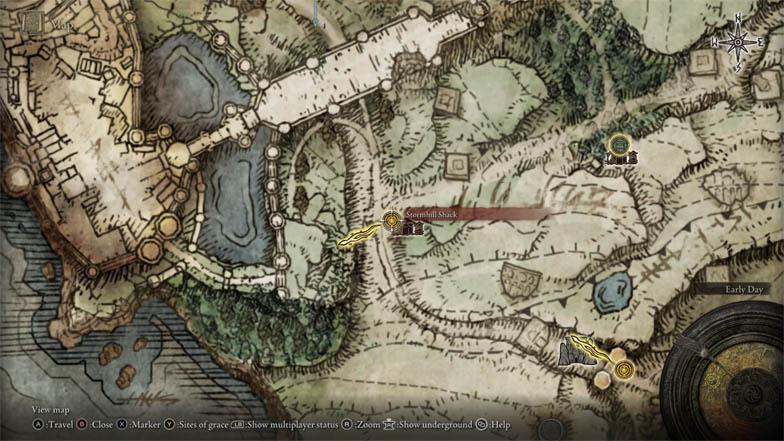
The enemies in the Caelid region are much more demanding than what you’re used to dealing with in Limgrave. Ergo, don’t attempt to get the Moonveil Katana if you aren’t sufficiently leveled.
For reference, the Moonveil Katana requires 12 strength, 18 dexterity, and 23 intelligence to wield it properly. Therefore, only try to acquire the weapon when you have those attributes. Personally, I was able to clear the dungeon at level 40 after a few tries.
If you’re excited to equip the Moonveil Katana, you should go level up fast in other places first. Don’t forget to collect the glowing skulls scattered across the world for Golden Runes.
Once you’re all geared up and ready, it’s time to start the long trek to Gael Tunnel. The most straightforward path is to begin from Stormhill Shack, pass the Stormgate, then follow the beaten path east.
Watch out for the two bandits blocking the path: one is directly on the road while is waiting to ambush you. Dash through the ambush set by the pack of wolves as well.
The bandit camp has a decent shield you can loot from the treasure chest. Afterward, continue downhill to the bridge. Unfortunately, there will be a large mob, similar to the boss guarding the area where you can buy sorcery spells, blocking the path.
Almost there now; pass through the graveyard before Summonwater Village. There’s an optional boss fight here to unlock a new feature if you’re interested.
Keep following the path east, and you should arrive at the Smoldering church. Be prepared for an NPC invasion in front of the church.
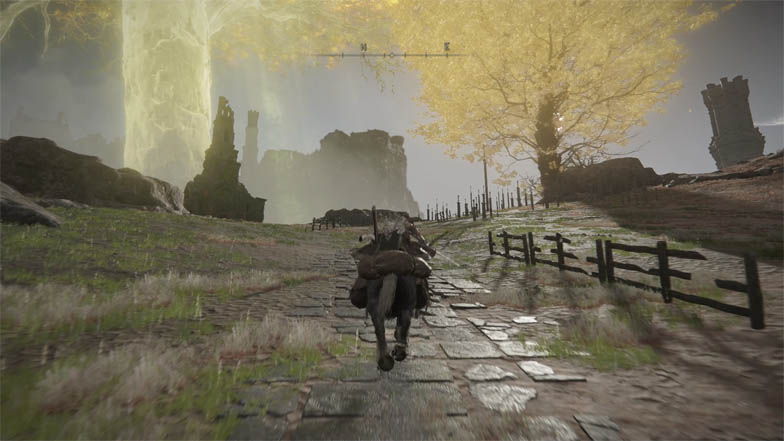
If that sounds like too many obstacles for you, or you don’t need the constant detours, there’s a faster way to reach the Smoldering church.
Start from the Third Church of Marika, near Mistwood forest. Head uphill to the north. Look for the spirit spring, the wind updraft, and use Torrent to soar over it.
There are two more you can consecutively if you continue north. After the third one, you’ll end up in range leading up to Smoldering Church.
From there, find the Shack of Rotting. It’s a short trip and shouldn’t be too difficult to locate. Follow the main road southeast and jump over the burning barricade.
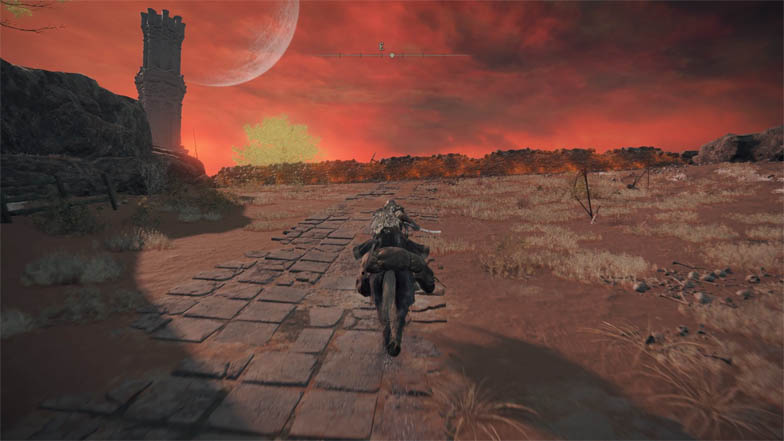
Use the Site of Grace here because you could die from the giant crows or the giant dogs, not to mention the scarlet rot all over the area. Use your discretion to avoid attracting their attention.
Go behind the decaying shacks on the right. Then, use Torrent to double jump over the rocks. While you’re there, go collect the items in the cemetery.
You need to head downhill and turn the right corner to reach Gael Tunnel. However, there’s a massive dog in the way. So instead, stay on the high ground and inch to the right.
You’ll see two knights guarding the tunnel. You can ignore them and head straight into Gael Tunnel.
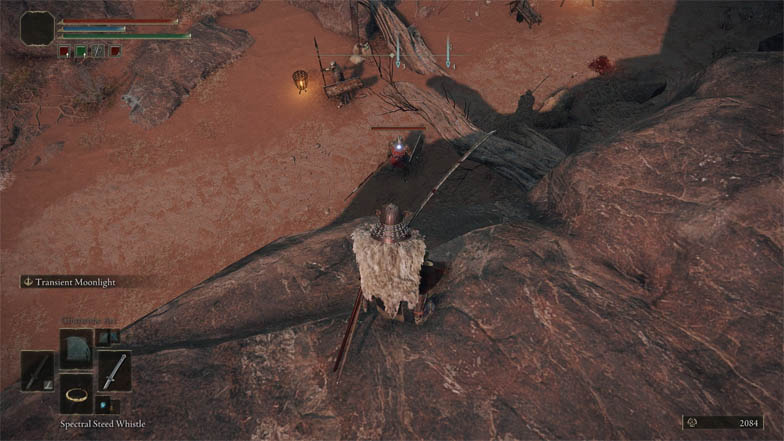
But my advice is to fight them as a test of strength, a litmus test for the cavern below. See if your weapons deal enough damage to them and if you won’t immediately die from their attacks.
You’ll encounter way more of them in that cramped tunnel. Plus, once you jump inside, you can’t return without reaching the end of the tunnel.
Gael Tunnel Guide
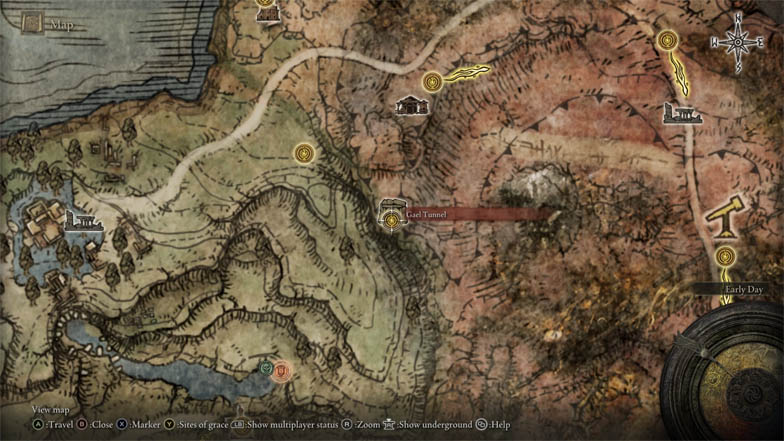
Inside Gael Tunnel, there are another two knights right before the drop. Stealth kill the one overlooking the edge; if your critical strike doesn’t kill him, he’ll still plummet to his doom. Then, deal with the remaining one.
Now you have to drop to the bottom of the hole; once you go down, there’s no backing down, so make sure you’re ready. I recommend dropping a Glowstone to light your path and check for gaps to jump on.
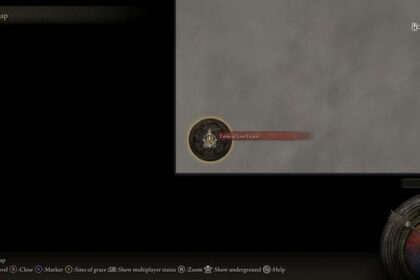
Activate the Site of Grace before heading inside. Inside the tunnel proper, you can go through the right or left. Make your way through the right side first because there’s a great weapon you can grab there.
There are two enemies that you’ll fight inside the cave. First are the soldiers you previously encountered on your way here. Second are miners with armored skin. Use a strike weapon or magic against them.
Don’t forget to loot the ore while making your way through the cave system. These usually contain valuable smithing tools you can use to upgrade your weapon.
A giant land octopus is hanging from the ceiling to the right of the cavern. Its weak spot is its unprotected head, so you should fight it from the front.
You don’t have to go all the way inside to kill it. Instead, you could lure it down from the ceiling and then retreat into the hallway. It can’t reach you from there.
When it is dead, claim the Cross-Nagitana from the ground. It’s basically a sword stuck to the end of a long pole. It has an incredible range, and it’s great for poking down your enemies.
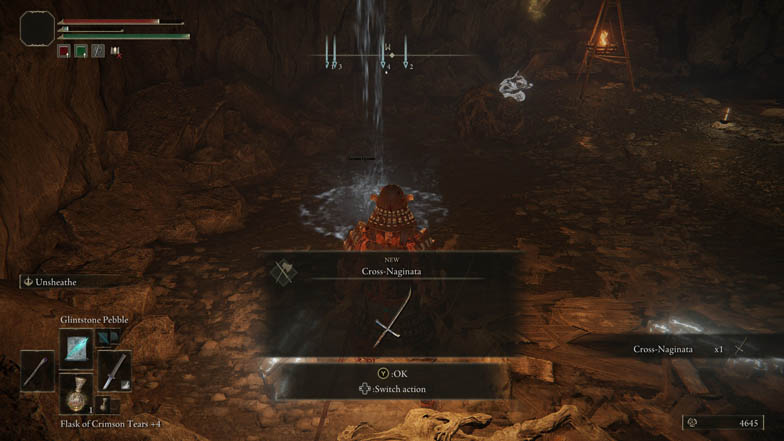
To get the Moonveil Katana, you must descend the ladder on the left path. Before you go open the wooden gate and fight the boss, you should open the smaller door first.
If you’ve previously met an NPC named Alexander, you’ll see him here for the second time.
There’s a Site of Grace in this area that you could use. I highly recommend activating it because the boss is challenging. Also, if you really can’t defeat the boss at Gael Tunnel, you could exit the tunnel from there and come back later.
How to Defeat Magma Wyrm
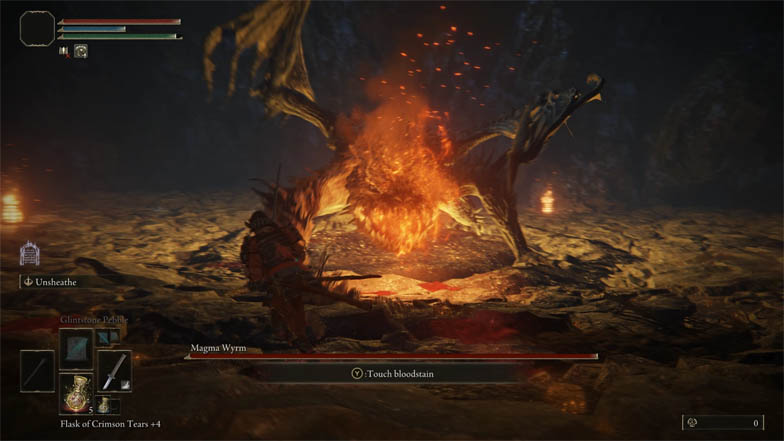
The Magma Wyrm is your last hurdle to overcome to get the Moonveil Katana in Elden Ring.
It’s a large lesser dragon brandishing a colossal curved sword. It mainly attacks you using the blade and spewing lava around the arena. It’s fast for its size, able to catch you off-guard if you underestimate its speed.
Your main problem with fighting the Magma Wyrm is how quickly it can blanket the arena in pools of lava. Therefore, bring flame-resistant items to counteract its effects.
The easiest one is the Flamedrake Talisman, a charm that improves your fire damage resistance. You can find the Flamedrake Talisman at the Groveside Cave, near the Church of Elleh. The talisman is a reward for defeating Beastman of Farum Azula, the boss of that mini dungeon.
There’s an improved version of the Flamedrake Talisman too, and you’ll even fight the same boss. Seek the Dragonbarrow Cave in the eastern area of Dragonbarrow.
Flame Fortification is an incantation that also improves fire damage negation. Brother Corhyn sells this spell at the Roundtable Hold for 3000 runes.
Now, when it comes to defeating Magma Wyrm, it’s feeble against magic damage.
Magic Grease goes a long way for those who prefer to fight with weapons. You can unlock the recipe for Magic Grease by finding the fifth Glintstone Craftman’s Cookbook at Raya Lucaria Academy. It even comes with arrows steeped in magic.
There’s also the sorcery called Scholar’s Armament, which enchants your right-hand weapon with magic damage. Plus, it causes your armament to glow blue like Anakin Skywalker’s lightsaber.
On the other hand, you’ll have a much easier time against Magma Wyrm with a few sorceries up your sleeve. Chances are you’ll have invested in intelligence if you want to wield the Moonveil Katana.
Even the simplest Glintstone Pebble spell depletes a good chunk to its health. So if melee isn’t working out for you, allocate more flask charges for your focus points.
Now that you’ve done as much as you can to prepare for the fight, it’s time to defeat Magma Wyrm and get the Moonveil Katana.
Tips and Tricks Against Magma Wyrm
Magma Wyrm is all about controlling space. Its giant curved sword sweeps a large portion of the arena, and it runs around, leaving hazardous lava pools. These flame puddles can instantly kill you if you’re in the wrong place since they can deal multiple instances of damage.
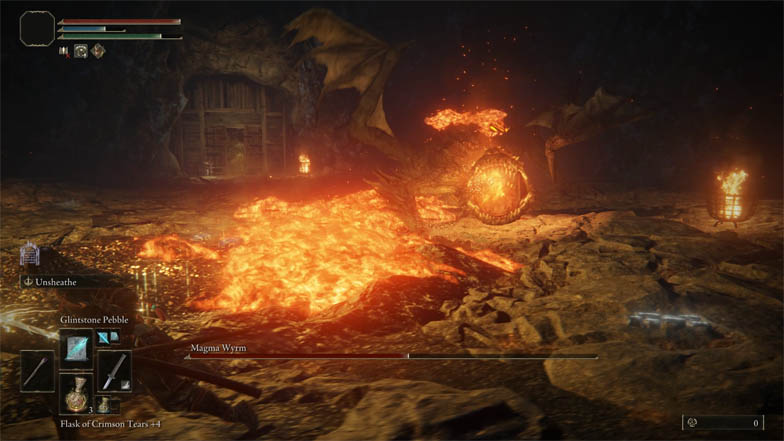
Ironically, space is also its greatest weakness. The area on its belly, hind legs, and tail are generally safe since it can’t attack there without turning to face you. Use heavy charged attacks to wear down its invisible meter to stagger the enemy from this safe space.
You can break its stance way faster by aiming for its head. Magma Wyrm has long recovery times to can exploit for a charged heavy attack to its chin. Additionally, it has moves where you can safely attack it while it is executing it, like when it spits flame upwards.
Don’t forget a heavy jumping attack also does a significant amount of posture damage. If you manage to break its stance, it will dramatically fall down, and you can land a critical hit on its glowing eyeball.
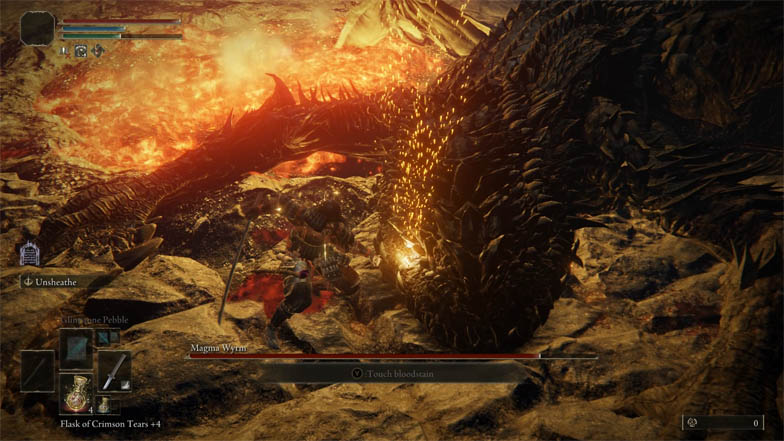
However, I find that you can do even more damage if you relentlessly attack it during this state. Perhaps it’s because I can dual wield two Uchigatanas and rapidly stack bleed build-up. Try both and see what works for you.
When attacking it from behind, watch out for a quick retaliation. It raises its right hand, the one wielding the sword, then pivots its body 180 degrees. The tail does not have a hitbox; I’ve tested this multiple times. However, its sweeping slash will damage you.
Additionally, when attacking it from the front and belly area, it can slam its greatsword down with both hands, creating a massive shockwave. The dodge timing is tricky since it has a slow start-up and then a near-instant plunge.
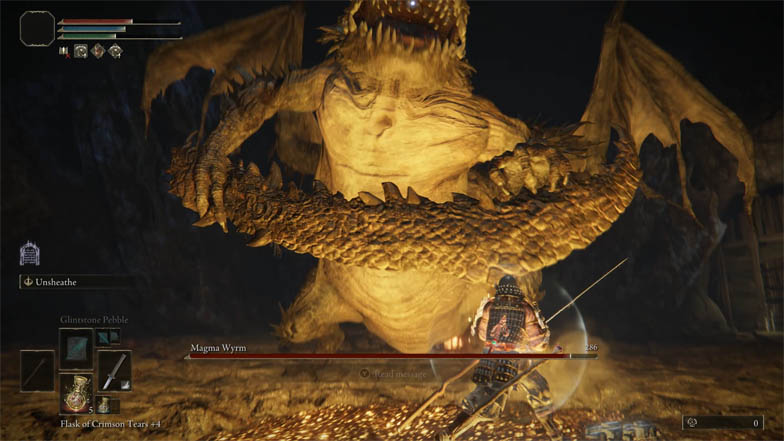
You’ll be rewarded if you can dodge it since it takes a long time for Magma Wyrm to recover. However, if it’s too fast for you, move away while holding block.
Be wary of its attack where it slams its greatsword straight down. It may seem like its safe to attack but it will quickly drag it back, clipping you on the way.
Now, if it starts running around the arena while spewing flame, don’t chase it. Instead, this is a free chance to barrage it with spells.
It’s vital that you’re acutely aware of your surroundings during this phase. Once it reaches the end of the arena, it will turn around and charge towards you. Always choose to retreat and reposition rather than deal more damage. Between the flame and its rampaging body, you’ll most likely die if you get caught once.
Now, for the pure ranged users. It’s much safer to play in melee range even though you’ll be slinging spells. The further you play away from it, the more likely it will use its ranged attacks, like spitting fireballs.
Remember that its flame attacks leave a lingering puddle in the ground. As a result, you’ll have less space to work with, and you’ll promptly find yourself surrounded.
Stay on its side or behind at all times, and be aware of its melee attacks. Keep a bit of distance away but not too far that it can hit you with fire. This fight is heavy to your advantage if you’re using sorcery spells that deal magic damage.
It doesn’t have any rage mode or additional phases, so rinse and repeat. Eventually, you’ll kill Magma Wyrm and claim the precious prize.
After defeating Magma Wyrm, you’ll get the Moonveil Katana and a dragon heart. You can use the latter to purchase dragon incantations which Faith-based casters can use.
Moonveil Katana Stats
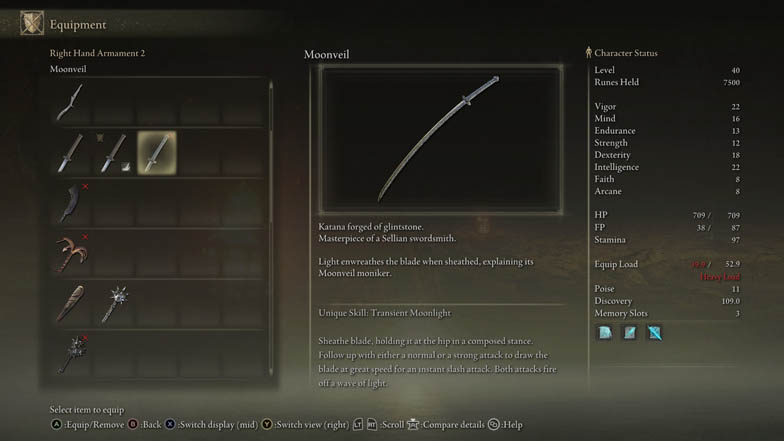
The Moonveil Katana is a perfect weapon for those who level both dexterity and intelligence since it scales off both. Its weapon description reads, “Katana forged of glintstone. Masterpiece of a Sellian wordsmith. Light enwreathes the blade when sheathed, explaining its Moonveil moniker”.
It deals slash and pierce damage, with the damage almost equally split between physical and magical. It takes 12 strength, 18 dexterity, and 23 intelligence to properly wield. Additionally, it causes blood loss buildup every time you strike.
At maximum bleed build-up, it causes a hemorrhage against the target, dealing damage according to their max health. It’s perfect against bosses with absurd health pools like the Giant Dragon in Caelid.
The best aspect of the Moonveil Katana is its unique weapon art called Transient Moonlight. It’s based on the weapon art Unsheathe, where you first draw the weapon, then either release an instant slash or a more powerful overhead slash.
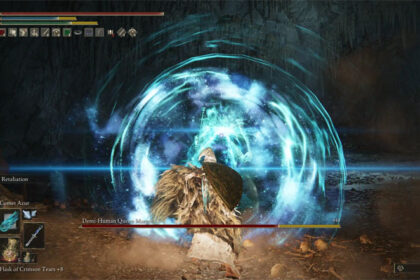
The big difference is that using either of these attacks releases a magical blue wave of light. These attacks deal massive damage, and it’s great for dealing with a crowd or against a stronger foe.
I tend to avoid using the overhead slash against bosses because it sometimes feels too cheesy. Aside from dealing a buttload of damage, it also interrupts their attack animation, meaning it’s safe to execute.
It’s also very punishing in PvP scenarios. Or even against NPC invaders. The near-instant attack animation is difficult to dodge, plus you’re already setting up mind games with your draw stance.
I highly recommend dexterity and intelligence characters to get the Moonveil Katana as early as you can. I’ve been using it for a while, and I haven’t looked back since.

