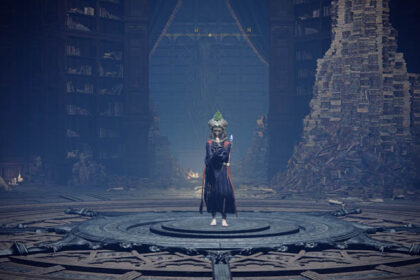
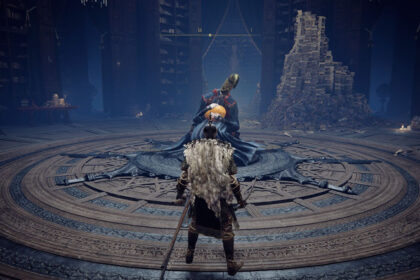
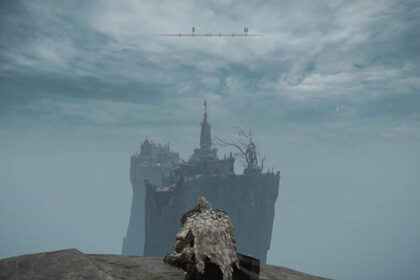
At the very top of the Raya Lucaria Academy, you can face off against Rennala, Queen of the Full Moon. She’s one of the major bosses or shard bearers you can defeat to gain access to the capital.
Assuming you continued to Liurnia of the Lakes after defeating Godrick, she is the second major boss you fight in Elden Ring.
Governor of the Raya Lucaria Academy and leader of the Glintstone Knights, Queen Rennala isn’t actually a demigod. Despite that, she was able to gain fame through her mastery of sorcery and moon magic.
Miriel, Pastor of Vows, sheds light on the tragedy of Rennala when you speak to them at the Church of Vows. By listening to their stories about Lord Radagon and Queen Rennala, you learn that they first met on the battlefield as enemies.
Red-haired Radagon cleansed himself with Celestial Dew, and atoned for his past transgressions. The process is much like requesting absolution, a gameplay feature to erase your sins and reset NPC hostility.
Though she may be far from her former glory, Rennala is still an arcane powerhouse. With a vast command over numerous powerful sorceries, various summons, and even conjuring a moon to drop on you, she won’t hand you the Great Rune without a fight. I’ll show you how to defeat Rennala in Elden Ring in this guide.
Preparations Before Fighting Rennala
Elden Ring deserves praise for adding a generous amount of checkpoints, especially by including the Stakes of Marika. These remove the most frustrating part after dying to a boss: the shameful walk back.
Though the trek back to Rennala’s arena isn’t as bad as, say, traversing Blighttown to reach Queelaag’s Domain, you could still lose a lot of health getting there.
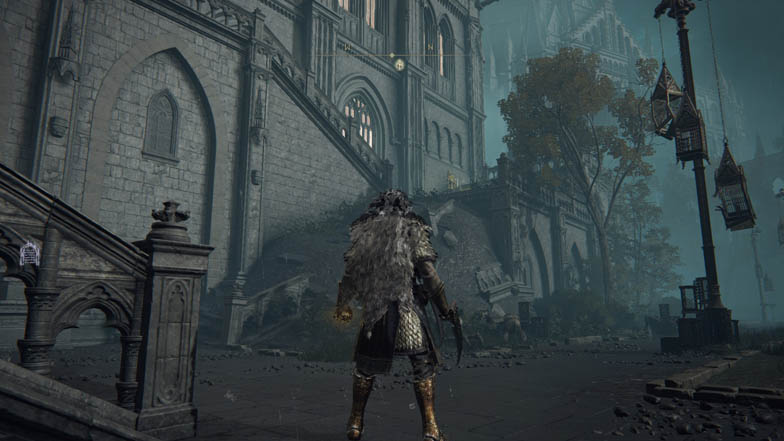
So, first and foremost, you want to unlock the shortcut to Queen Rennala’s boss arena, the Raya Lucaria Grand Library.
Starting from the Debate Hall Site of Grace, the one unlocked right after defeating the Red Wolf of Radagon, go past the boulder trap and into the courtyard where you fought the Carian Knight. Then, instead of taking the lift to challenge Rennala, Queen of the Full Moon, take the other path.
Follow this path to unlock the door leading back into the Debate Hall. So, just in case you die during the fight with Rennala, you have a shortcut to use to return to the battle quicker.
Honestly, the newly unlocked shortcut is riddled with multiple sorcerers. I prefer taking the longer route and dodge rolling through the boulder rather than trying my luck against the arcane gun squad.
After taking the lift up to Rennala, remember to hit the pedestal on your way out of the area. You’ll send the lift back down in doing so, which means you’ll reduce the wait when you need to come back.
It’s interesting that there are no Stakes of Marika to be found inside Raya Lucaria Academy. It would make sense with the lore since Radagon left Rennala for Marika, and naturally, Rennala wouldn’t want Marika’s image anywhere near her.
Compared to other major bosses, Rennala is relatively easier. However, both of her phases will force you to frantically run everywhere, whether towards her, away, or in circles attempting to dodge her barrage of spells.
Therefore, a stamina recovery item significantly helps defeat Rennala in Elden Ring. The Pickled Turtle Neck is a consumable item that can temporarily increase stamina recovery.
You can craft the Pickled Turtle Neck after purchasing the Nomadic Warrior’s Cookbook [3] in Limgrave. The particular merchant is playing music east of Stormhill Shack, near Summonwater Village.
There are also three talismans that directly help your stamina management. First, the Viridian Amber Medallion increases maximum stamina. Second, the Green Turtle Talisman raises stamina recovery speed. And third, the Erdtree’s Favor talisman boosts maximum HP, stamina, and equipment Load.
I found the increased stamina recovery speed provided by the Green Turtle Talisman invaluable for beating Rennala, Queen of the Full Moon. The talisman is located underground in Summonwater Village, but you need a Stonesword Key to break the seal.
One more note on stamina management, make sure that you’re not over-encumbered, or else you’ll recover stamina marginally slower. This effect happens when your weight ratio is over 70% due to your equipment load.
You can quickly check if you’re too heavy by rolling. If you basically slam into the ground and rolling takes a concerning amount of time, that’s called a fat roll. When this happens, either remove or lighten up your armor.
On equipment, it is vital to have a fast melee weapon during the first phase. A sword or a katana is ideal because those weapons deal decent damage without consuming too much stamina. This tip is crucial for ranged users as you want to conserve your resources for the more demanding challenge.
Lastly, equipping armor or talismans with magic damage negation would save you in this fight because Rennala’s primarily deals magic damage. Therefore, the Spelldrake Talisman is a life-saving accessory against most enemies in the Raya Lucaria Academy, including Rennala.
The base version is rewarded after defeating Runebear at the Earthbore Cave in Weeping Peninsula. The upgraded version of the talisman is looted from Sellia, Town of Sorcery, after dispelling the magic seals that block the town.
Otherwise, the Magic Fortification incantation bought from Brother Corhyn is an excellent option for faith users. There’s also a consumable item called the Spellproof Dried Liver, which increases magic damage resistance.
Finally, cycle through your armor collection and find the one with the highest magic resistance. Conveniently, armor sets related to the Raya Lucaria Academy, Cuckoo Knights, and Carian Royals all boast magic damage resistance.
For spellcasters, the Raya Lucaria Robe provides decent magic resistance. They drop from the sorcerers inside the academy. Unfortunately, the drop rate is low. Astrologers are fortunate because their starting armor provides better protection.
For melee fighters, the Carian Knight set is a stylish armor set with decent magic absorption. The whole set is found at a tombstone near the watermill.
Rennala’s First Phase
A cutscene begins when you enter the Grand Library. Numerous students crawl on the floor, while Lady Rennala, Queen of the Full Moon, levitates in the air protected by a golden bubble.
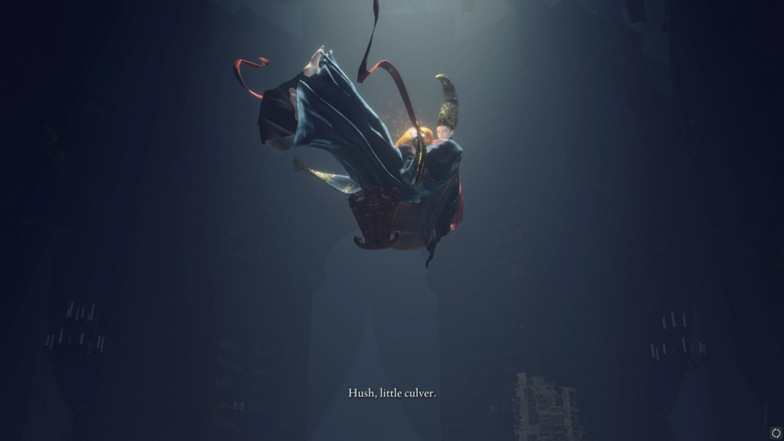
These students wear the Raya Lucaria Academy uniform. It’s safe to assume that Rennala made these students through the process of rebirth. There are also theories that these many copies of her are Rennala’s attempt to create a new child, as grief still devastates her mind.
After the cutscene ends, you’ll mainly be fighting these students. You can’t hurt Rennala when the bubble protects her, so you must break the spell.
Rennala’s first phase is a pushover if you know what you’re doing. The real challenge is not to drain your resources during this encounter. Do not use any summons during this phase. You’ll need the extra body count later on during her second phase.
Search for the singing students, follow the sound of their voice, and look for the golden aura around them. Additionally, watch out for the purple books sent towards you; they always originate from the singing students.
You can quickly tell where they’re hiding by using all of these cues. Then, once found, hit them to weaken Rennala’s bubble. You don’t have to kill them to obliterate the bubble. When the golden aura leaves, you should too.
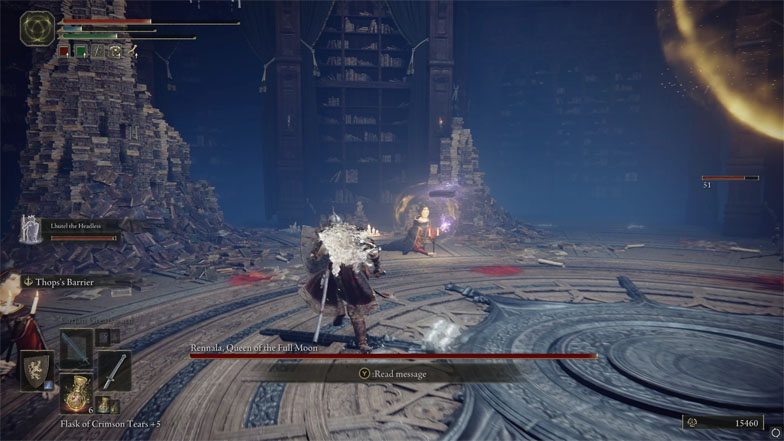
For those who played Dark Souls 3, this mechanic is very similar to Deacons of the Deep. Rennala’s first phase is more of a puzzle than a direct duel.
After attacking three chosen students, Rennala will start to descend. This is your time to let loose and attack her as much as possible. The Queen of the Full Moon is weak to physical damage, which is why I recommended bringing a melee weapon for this phase.
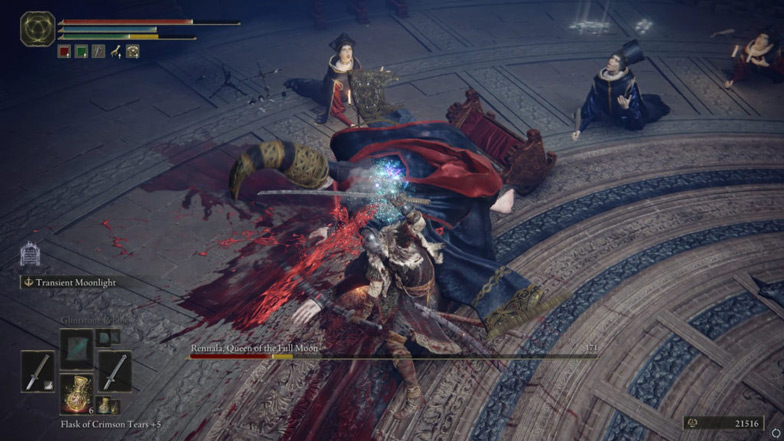
When her hands start glowing, she’ll resummon the golden bubble accompanied by a magical blast. Run or dodge away from it.
This process will take two to three cycles, depending on the potency on the potency of your weapon. A bleed weapon like the Uchigatana is a great way to guarantee a shorter cycle.
Go all-in with physical damage during this phase to shorten it. Try a power stance by dual-wielding two weapons of the same type in each hand, like two katanas.
As much as possible, run behind the bookcases and pillars to avoid their attacks. The students can throw magical projectiles at you as well as breathe favor if you get too close.
Using the terrain is the best and easiest way to avoid most attacks in this fight. But always be ready to dodge out of the way because some chandeliers can fall and hurt you.
Rennala can raise students into the air and throw them as hard-hitting projectiles. You can actually shoot or jump attack them during their transformation to cancel the attack. However, there are so many of them that you’ll be in a precarious position when you try to contest the spell.
There isn’t too much to worry about during this phase, and you can easily defeat Rennala. But as mentioned early, you want to save as many resources as you can during this fight.
The second phase starts when you fully depleted her health bar, and the real battle begins.
Rennala’s Second Phase
After defeating Rennala for the first time, she desperately starts crawling towards her amber egg. Then, a black mist bursts out of the egg and swallows the arena in darkness.
It turns out that Rennala’s daughter, Ranni the Witch, added a magical trap for those who threaten her mother. The illusion will whisk you into one of FromSoftware’s most gorgeous boss arenas; a vast ocean lit by the full moon.

This time you’ll fight the Carian Queen during her prime, at least the illusion of her. Queen Rennala herself doesn’t technically fight you during the whole time.
Here’s an essential and general tip for defeating Rennala in Elden Ring: run. The Queen of the Full Moon will barrage you with a neverending sequence of spells and summons, while backing away when you attempt to approach her.
The fight will become significantly easier if you manage your stamina and run through most of her spells, rather than dodge. The stamina boosting consumables and talismans would assist in this endeavor.
Melee users would find this fight significantly easier compared to casters, especially those invested in strength. Rennala is susceptible to stagger, and colossal weapons can reliably keep her stun locked.
But if you specced into dexterity, you can also make this fight trivial with a bit of investment. Rennala is weak against physical damage, which means an upgraded bow can do wonders against her.
A bow also eliminates a lot of the frustration that comes from attempting to approach her. Short bows allow a refreshing amount of mobility as you can jump while attacking. Additionally, you could craft bleed arrows for an extra punch based on her maximum health.
For intelligence-based casters, you are severely limited in your options as she’s highly resistant to sorceries. However, this doesn’t apply to gravity magic.
The Rock Sling spell is your best bet this early in the game. Pair the spell with the Meteorite Staff to further boost your gravity damage. Just be careful not to get caught during the long cast animation. It’s worth to take a short detour to Caelid in order to grab these armaments.
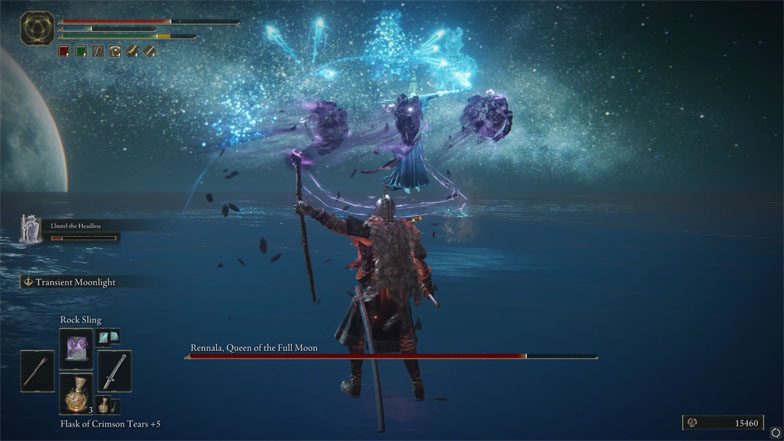
Intelligence casters also have a few defensive options during this option. I’m very fond of the Carian Retaliation spell, which creates glintblades after dispelling sorcery.
Thops’s barrier is also a semi-useful spell that you can get from completing Thops’s questline. But keep in mind that you’re redirecting the attack not dispelling it, which means that AoE sorceries can still hurt you.
Lastly, for faith-based casters, you don’t have a significant advantage against her nor a disadvantage. You’ll have to have an honest duel against her with your lightning and fire spells. The Halo Scythe is a top-tier weapon that can throw out a lot of holy-based projectiles in short succession.
As mentioned earlier, the Magic Fortification incantation is a useful spell to negate Rennala’s primary damage. On an additional note, don’t use Scarlet Rot and Poison-inducing incantations since she’s also resistant against it.
Rennala’s Spells
Rennala will immediately open the fight with a long-range energy beam, most likely the Comet Azur spell. Start running towards her but roll to either side as soon as she casts it.
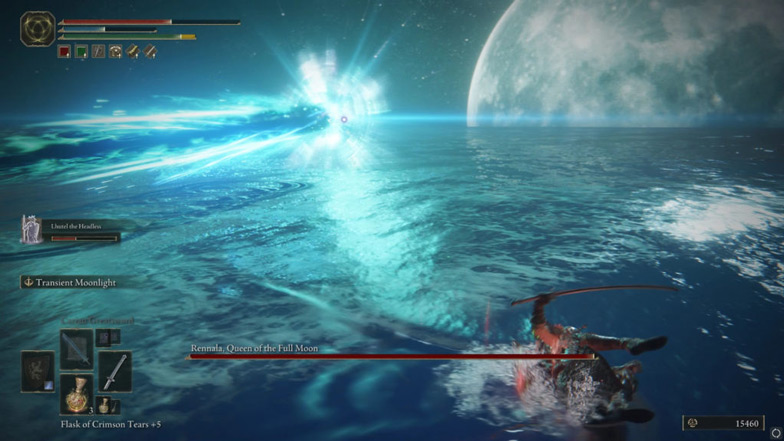
If you successfully avoided Rennala during this animation, there’s ample free time to retaliate. However, don’t get overly excited and exhaust your whole stamina pool during this time, as you’ll have none left to dodge her counterattack.
Rennala can also unleash a volley of glintstone crystals that slowly home on the player, similar to the Star Shower sorcery. She can also use this spell while floating away. Again, you can either wholly outrun the spell or dodge through it.
When she holds the staff close to her chest, she’s about to unleash a barrage of glintstone shards, like the Crystal Barrage sorcery. If you can recognize the telegraphed start of the spell, you can move towards her while strafing to the side. Dodging this attack allows a sufficient opening to land an offense on your own.
Another quick spell she can cast while retreating is shooting a large glintstone shard, similar to Comet and Glintstone Cometshard sorcery. But, again, it’s a simple attack that you should dodge right through.
When you’re in melee range, she has two new options she can choose between. First, she can imbue her staff with magic and use it as a projectile, dealing damage both outward and on the return. The initial cast is fairly easy to dodge as long as you don’t forget that she’ll recall it.
She also has another variation where it circles around her, but as long you’re near her this shouldn’t be a concern.
Second, she imbues her staff with magic and spins it around, just like Spinning Weapon, an Ash of War Rogier sells. This is also the default skill from the Carian Regal Scepter, Rennala’s staff, that you can purchase with her boss Remembrance.
It’s hard to correctly approach her with a melee weapon during this time, as she keeps track of your movement. So instead, take the time to heal, or better yet, space out a massive heavy charged attack.
For ranged playstyles, you can attempt to bait out this attack to cast longer sorceries and incantations. She’s extremely vulnerable during this time and you should capitalize on that.
Lastly, Rennala can unleash her signature spell and conjure a full moon. The moon slowly gravitates towards the player and explodes in a fairly large area.
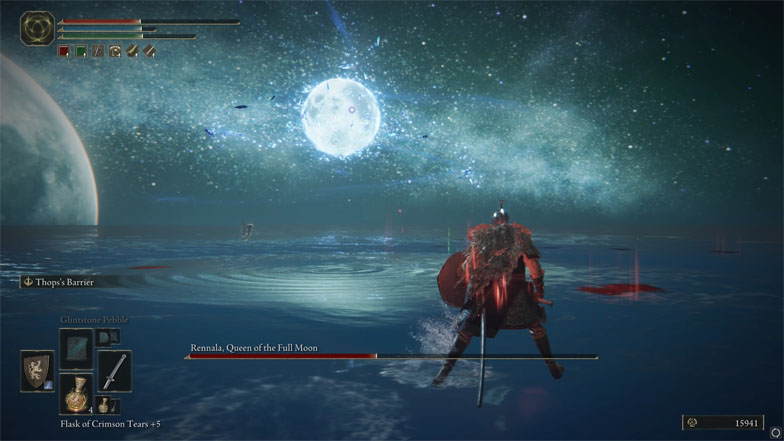
Rennala’s Full Moon is a devastating spell, and you should avoid it at all costs. Running works, but you should dodge away from it if you’re caught. You can look use the rippling water underneath the moon to tell if you’re within its blast range.
Rennala’s Summons
Rennala, Queen of the Full Moon, starts summoning when you lower her health to half. She doesn’t gain any new spells during this transition; however, it will be harder to defeat Rennala due to her aggression.
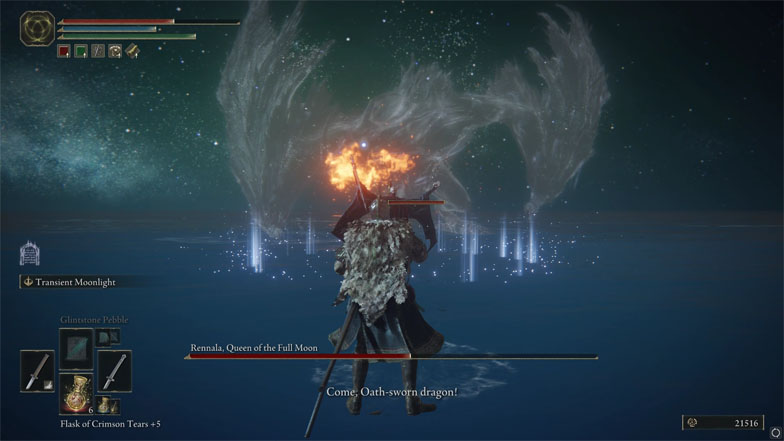
Every time there’s a white aura around her, it means she’s about to summon. If you’re within the range, you’ll be pushed out, but it will deal no damage.
You don’t have to kill her summons as they’ll leave after a set time. Instead, focus on running and strafing around her. At the same time, manage your stamina bar so you can approach for a few hits.
Now is the best time to summon if you wish. Another body is another target that isn’t you. Having an ally can afford you more breathing space during her aggressive phase.
I highly recommend tankier summons that can absorb much more damage. For example, I used the legendary spirit Lhutel the Headless because she can take a hit, and even phase in and out to avoid some. Additionally, her attacks are strong enough to interrupt Rennala’s casting animations.
When she summons a pack of wolves or a bloodhound, avoid contesting her. These summons are quick and can overwhelm you in tandem with Rennala’s spells.
But, when she uses either the troll or the dragon, you can approach her with careful planning. For the troll, lure it away first before sprinting towards Rennala. The troll will time out before it can reach you.
Now for the dragon, watch out for its sweeping fire breathe attack; you don’t want to be in range for that. But, when it starts flying, it’s best to run towards Rennala, as you’ll get caught in the blanket of fire while running away.
Rewards for Defeating Rennala
Congratulations for defeating Rennala, the Queen of the Full Moon. Don’t worry about Ranni’s questline as there aren’t any negative consequences for beating her. In fact, Ranni the Witch doesn’t even acknowledge this feat which I believe is an oversight from FromSoftware.
Defeating Rennala will award you 40,000 runes on a new game playthrough, as well as the Remembrance of the Full Moon Queen and the Great Rune of the Unborn. Additionally, you’ll also unlock the Rennala, Queen of the Full Moon achievement.
The Remembrance of the Full Queen lets you convert her trophy into either the Rennala’s Full Moon sorcery or the Carian Regal Scepter. While both of these rewards are fun, they both require a huge investment into intelligence, 70 and 60 respectively.
Honestly, by the time you’ve reached that stat requirement, there are better spells and staves you can choose from. But if feel like you prefer both, you could duplicate remembrances from Walking Mausoleums.
The Great Rune of the Unborn is the greatest reward for defeating Rennala, as it will unlock the ability to respec in Elden Ring. The respec process allows you to reallocate your gained levels however you like, as long as you have a Larval Tear.
Enia at the Roundtable Hold will also sell Rennala’s armor called Queen of the Full Moon set. Now, on the question of whether or not Rennala’s set is good, I would say it’s not worth it, stats and fashion-wise. The meager intelligence boost it provides is not enough to offset looking like a circus performer.
But, the robes are regal-looking and give an air of elegance, it’s worth buying that to add to your collection.

