The Divine Tower of Caelid is one of the six divine towers in Elden Ring. Divine towers are used to restore great runes gained from the remaining shard bearers.
After defeating Starscourge Radahn and receiving Radahn’s great rune, you can seek out where to activate his great rune. However, the Divine Tower of Caelid presents a difficult platforming challenge, where one wrong step means death.
Additionally, once you make it to the tower, it isn’t immediately clear how to go to the top of the Divine Tower of Caelid. To make matters worse, there’s an even harder platforming segment to reach the bottom of the tower.
In this Elden Ring Divine Tower of Caelid guide, I’ll show you how to overcome the two trickly platforming sections. Additionally, I’ll also show you where to activate Radahn’s great rune and how to defeat the boss at the bottom of the tower.
Restoring Radahn’s Great Rune
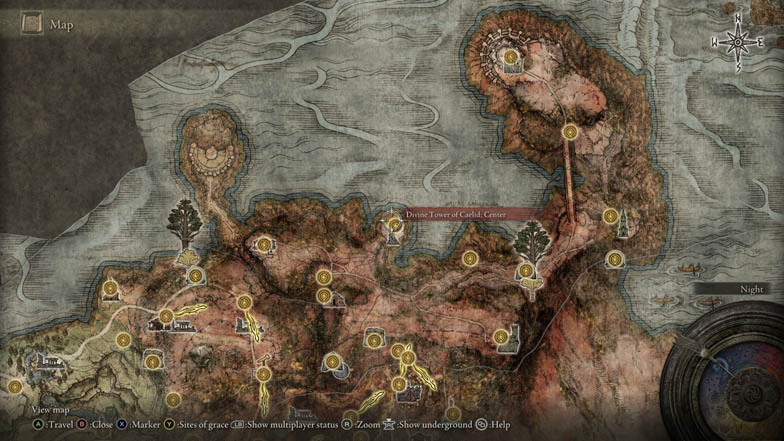
The Divine Tower of Caelid is located in the north of Caelid, specifically at Dragonbarrow. It’s difficult to miss once you’re in Dragonbarrow as it’s a massive tower, visible at many vantage points in the region.
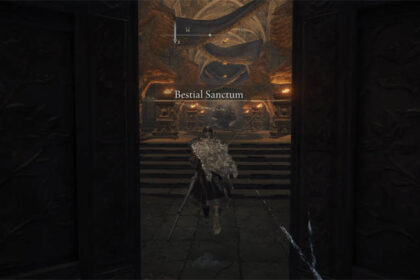
The fastest way to get to Dragonburrow is by taking the waygate straight to Bestial Sanctum, where you can get beast incantations in Elden Ring. The shortcut is to the north of the Third Church of Marika, located in Limgrave just above Mistwood.
Go to the ravine to the north, then turn to the east. Under the cliff, hidden behind some foliage, is a waygate to send you to Bestial Sanctum. From here, mount your horse and start following the path south.
After reaching Lenne’s Rise, go west past Dragonbarrow Cave and the Minor Erdtree. Eventually, you’ll come across the map fragment to Dragonbarrow; the Divine Tower of Caelid is just north of that landmark.
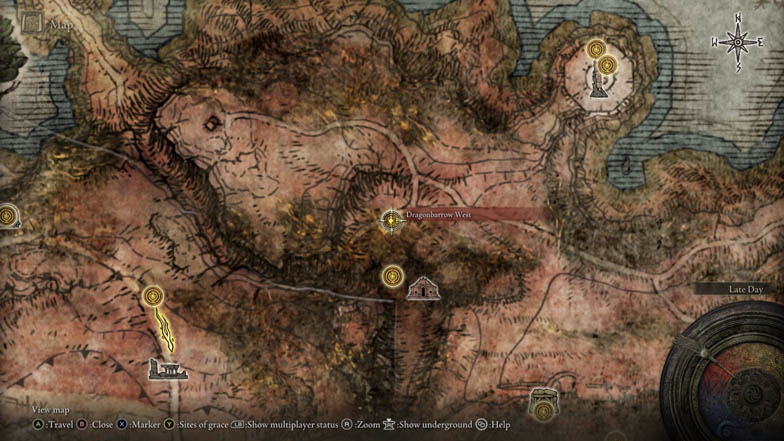
Before going to the Divine Tower of Caelid, make a quick detour to the west of the map fragment. Look for the Dragonbarrow West Site of Grace and use it as your respawn site; you need a safety net for the tricky platforming challenge ahead.
It’s best to stay mounted on Torrent during your ascent up the tower, as Torrent is easy to control while jumping. Additionally, you can redirect Torrent mid-air if you need to correct your jump, allowing you to save yourself from an otherwise dangerous situation. Lastly, don’t forget to dismount from Torrent while stationary and not while moving, as you’ll propel yourself forward if you dismount from the latter.
Now, head north to reach the Divine Tower of Caelid. The way up is intimidating, and one step could be fatal, but as long as you’re careful, you’ll make it. Once you’re at the cliff near the tower, jump to the large vines below and follow them near the bottom of the structure.
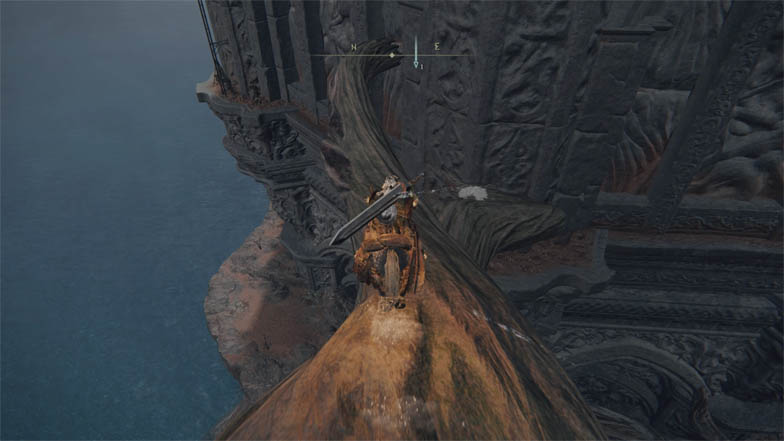
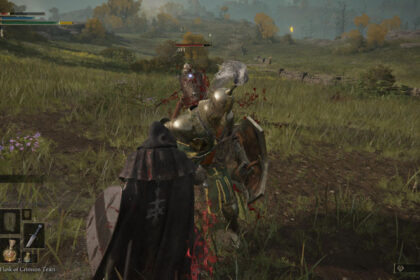
Leap to the ledge with the enemy holding a long torch. Combat in this tight area is complicated with melee weapons as you’ll run the risk of hitting the wall. You can either take out the enemies in advance with ranged armaments like using spells, incantations, or bows. However, a spear or any thrusting weapon also works in this scenario.
Start climbing the first ladder after dealing with the first enemy. There are a few ladders and dead ends during the ascent. You can avoid these by looking for the areas populated with enemies or following the messages left by other players (if you can trust them).
After the first ladder, head to your right and scale the semi-circular ledge. Be wary of the cracks on the ledge and jump over them. Land on the platform with the torch-wielding Redmane Knight and defeat him. Then, climb the ladder.
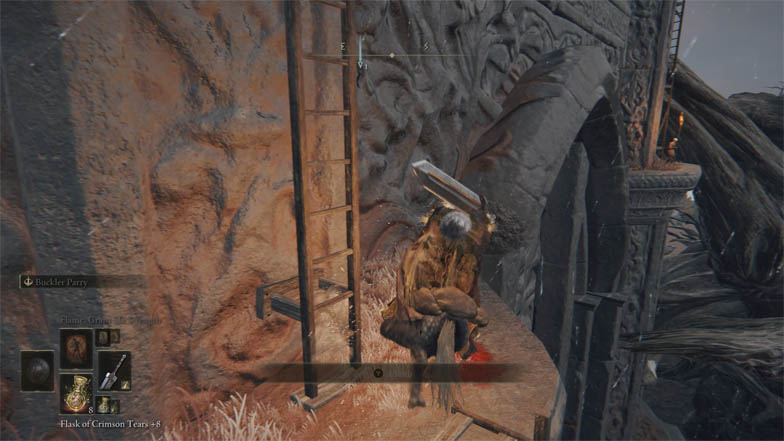
After climbing, look to your left and climb the triangular ledge. Unfortunately, the structure has two cracks you’re going to need to jump over with Torrent. Face the building while walking forward, so you don’t accidentally fall.
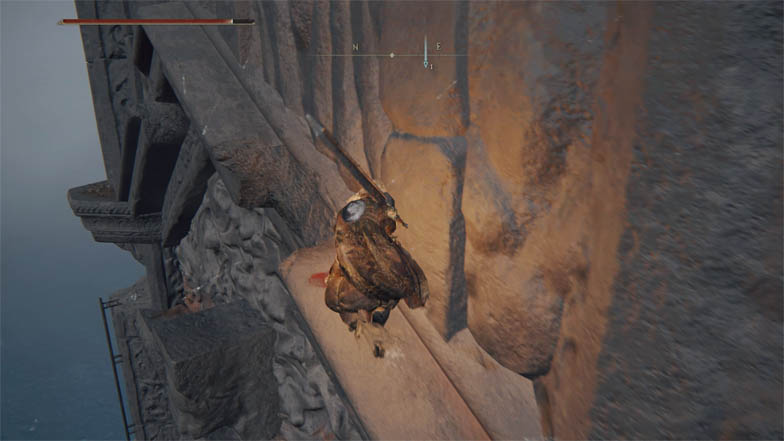
Another enemy is sitting after the corner. First, kill him, then prepare to jump over the familiar triangular ledge. However, there are three cracks that you have to jump over this time.
Climb the ladder, and you’re almost safe. Carefully walk to the left and activate the Divine Tower of Caelid Site of Grace.
General Radahn’s great rune is directly west of the Site of Grace. Go through the door and head up the stairs. Once you reach the end of the hallway, move closer to the door on the left and interact with it to open it.
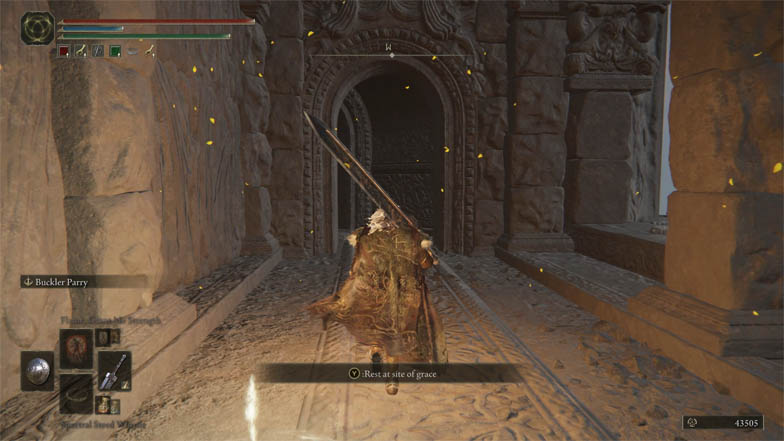
This design choice has confused many players about restoring Radahn’s great rune. At first glance, it doesn’t look like a door at all as it looks like a wall.
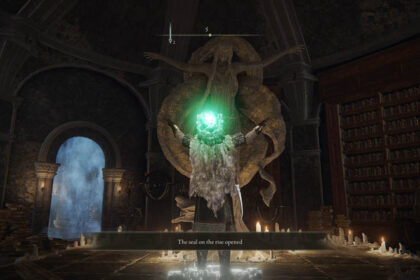
Head through the door and activate the elevator. Then, simply follow the steps spiraling up the balconies to reach the peak of the Divine Tower of Caelid. If you have Radahn’s great rune, you can restore it in the center.
To use Radahn’s great rune after restoring it, use any Site of Grace and equip it on the Great Rune menu. Then, use a Rune Arc to activate its effects. Radahn’s great rune raises the player’s maximum HP, FP, and Stamina.
Divine Tower of Caelid Guide
Now, to descend the Divine Tower of Caelid, go east of the Divine Tower of Caelid Site of Grace. Enter the door and go down several flights of stairs.
When you reach the bottom, there’s a Redmane Knight with a shield waiting for you. There’s another knight hiding to the right. Dispose of both of them, and ignore the locked door for now. Then, drop down to the platform below.
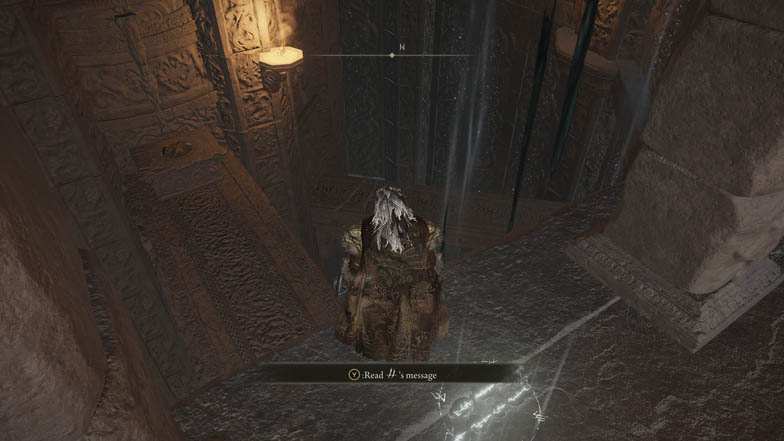
Turn around, then carefully follow the ledge to the left (northeast). Drop down to the cracked platform and enjoy your plunge. From here, go to the end of the platform and inch to the edge until you fall to the one below you.
The next bit is tricky and caused many deaths on this descent. Fall to the circle to the right (facing the center) of the platform. Simply walk and fall on top of the circle, don’t try to run, jump, or roll to it as you’ll go past it.
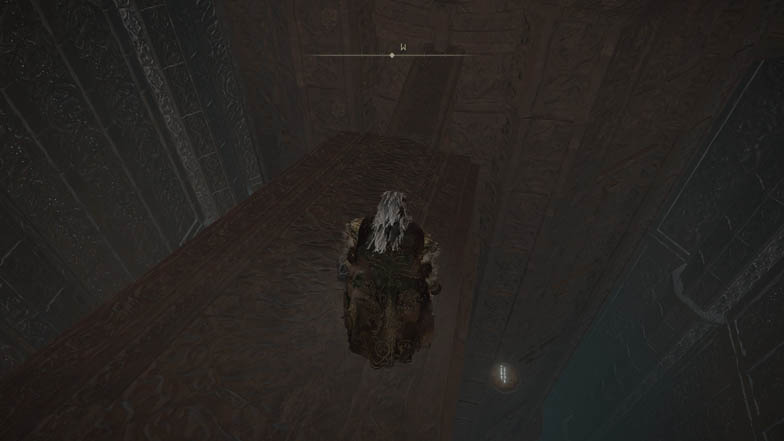
Drop to the next platform and jump on the next thinner platform. Then, walk forward and jump off the edge, landing on the platform below.
If you have a ranged weapon or can cast spells or incantations, it’s a good vantage point to take out the Redmane Knight sitting down. Otherwise, with a melee weapon, it’s best if you can parry his strike and riposte for a safer fight.
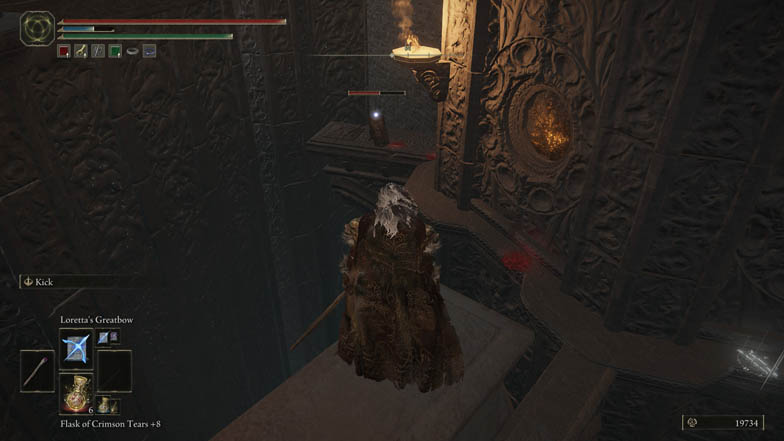
Follow the ledge to where the knight was sitting and take the lift. Once above, take the ladder on the east to unlock the previously unlocked door near the two Redmane Knights. Go back down the ladder and head through the door on the east.
You’ll be attacked by a Blackflame Monk patrolling the corridor. Aside from being a potent fighter, it can also use black flame to imbue their weapon with the element or throw it as a fireball.
After defeating the Blackflame Monk, move forward and walk to the ledge. Follow the ledge, then drop down on top of another cracked platform. It’s a long drop, but you won’t die from it.
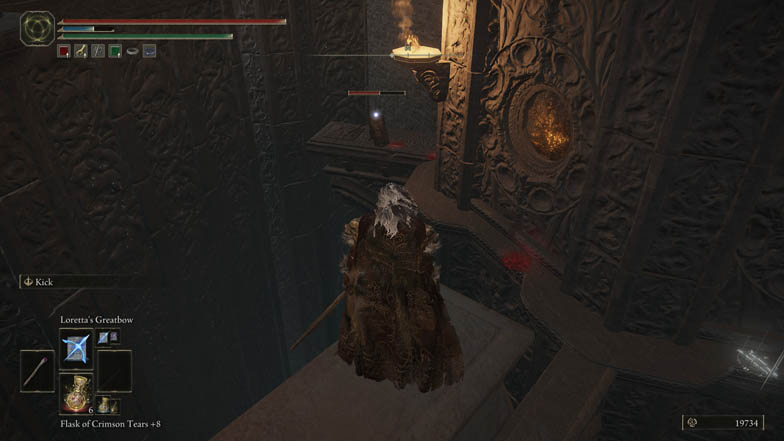
Walk to the end of the platform and take the lift down. Finally, activate the Divine Tower of Caelid Basement Site of Grace to complete the platforming test.
Another Blackflame Monk is up ahead, and the Godskin Apostle boss after that. The boss is quite a challenge, and it’s recommended to fight it at around level 90-110.
Feel free to level somewhere else while upgrading your gear if the boss seems too powerful for you. After all, you can always teleport back to the Divine Tower of Caelid Basement Site of Grace to rechallenge the Godskin Apostle.
Defeating Godskin Apostle
Before anything else, take care of Blackflame Monk guarding the boss entrance. If you decide to summon spirit ashes, it will draw the spirit’s attention away from the boss. The spirit will be busy attempting to fight the monk at the fog wall, ruining your chances against the boss.
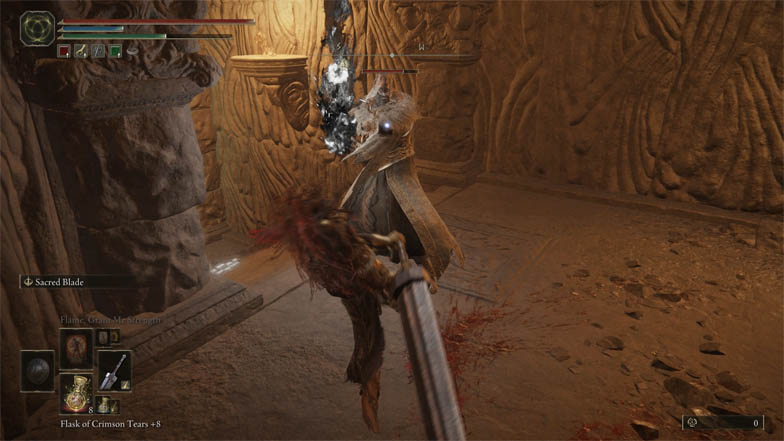
One more note on spirit ashes, you want to summon help depending on the phase of the fight. Generally, the first phase is more demanding, especially for melee players. Therefore, a summon in the first phase is excellent for creating more opportunities for you to attack.
Godskin Apostle’s second phase gains new ranged moves. Ranged and magic users might want to summon during this time. However, it’s still your choice when to call back-up, depending on what phase of the fight you require assistance.
Godskin Apostle’s first phase is where a majority of players falter. Equipped with its signature twinblade called the Godskin Peeler, it uses the sickle end to slice while using the spiky end to stab and thrust. You can grab your own Godskin Peeler at the north of the Altus Plateau in Windmill Village.
There are almost no long windows to attack during the first phase, as Godskin Apostle strikes with long strings of combos and boasts a quick recovery time. This fight is a rough time for anyone using colossal weapons; I can personally attest to that.
I lost to the Godskin Apostle, so many times I was able to fully farm the Blackflame Monk set from the enemy outside the door. For those using colossal weapons, prioritize heavy jump attacks and the fastest attack of your moveset. For example, colossal swords can use the poke attack from crouch or after a roll, while colossal hammers should use the regular light attack or their swift guard counter.
Here’s the best advice: Godskin Apostle is vulnerable to sleep. A sleep pot throwable or the sleep arrow can go a long way to create a massive opening. The mimic tear summon can also throw sleep pots when it is equipped in your quick slot when you call it.
There are also weapons like the Sword of St. Trina and St. Trina’s Torch that can apply the sleep status effect using its unique Ashes of War. Bleed is also an excellent status effect against it, even against the stronger variation Godskin Noble.
Godskin Apostle usually begins the fight with the Black Flame incantation as soon as you enter the room. It creates a black fireball before throwing it at the target, dealing immense initial damage and some damage over time. Roll through to the Black Flame for a quick melee attack, or roll to the side to cast a fast spell.
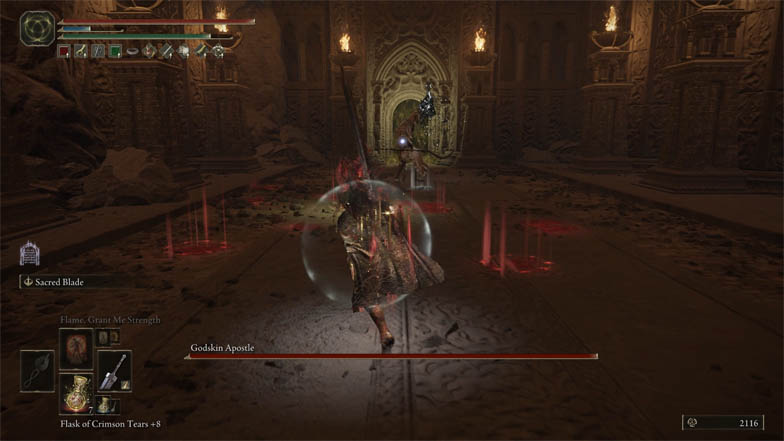
Godskin Apostle also casts Black Flame when you use your flask in an idle state. If you’re far away enough, you can easily dodge out the way at the last second.
But most of the time, the incantation hits you just before you can roll away. So don’t heal while the boss is idle, and only take the opportunity to replenish your health and focus points while it is attacking.
Godskin Apostle has a few regular attacks it can cycle through during the fight. First, it twirls its weapon momentarily before slashing twice, pausing for half a second, then stabbing.
For this attack, dodge towards the direction of the attack for every hit. You’ll have a small window to counter in after the stab for light and fast weapons, but heavier weapons avoid retaliating.
When you’re away from Godskin Apostle, it can jump towards you before striking with its weapon. However, the attack is surprisingly quick, so you may have to dodge earlier.
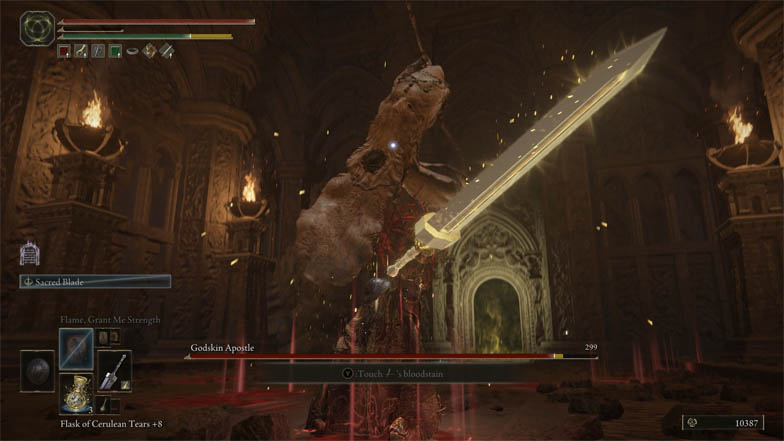
This attack is the best time for any playstyle to get in a few hits as the recovery is very slow. For melee players, you can even attempt to break their stance by charging a heavy attack. Of course, it’s always a good idea to bait this attack by staying a few feet away from the boss.
It can also perform a fast slash before retreating. It usually follows up with the Black Flame incantation or other ranged attacks it gains in the second phase. When you see it raises its weapon to the right, immediately dodge backward and prepare for the next attack.
Another unexpected attack it can do is stabbing with the sickle, then pulling the target closer to it. This is one of its most dangerous attacks as it can combo into itself for massive damage.
Before lunging for the first time, it has a fast wind-up where it readies its weapon behind; it is an almost non-existent telegraph that you have to dodge on reaction. That’s why it’s best to keep some distance away from Godskin Apostle at all times to avoid speed attacks like this and to bait long telegraphed attacks like the jumping attack.
It can also stab with the pointy end of its weapon up to three times. The first attack comes out immediately, pauses, then stabs two more times. It’s static during this move, so feel free to attack from a range.
Godskin Apostle’s most damaging attack is when it rapidly spins its weapon in front of it. The boss telegraphs this move by twirling its weapon before it moves forward.
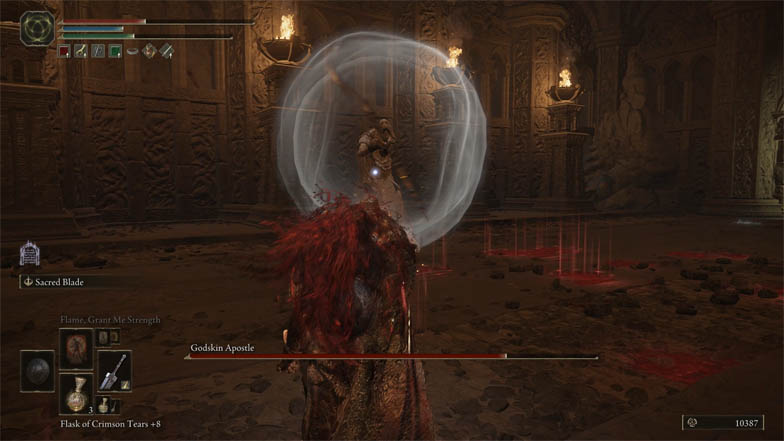
Don’t attempt to block or contest the move, as it can tear through your health or endurance. But, if you were able to evade it, this is the best time to heal or attack with ranged options. Be ready to execute a heavy jumping attack as soon as the animation ends.
When Godskin Apostle’s health goes below 60%, it will cross its arms and levitate. Afterward, it will slam down and release black flame around it, signifying the second phase of the fight.
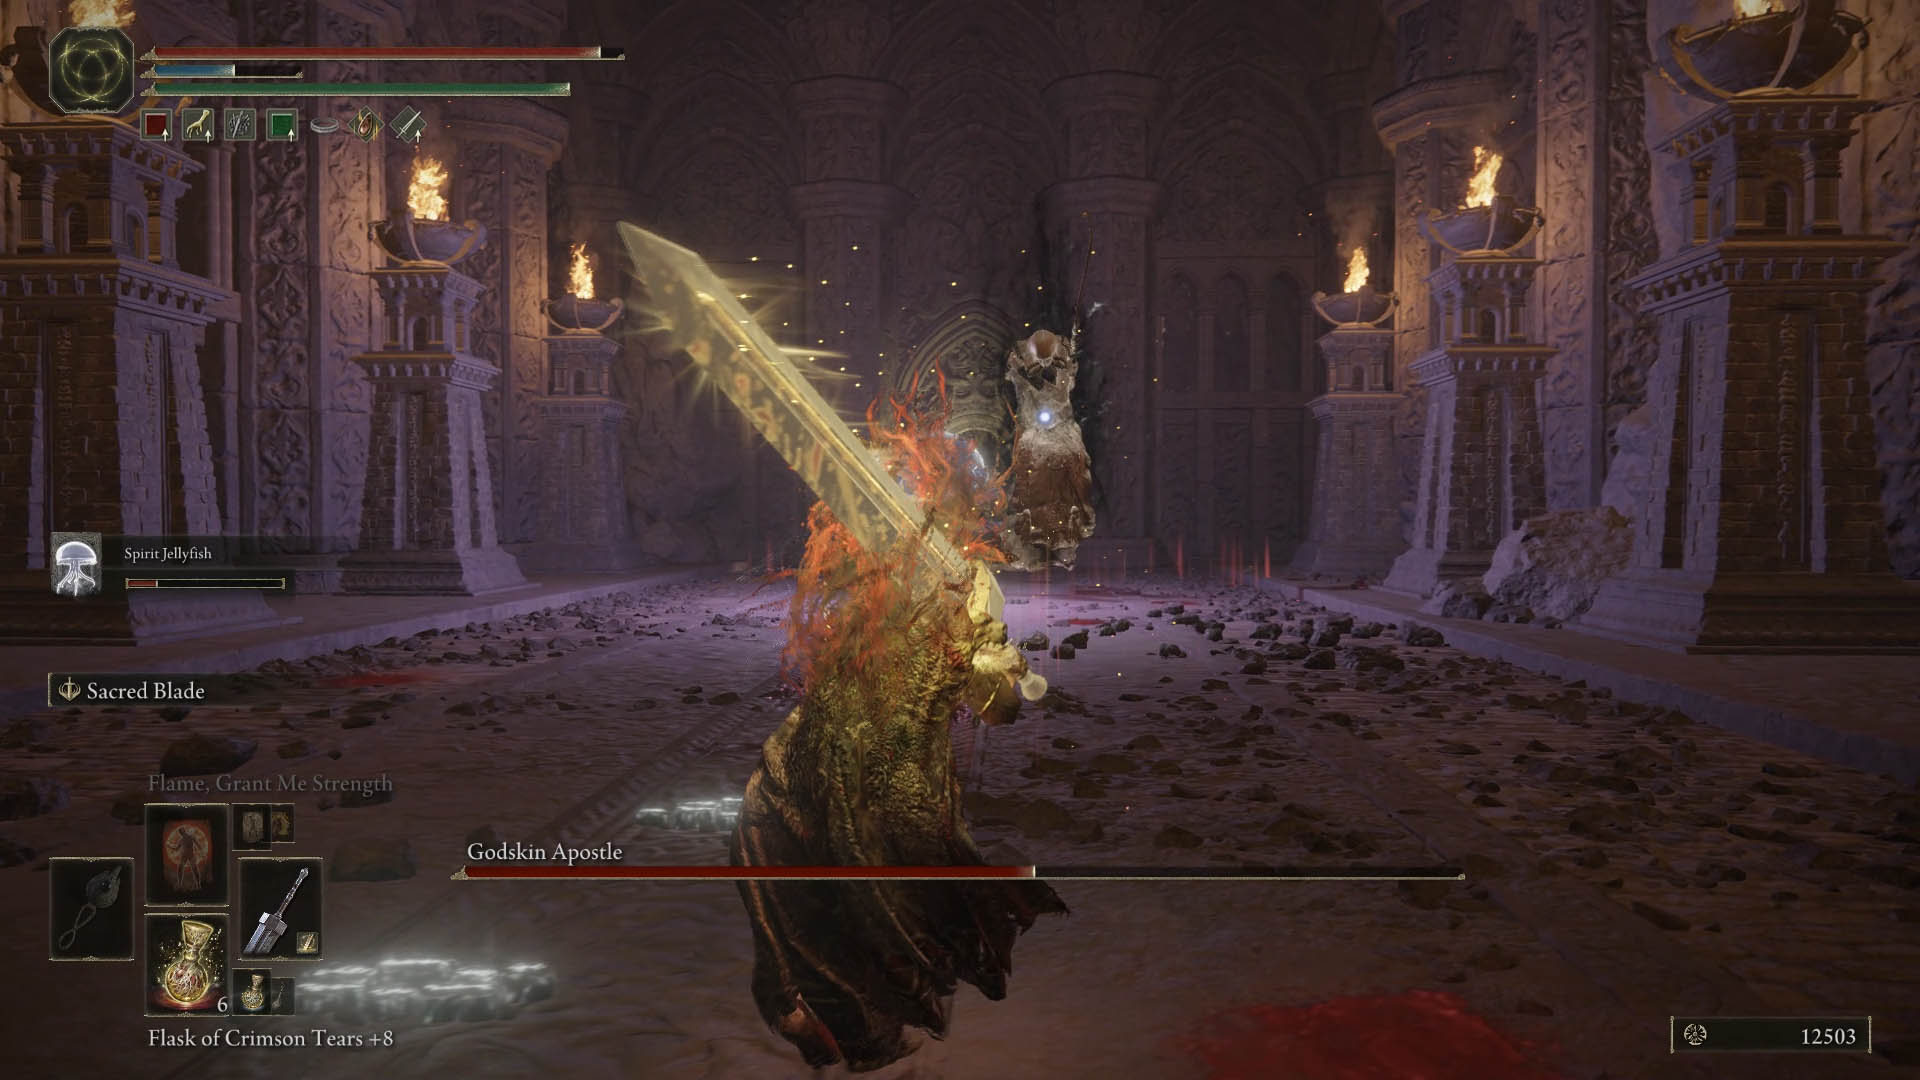
Godskin Apostle will start executing four new moves. Any of these three moves are relatively easier to dodge compared to the swift attacks of the first phase. Fortunately, these latest moves are slow, telegraphed, and leave a wide opening to attack once evaded.
The first new attack starts with Godskin Apostle spinning its weapon, like the move mentioned above. But this time, it extends his upper half and advances towards the target.
Don’t panic and just dodge right through the attack. Afterward, start wailing on the lower half of its body.
The second attack is quite tricky. First, Godskin Apostle extends its upper half and attacks the target; its lower half goes to where its upper half was last located. Then, finally, it extends its upper half and sweeps in the immediate area.
Look to dodge both attacks before attacking. The recovery time isn’t the longest, but it’s enough to get one or two attacks.
For the third attack, Godskin Apostle stands in place and extends its upper body. Then, it attacks in a circle leaving a trail of black flame. First, it attacks near it, then expands to an outer circle.
There’s a sweet spot where you can stay just beyond the reach of the first circle, if you don’t move backward you won’t get hit. Ranged players can start hitting from here, while melee players have to wait for the first trail of flame to disappear before moving in for an attack.
Lastly, it imbues its weapon with black flame, then twirls it around its body, forming a flaming tornado. It will continually extend and expand, before Godskin Apostle slams its weapon down, creating one more large tornado. You can also recreate this move when you pick up a Godskin Peeler for yourself.
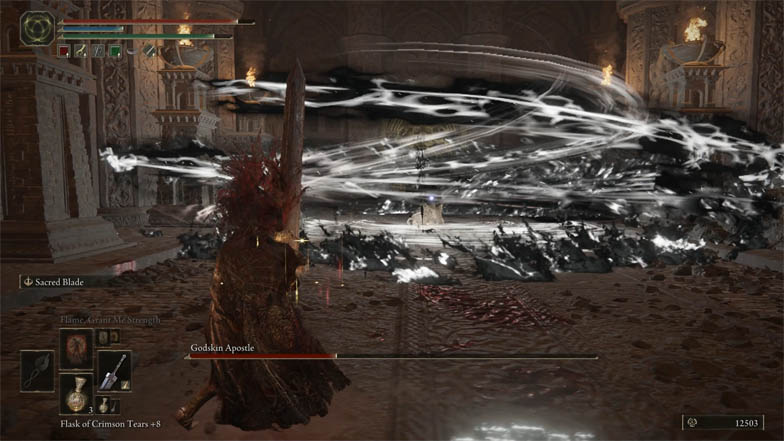
Once you recognize the black flame, start running away from Godskin Apostle. The whole animation takes some time, so ranged characters can use all of this free time to pelt the boss with attacks.
For those carrying Sleep Pots, this is a perfect time to use them as the boss is stuck in place.
To recap, always try to keep a short distance away from Godskin Apostle. Melee players will have a difficult time during the first phase, but will breeze through the second phase when they can identify long recoveries. Meanwhile, ranged builds should try to bait long recovery attacks like the black flame incantation, or the jump attack, as this provides ample time to use spells and bows.
For those having a really hard time against the boss, don’t forget to abuse its weakness to sleep. You can chain the sleep status effect against it to effectively cheese the fight and defeat Godskin Apostle.
Congratulations on defeating the Godskin Apostle under the Divine Tower of Caelid! Hopefully, you learned enough from the fight because you have to fight it a few more times throughout Elden Ring.
Additionally, there’s an absolutely dreadful fight where you have the Godskin Apostle and the Godskin Noble at the same time. But, that’s a problem for later in the game.
For your efforts defeating Godskin Apostle, you’ll receive the Godskin Apostle set, which includes the hood, robe, bracers, and trousers.
Additionally, you can explore the room after the boss arena to find a treasure chest. Inside, you’ll find the Godslayer’s Greatsword weapon, one of the best faith weapons in the game.
The Godslayer’s Greatsword is a colossal sword that requires 20 strength, 22 dexterity, and 20 faith to use effectively. The Godslayer’s Greatsword uses the excellent colossal sword moveset, and it swings fast for its size.
Additionally, it has a unique Ashes of War named The Queen’s Black Flame. Using it sets the sword on fire before executing a sweeping slash, which you can follow up with additional inputs. Any enemy hit by it will have their HP depleted for a while, similar to the black flame incantation.
Though the Divine Tower of Caelid may be intimidating to ascend its exterior and descend its interior, it is a worthwhile endeavor due to the rewards. As long as you have the nearby Site of Grace as a safety net and patience, you’ll be able to conquer the Divine Tower of Caelid in Elden Ring.

