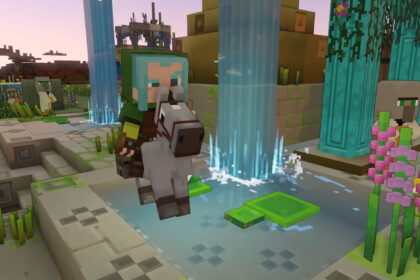
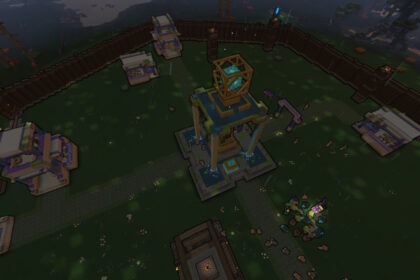
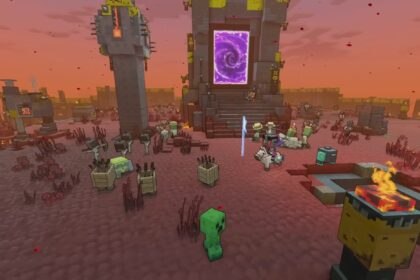
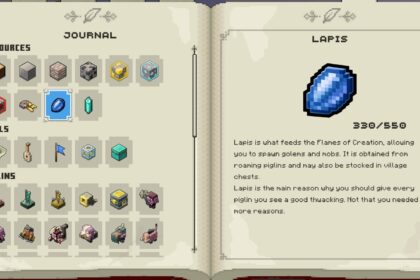
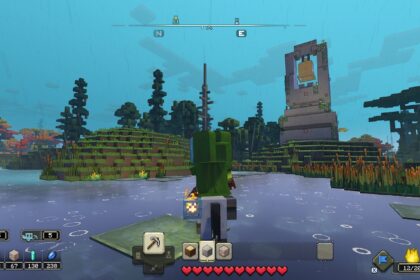
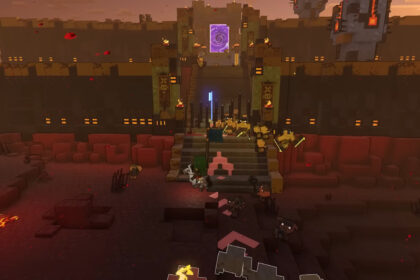
In Minecraft Legends you start off with several basic structures which you can build anywhere around the world.
Most of them are meant to be used to defend villages or your base, but you can also build temporary siege camps all over the world. Though, overtime the basic wooden walls and towers won’t be able to stop the enemy from taking them down even if you repair them.
In this article we will teach you how to upgrade your walls so they can last out an attack.
How to Unlock Wall Upgrade
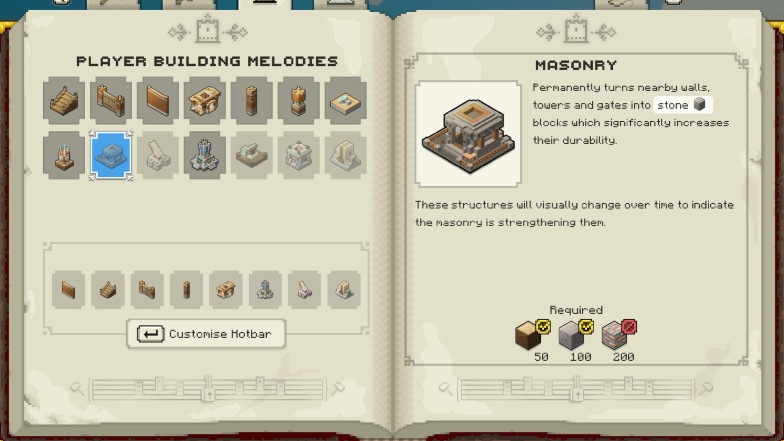
The building you need to upgrade your walls is called a masonry. It is a building similar to the carpenter’s hut which is used to repair damaged structures.
To unlock the masonry, both in campaign and in PVP mode, you have to unlock the “gather iron” upgrade. Iron is the main resource you need to build this structure.
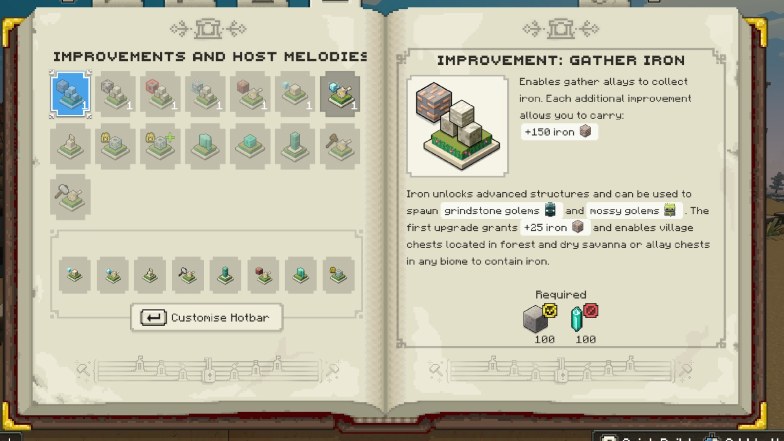
Once you build the “gather iron” upgrade, you’ll be able to place the masonry into your building hotbar. You will need to find and gather iron.
Upgrading Walls
Once you’ve unlocked your masonry you will have to build it near your walls and towers that you wish to upgrade.
The masonry requires:
- 200 iron
- 50 wood
- 100 stone
Just like the carpenter’s hut, you will have to place the masonry so that your buildings are within its range. You can see the range as a blue square when building.
You may need to build multiple masonries if you have a large base.
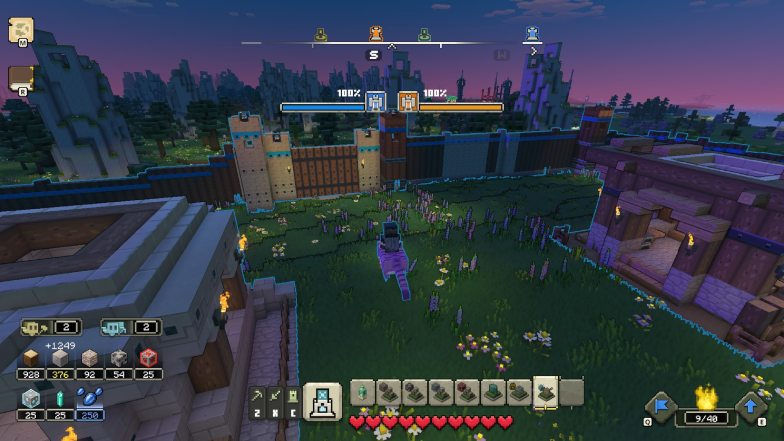
Though, if you’re not in a hurry then you will do just fine with a single masonry. You can destroy it and relocate it elsewhere to save yourself resources and space.
Destroying the masonry doesn’t downgrade your walls.
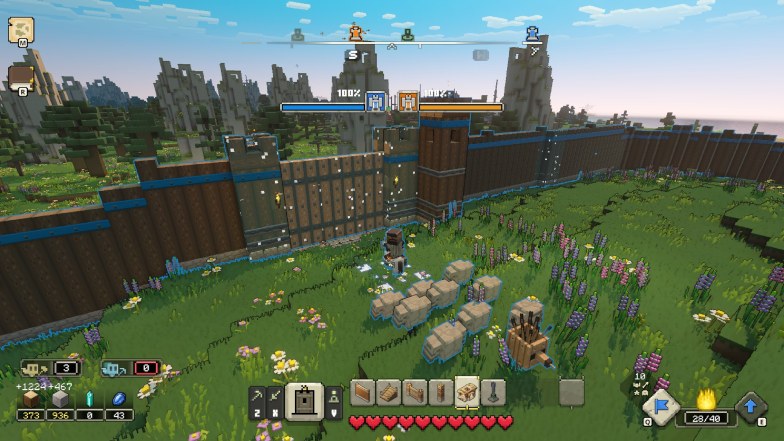
You can tell your walls and towers are being upgraded by the particles that glow around them as they gradually turn to stone. Gates will also upgrade, but the main gate part will remain looking like wood.
You can also further upgrade your masonries at the Well of Fate or next to an improvement hub which you can build in PVP at your base with the “expert mason” improvement.
Upgrading the masonry makes it convert building into stone much faster.
Fixing Walls
Even upgraded walls are bound to take damage once the piglins or your opponent decide to siege your base. There are many ways you can protect your walls, but it’s most important they don’t get destroyed.
Once destroyed, you will have to build wooden walls again. Then, you’d have to upgrade them as well with the masonry.
Building a few carpenter huts around your base so they fix your walls is a good way to keep your base safe.
What to do Next
To upgrade and maintain all of your walls and towers, you’re going to need quite a few upgrades. All of them can be built once you unlock the right resources, but the more advanced ones will need gold.
Gold can’t be just found in ore veins like all the other resources can be.
It has to be farmed in a special way. We have a guide on how to gather gold efficiently.

