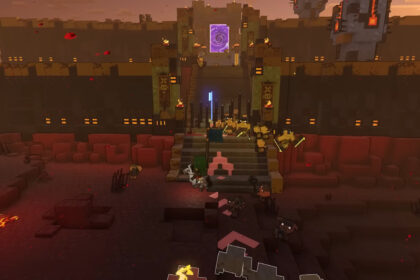
The Minecraft Legends basic tutorial teaches you all about how to summon your mobs, rally them, and charge with them to battle or send them into a fight.
Though, by the time you reach your first big battle you will definitely need to utilize the advanced combat mechanics to make the fight easier. Being able to send specific troops on a specific target will be very important.
In this tutorial we will teach you how to use the advance combat mechanics and help you get better at them.
Combat Basics
The tutorials have taught us the basic combat controls. By now you likely know how to build your spawners and summon the your troops at each of them by holding Q (X on consoles).
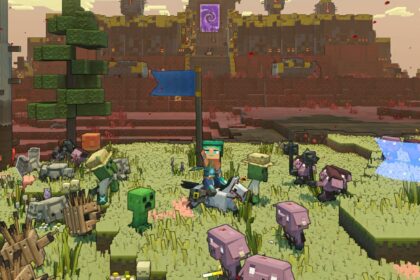
To rally them, press Q again. All mobs within the circle will rally to you and follow you. They attack anything you run into or you can press E (Y and Triangle on consoles) to send them ahead of you.
Though, there’s more to this.
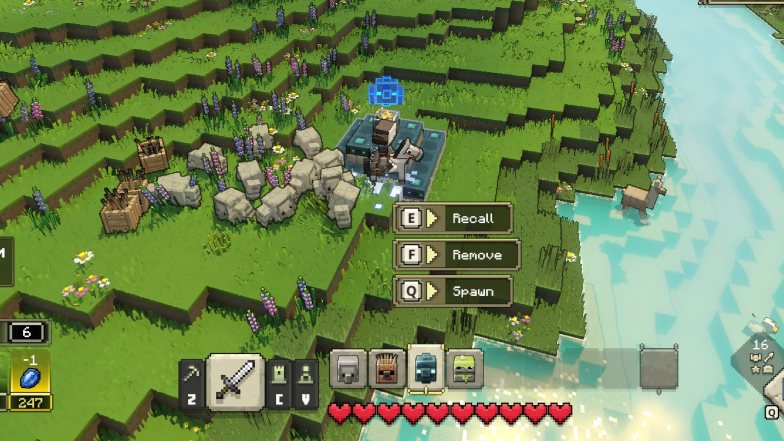
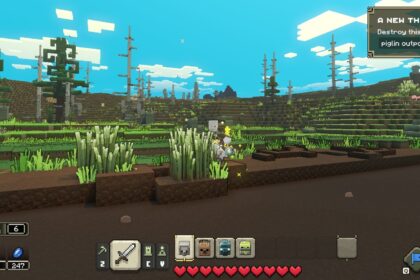
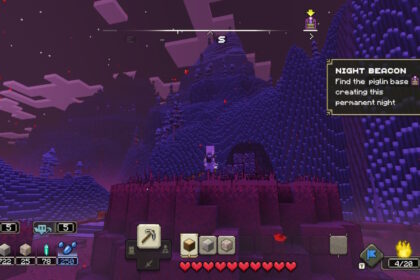
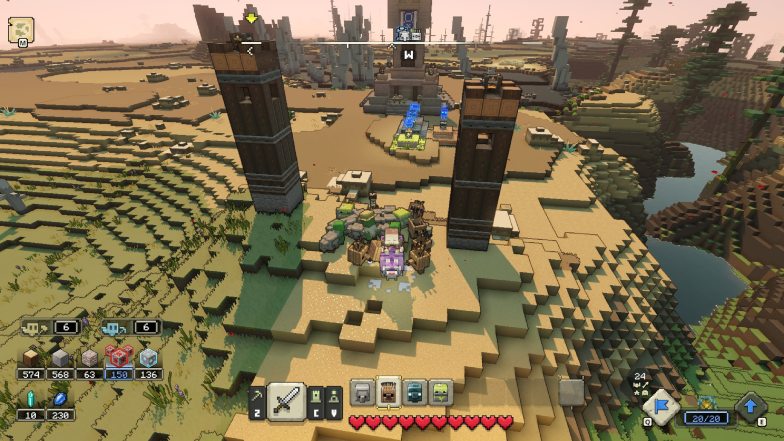
In the bottom right corner you have your flames of creation which show you how many troops you have and the max number that can be summoned.
When you rally your troops you have an additional number that pops up above your rally command. This number shows you the exact number of troops that are currently rallied to you.
This number can exceed the max number of summoned mobs.
This way you know if all of your troops are rallied to you or not before you charge or fast travel.
Advanced Combat Controls
Commanding your troops can be a lot more complex and this will definitely come in handy in PVP.
To access all of your advanced combat mechanics you will have to hold CTRL (RT on consoles) with your troops rallied to you. These controls are separated by category of troops:
- Melee
- Ranged
- All troops
- Special
- Legendary
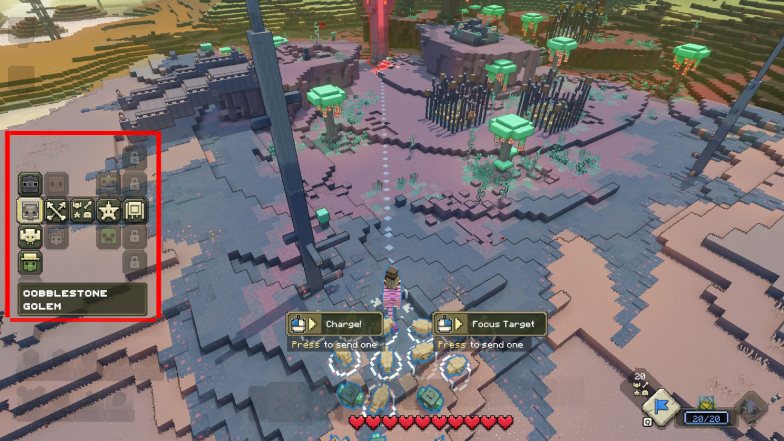
By default you will be selecting all of your troops and you can either make them focus one target or charge to a single area.
On PC and consoles use the left and right arrow keys you can switch the types of troops. The up and down arrows will allow you to select a specific mob you wanna send into the fight.
Additionally, you can also use numbers 1-5 if you’re on PC.
Combine this with the ability to either charge or focus one target, as well as how many you send, it can make for pretty interesting combat.
What mobs you use in combat depends on your own playstyle.
Combat Tips
Depending if you’re going to be taking the siege and destroying a piglin outpost or you’re defending a village for the night, your approach should be different.
Different buildings and different tactics work better depending on what you need.
These are some of our general tips that will help you win battles.
Defending Villages
Listen to the hosts and their warnings. The hosts will always warn you about a village that could possibly be attacked at night.
This gives you enough time to fortify the village and prepare your troops. There are a few basic buildings you will need to make sure you’re not absolutely destroyed in the battle:
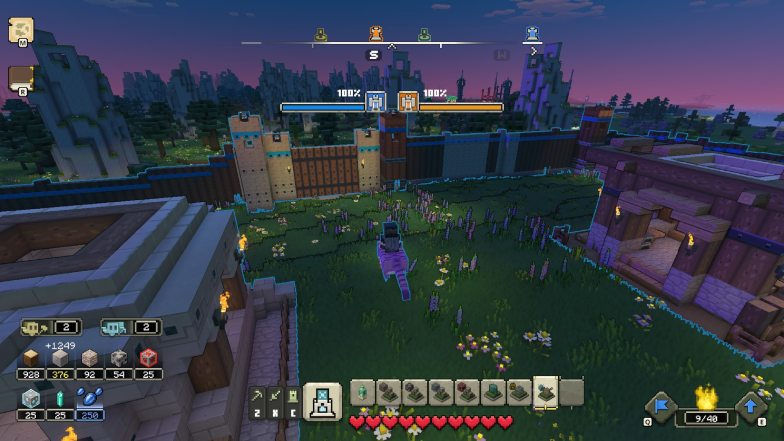
- Walls – At the start of the game they’re simply wooden, but progress through the campaign and build your upgrades to make them stronger
- Towers – Long range is always your best friend. These towers can also be upgraded with different structures and there’s many different kinds.
- Carpenter Hut – An absolutely essential building and you will need more than one. They repair damaged structures over time.
- Spawners – Make sure all your spawners are inside the base so you can continuously summon troops
Destroying Piglin Outposts
You’ll need to get those piglin outposts sooner or later. While on the map you will have plenty of large camps marked, you’re bound to find smaller outposts everywhere.
Not to mention, destroying their structures is how you get prismarine.
Here’s a few tips on how to successfully launch an attack on a piglin outpost:
- Daytime – Make sure you attack during the daytime, because during the night you’re bound to run into stray piglins that will attack you, your structures, and troops.
- Wellhouse – Building this structure helps immensely, because this will be your respawn in case you die in the fight.
- Don’t build too close – Building any structure too close to the piglins will allow them to destroy it quicker, making you waste resources.
- Battle drum – This structure increases the speed of a redstone launcher and other long-range structures. You will certainly need it if building a launcher.
- Redstone Launcher – Having one of these is a great way to help your troops take down pigling structures, but only you can use it. You have to manually aim and fire.
- Have a quick mount – While defending your mount may not be as important, thanks to all the defensive structures you can have, but it’s very important when attacking. A fast mount will help you run from your spawners to the enemy base and bring your troops faster.
- Help your troops – You can easily kill smaller piglins by attacking them yourself. You can help your army focus on destroying structures while keeping the piglins off them.
What to do Next
Now you know how to set yourself up for an attack, you will also need your troops. If you’ve been running from village to village like me, then you’re bound to have lost a few along the way.
Worry not, because finding your troops is very easy.

