The floater is a signature move for many point guards and shooting guards in the modern NBA. In the past decade, this move has evolved into a powerful offensive weapon that can leave interior defenses helpless, unable to react before the ball reaches the rim.
Read on and learn how to do a floater in NBA 2K22.
When to Do a Floater
The floater is a very specific move, particularly effective in certain situations.
What you’re trying to do with a floater is reduce the chances of getting blocked to a minimum. You do this by shooting almost from the ground, at the edge of the key. This ensures that the ball leaves the player’s hand and the player protecting the paint (usually tall and slow to react) can’t reach you.
In the image below, you can see Tyrese Maxey performing a floater to avoid Gorgui Dieng closing the gap and contesting the shot.
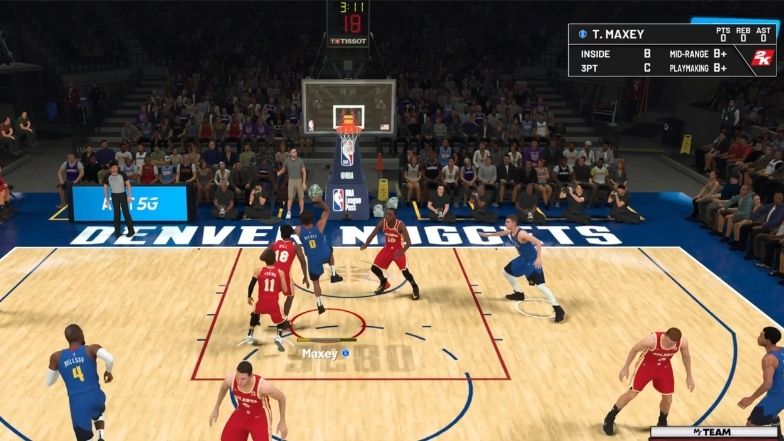
If I was to try and go for a layup, Deng would definitely make things harder, probably even getting the block.
So, the floater is most effective when performed by a crafty guard with at least solid shooting grades, against a center or power forward. Keep in mind that this move is a little advanced so you’ll find that some less skilled players won’t be able to pull it off consistently, especially if you have realistic game sliders set up.
How to Do a Perfect Floater Every Time
The way you do a floater will depend on whether your shot stick is set to Absolute or Camera Relative. The default setting will be Absolute so, if you didn’t change anything, this is what you’ll see in Controller Settings.
If your shot stick is set to Absolute, you can do a floater by moving towards the basket and holding the shot stick down. The reason why this is called “absolute” is that, no matter from what direction you arrive at the basket, the command will always be the same: Shot Stick down.
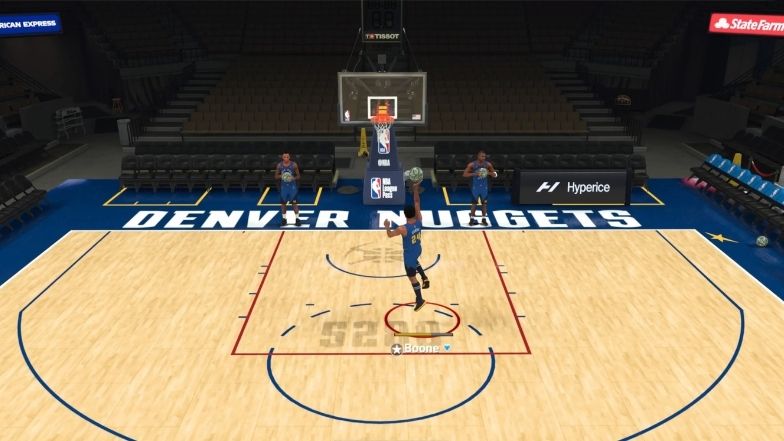
If your shot stick is Camera Relative, then you can execute a floater by moving towards the basket and moving the shot stick in the opposite direction. So, in this case, you’ll always be moving the shot stick in a different direction, depending on which direction you’re arriving from. That’s why this is called “camera relative”, the command changes according to camera perspective.
Personally, I find the Camera Relative setting much more natural and logical but it’s really up to you how you want to set things up.
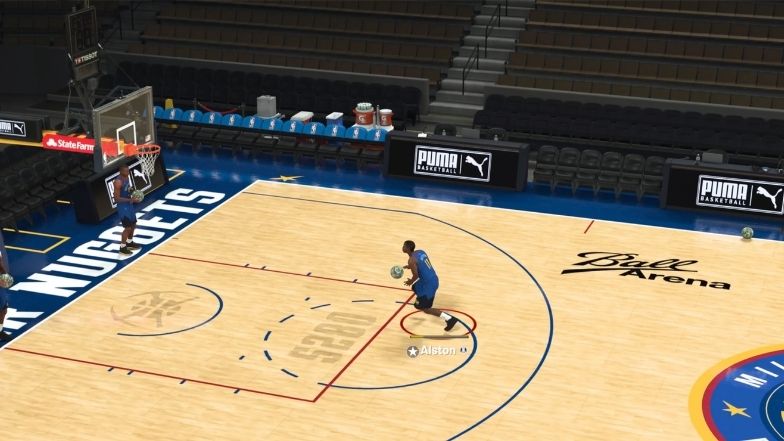
Also, make sure to start executing the move in time. You should start doing a floater as soon as your player reaches the top of the key. If he’s in full stride, this should be just enough time for him to start and finish the animation. If you wait too long, he’ll just go for a layup.
Take a look at what point I start to do a floater here:
Here is where the player ends up right before releasing the ball:
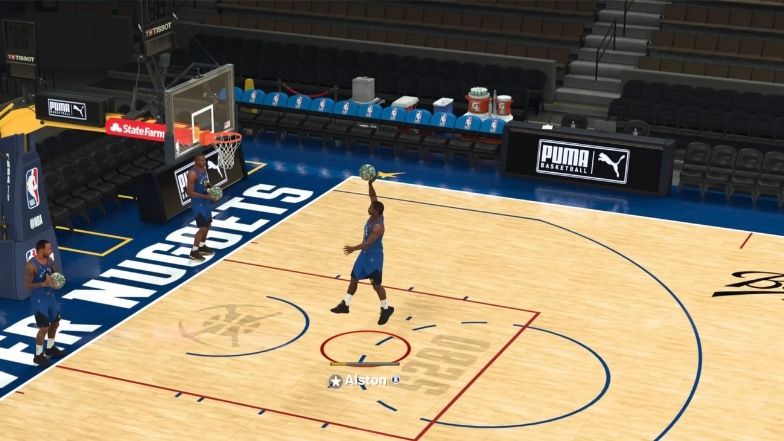
Rafer Alston makes it look pretty!
Another important point to remember is that you need to let go of the Sprint (R2/RT) button to do a floater. If you don’t, the player will simply attempt a dunk/lauyp, depending on their ability.
The Best Players to Attempt Floaters with
As mentioned, skillful guards are safe options for floaters and they’ll have higher chances of converting them than many other players.
Some of the active NBA players with killer floaters include:
- Kyrie Irving
- Steph Curry
- Derick Rose
- Chris Paul
- James Harden
- Luka Doncic
- Trae Young
- Rajon Rondo
- Mike Conley
- CJ McCollum
- Demar DeRozan
- Lou Williams
Some all-time players:
- Tony Parker (arguably the best floater ever)
- Steve Nash
- Nick Van Exel
- George Gervin
Conclusion
Knowing how and when to do a floater can be a powerful weapon in NBA 2K22. Once you master the timing and different scenarios where you can use it, it will transform your driving game and help you avoid good defenders in the low post.

