There are many ways to modernize our Minecraft worlds. We do not have to stick to the medieval-ish theme each of them has with its generated structures.
Instead we can take up our blocks and make a whole futuristic world that may better suit our needs. It is just a matter of picking the right way to do this.
Now, of course, if we are modernizing Minecraft, we want to treat ourselves to the best luxuries that we can, and what is a bigger luxury than owning your very own private yacht to sail the seas with?
Getting Started on the Build
Before you start building your yacht you will first want to pick out the right materials for this kind of build. Unlike our ship builds, a yacht is never going to be made entirely out of wood or similar materials like that.
Yacht’s are known for being pearly white, slick, and smooth so they can show luxury and wealth.
The best set of materials you can turn to for this kind of build would be quartz and terracotta blocks.
Quartz blocks are clean white and smooth. They also have slab and stair varieties to them which greatly aid in building a proper shape for this ship.
Other blocks you could choose are andesite and diorite as well as their polished versions.
It would also be good to look at real life yachts for inspiration and to get an idea on how to build one.
Finally, if you have your blocks picked out and feel ready, it is time to find the spot where to build. Building it at a dock allows you to easily access your yacht, but it can prove to be difficult fitting it into an already existing build. You may need to compromise on size and details.
Building it out on the open waters may be a much better idea. It also allows you to build a dock within the yacht for your boats as you sail to it!
For this kind of build it is better to build it bigger than smaller, because that will make it much easier.
Building a Yacht Frame
Just like when building a ship, it is useful to build a frame for your yacht first.
Start by building a straight line with your chosen blocks (mine are cyan terracotta) to determine how long your yacht will be.
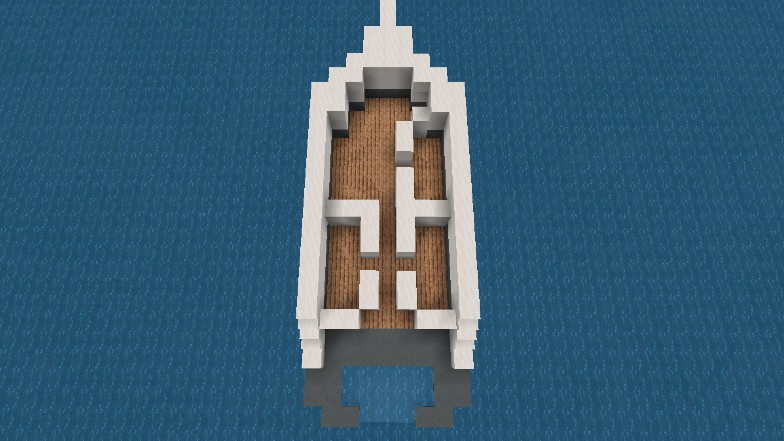
For the ship build we usually built ribs to help shape the lower deck of the build, but luckily for us a yacht can be completely flat on the bottom. This particular yacht will also include a dock for regular small boats in the back.
In the image below you can see the layout of our yacht’s lower deck. The lower deck is 21 blocks long (not including the nose of the yacht) and 9 blocks wide.
Now, we build our yacht from the bottom up.
I will add an extra line of cyan terracotta above the original frame, just so that it is visible from above water, before building all the walls from smooth quartz.
I will also be adding windows along the terracotta line. It is best advised to keep windows symmetrical on both sides on each level of the yacht.
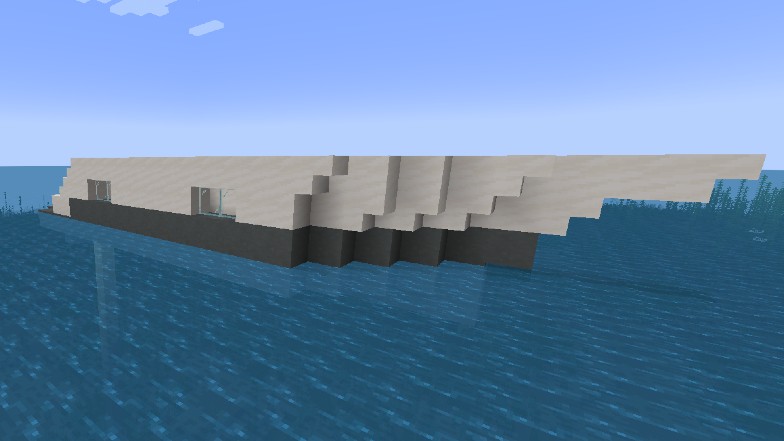
The walls will be 3 blocks tall in total for the lower deck, with inside walls separating the space into several rooms. Decorate these as you wish and need.
The very back of the yacht will be where we will include a boat dock for all those arriving by smaller vessels as well as two staircases leading up to the upper deck.
Building the Upper Deck
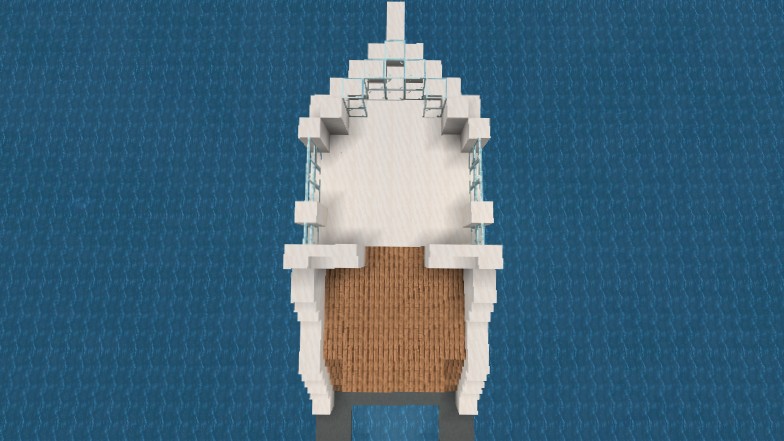
The upper deck will be just a tiny bit shorter than the lower one and it will include an outdoor area and an indoor area, meant for the steering wheel and where the captain would spend the most time.
From the staircases to the end, the wooden part of the upper deck is 16 blocks long.
Though, we also cannot forget a pointed nose for the dock that extends past the deck.
Now we get to build the cabin with the steering wheel in it.
The front of the cabin will be all window, so we will build it out of glass blocks. There will also be 2 windows on each side as well; one is 2 blocks wide and the other just 1.
This is how the wall layout will look like for the cabin. It will be only 2 and a half blocks tall.
The ceiling we will sculpt using smooth quartz stairs and slabs, just to keep the height low. The stairs and slabs will also help make the slope of the ceiling look smooth.
We then add is slabs around the front window of the cabin.
The final detail we will include in the construction of the yacht will be the little “wings” at the back, just to break up the shape a little bit.
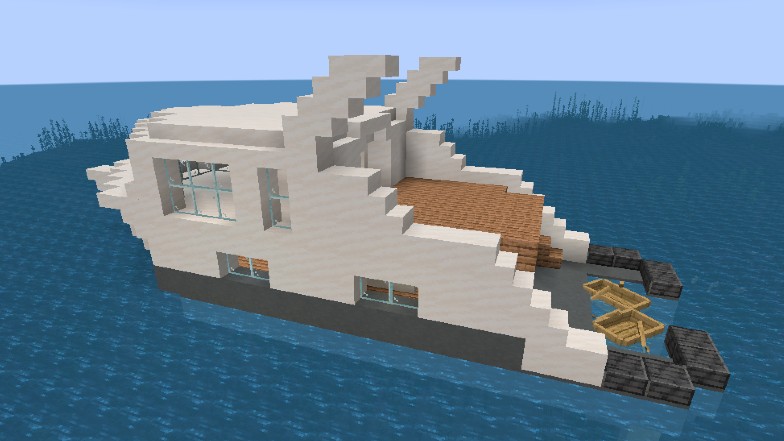
with that the main construction of our yacht is done!
Adding Details and Decoration
Every build can have details added to it to help shape it or to help smooth out its shape.
The best way to do this is by using stairs on the front of the ship to make the yacht look more slick and pretty. You saw that while we were shaping the ship up a little earlier.
The next thing that we would have to do is, of course, furnishing out yacht. We need a place to seat ourselves and our guests, as well as some for of living quarters.
The lower deck has enough room for a living area and kitchen. The small room beside it is good for storage, while the two rooms at the very entrance can be used as bedrooms!
Give your guests a bed with an ocean view.
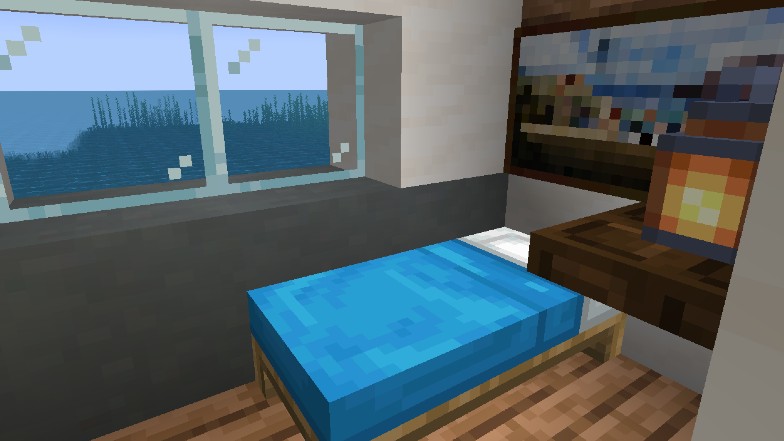
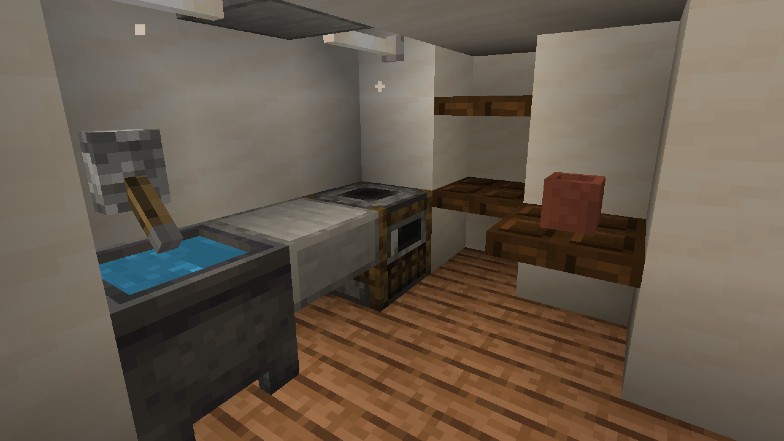
I particularly enjoy designing small and cozy kitchens like these. End Rods, if you have any to spare, look amazing as tube lights above your kitchen countertop.
The little corner we left open is good for shelving or to serve as a fridge, as you can see in the image below.
The top deck will have regular outdoor seating. The chairs I will make using my furniture building techniques, as well as the little outdoor table.
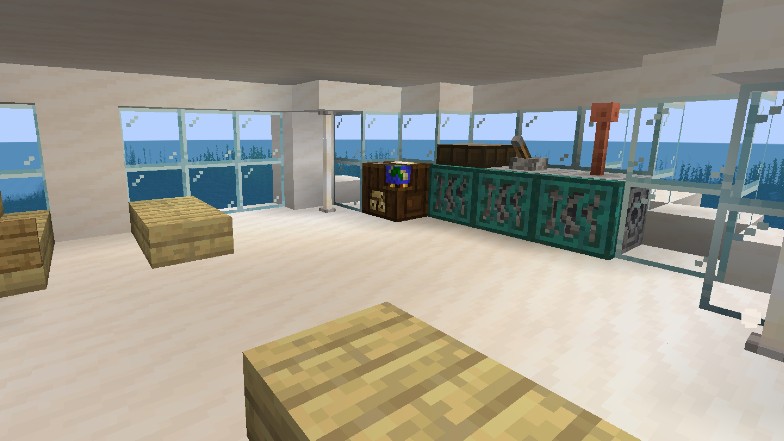
Inside the top deck cabin I will include some more seating and a steering wheel.
With that, your yacht should be done and ready for a party!
Building a Ship
Are you looking to build a different kind of sea fairing vessel?
Then look no further, because we have the ship design just for you. Our ship building article has a tutorial to help you build the perfect ship for you and your crew’s distant travels across the seven seas.
